


Creating Post Formats, Categories, and Posts
Including a category
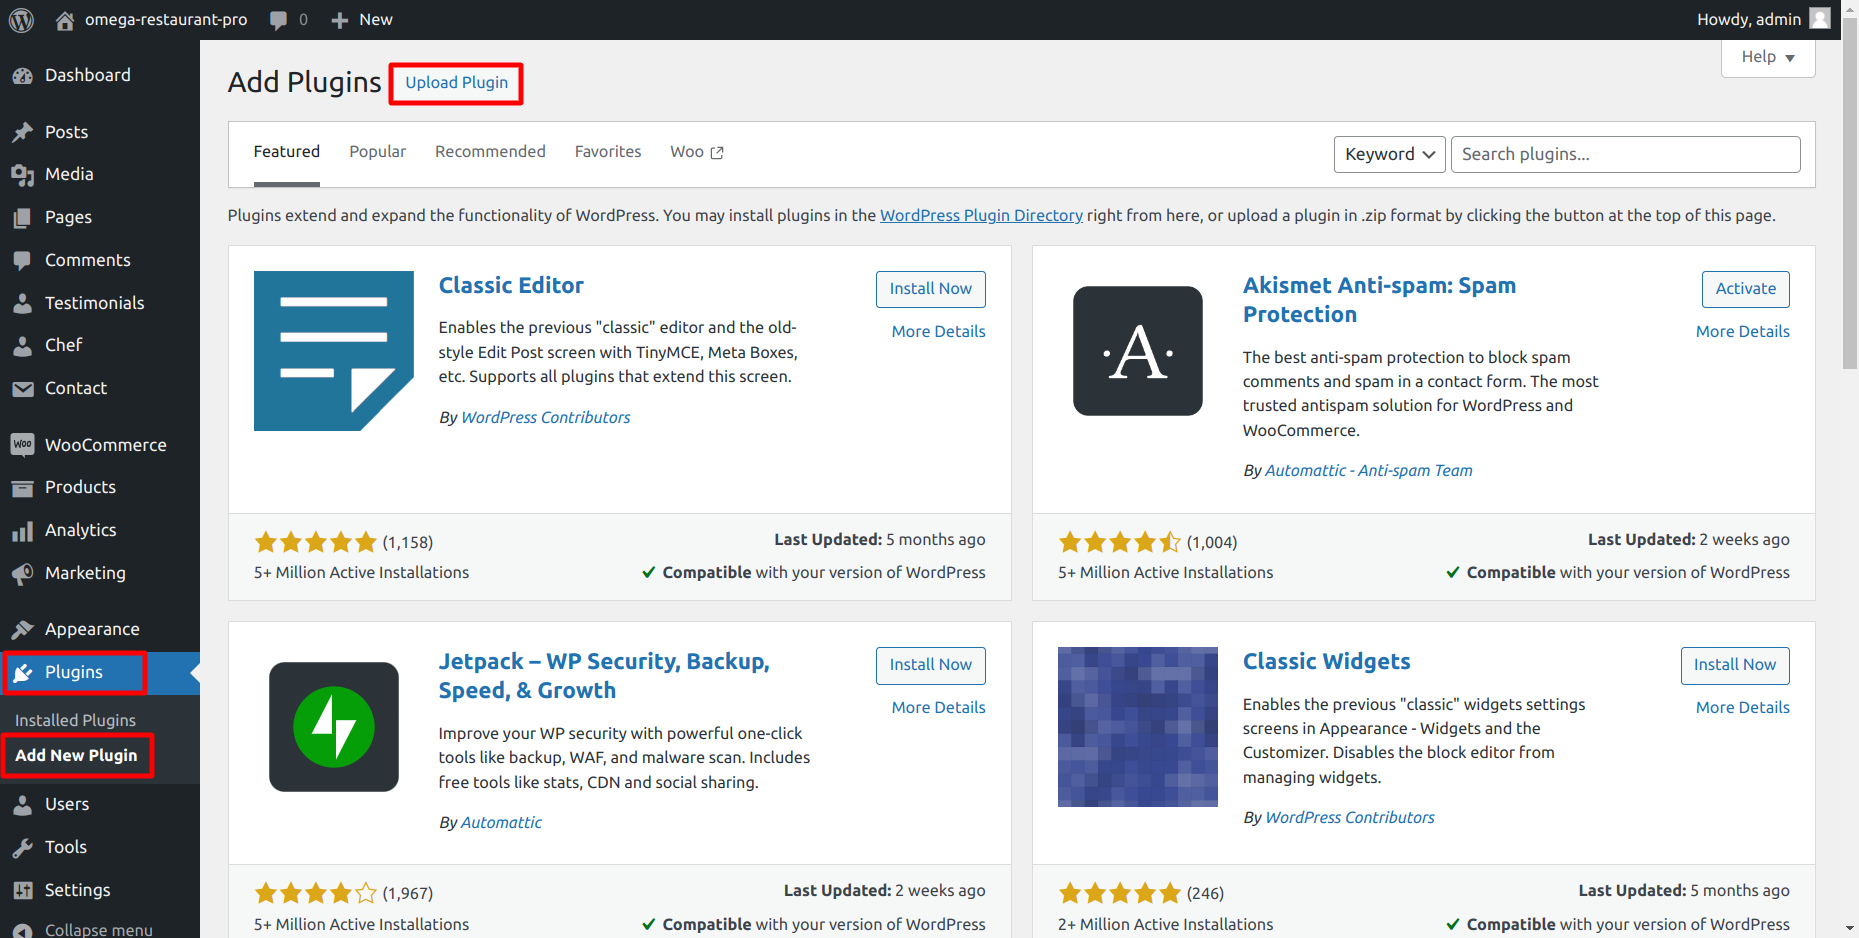
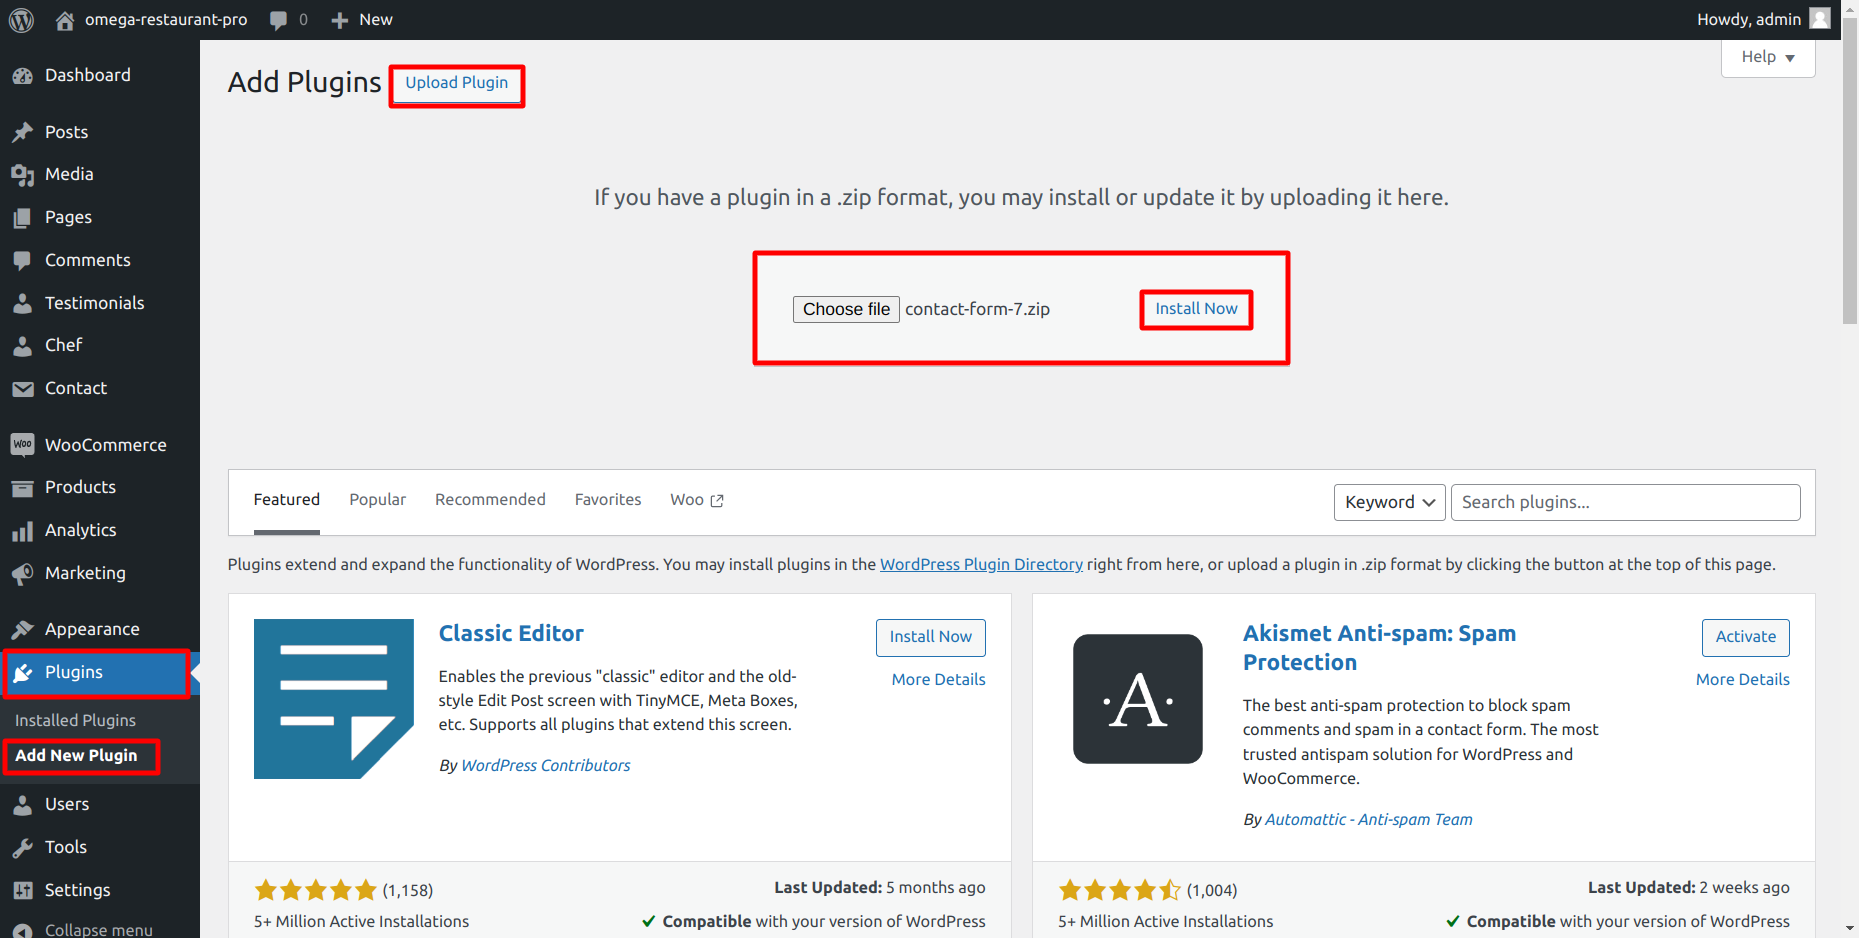
- Open the admin page of wordpress (Dashboard) by logging in.
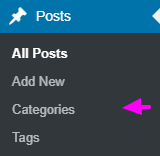
- On tab of Posts, click.
- After completing that, select Categories for Organic Posts.
- The name of your category which you make newly in the text box
- After that, tap the Add Category button.
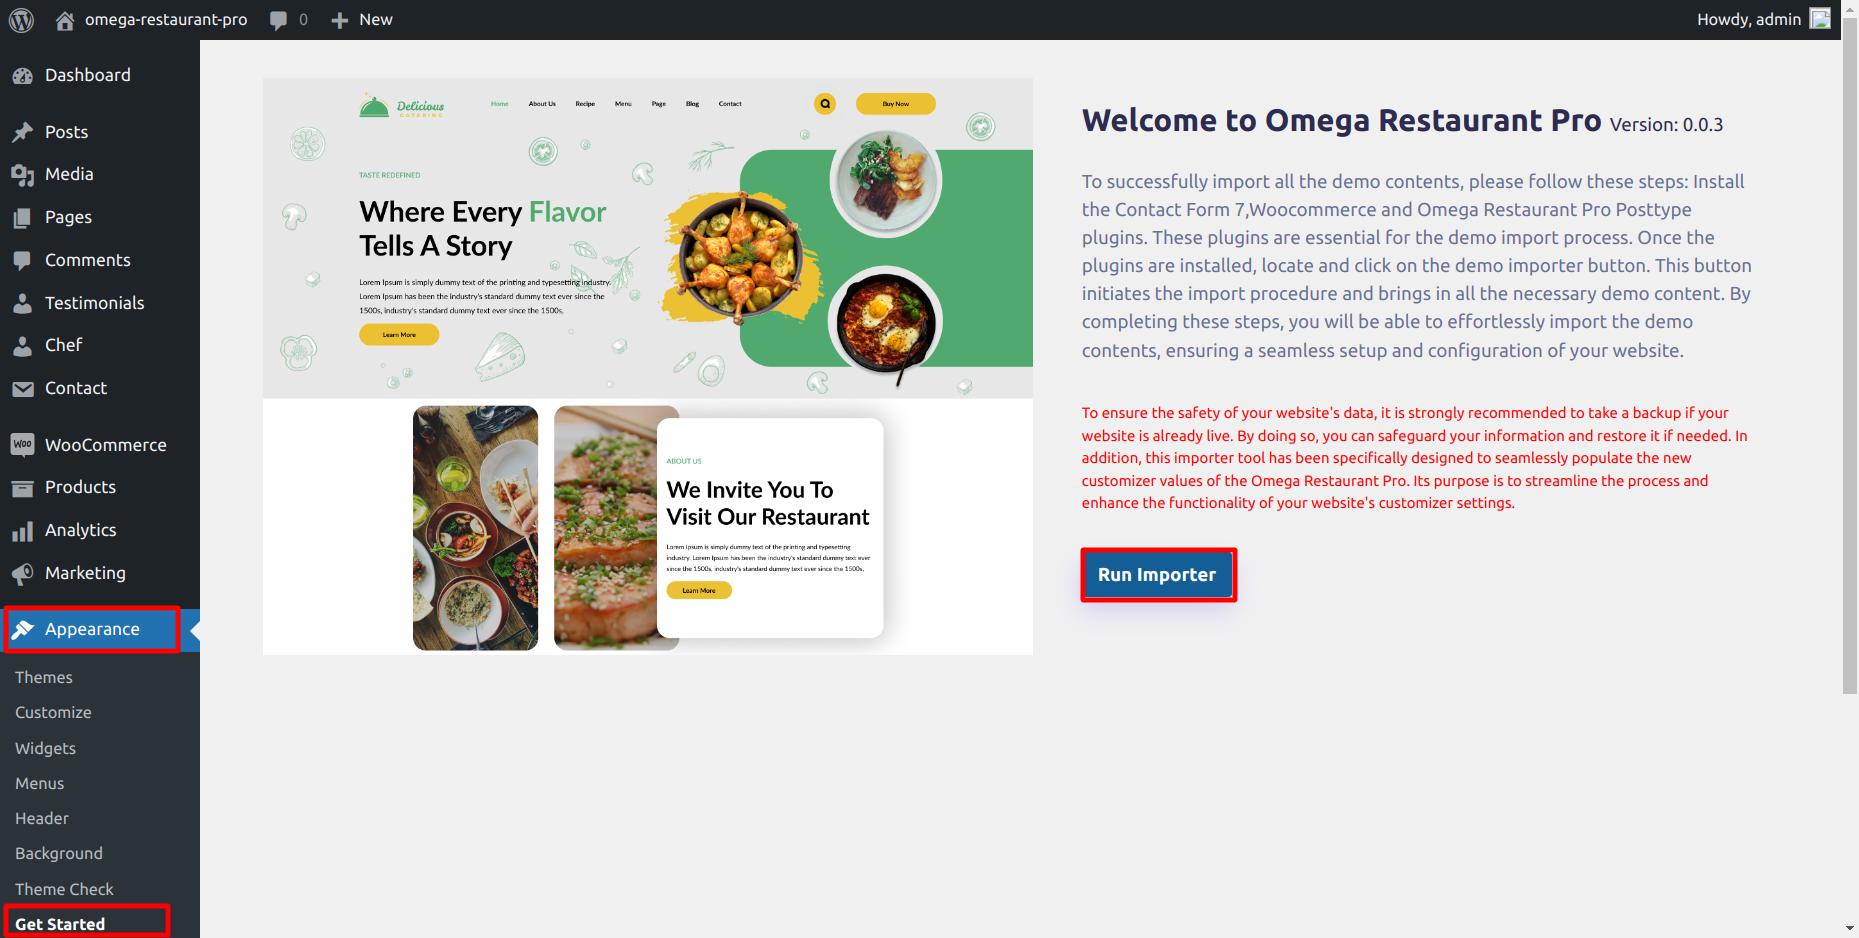
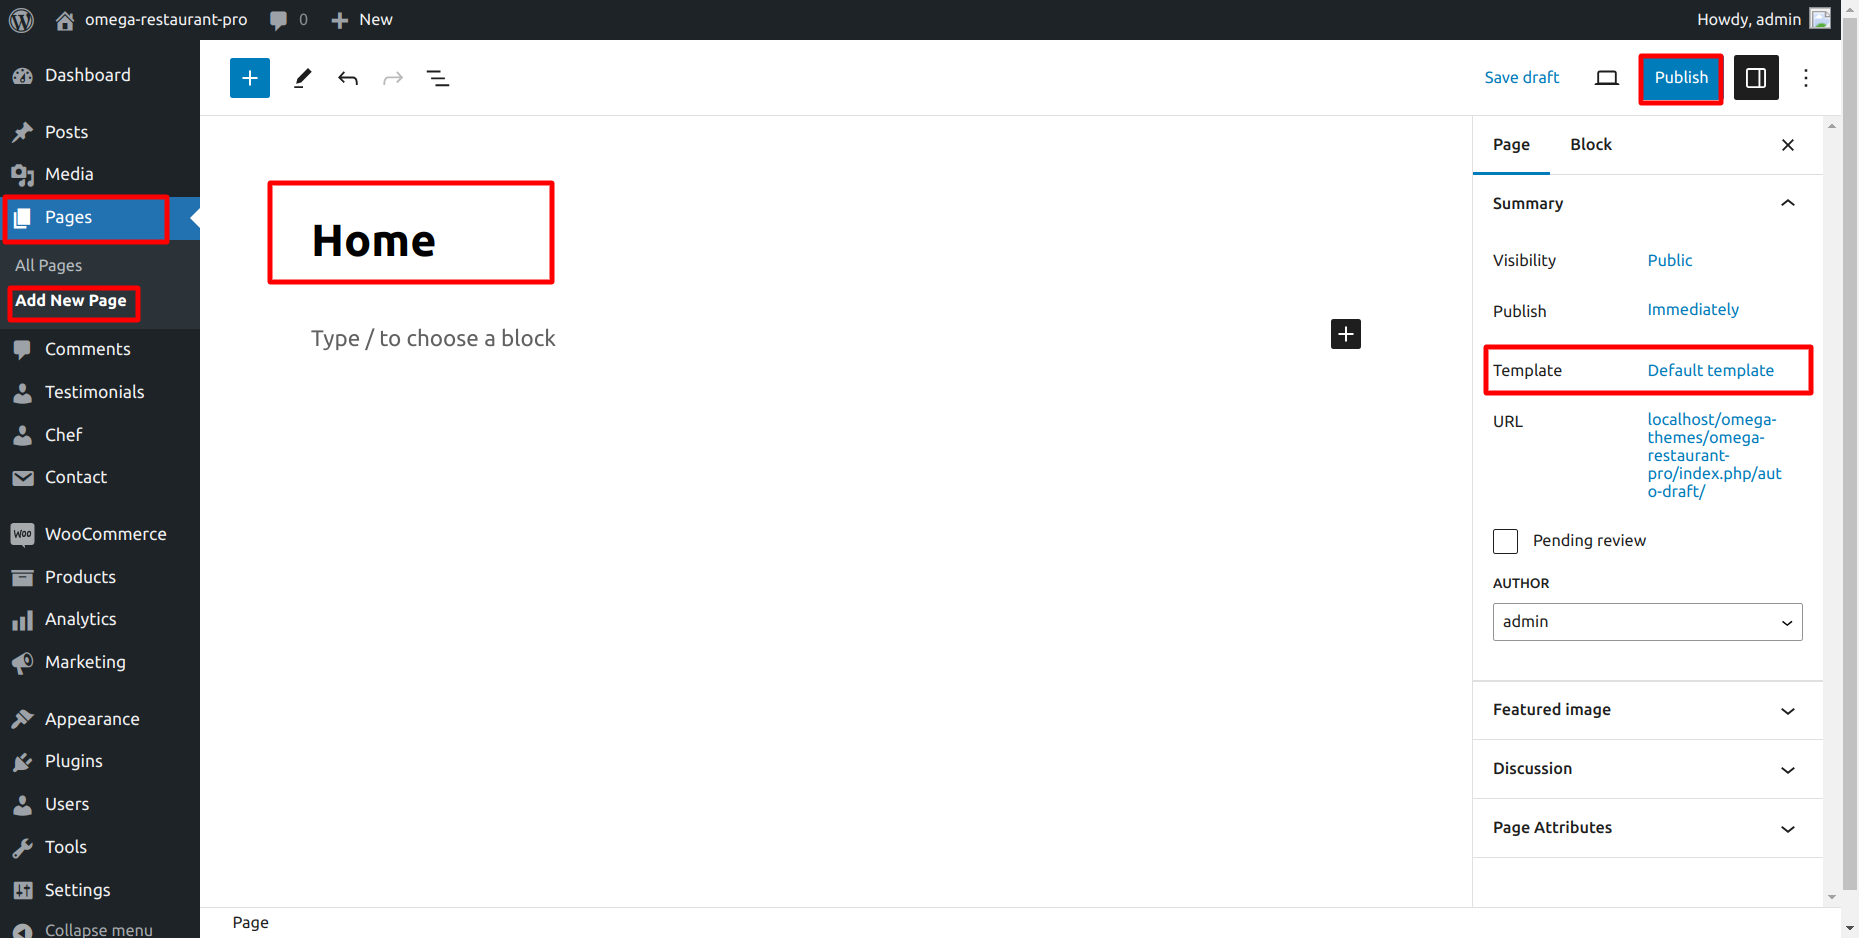
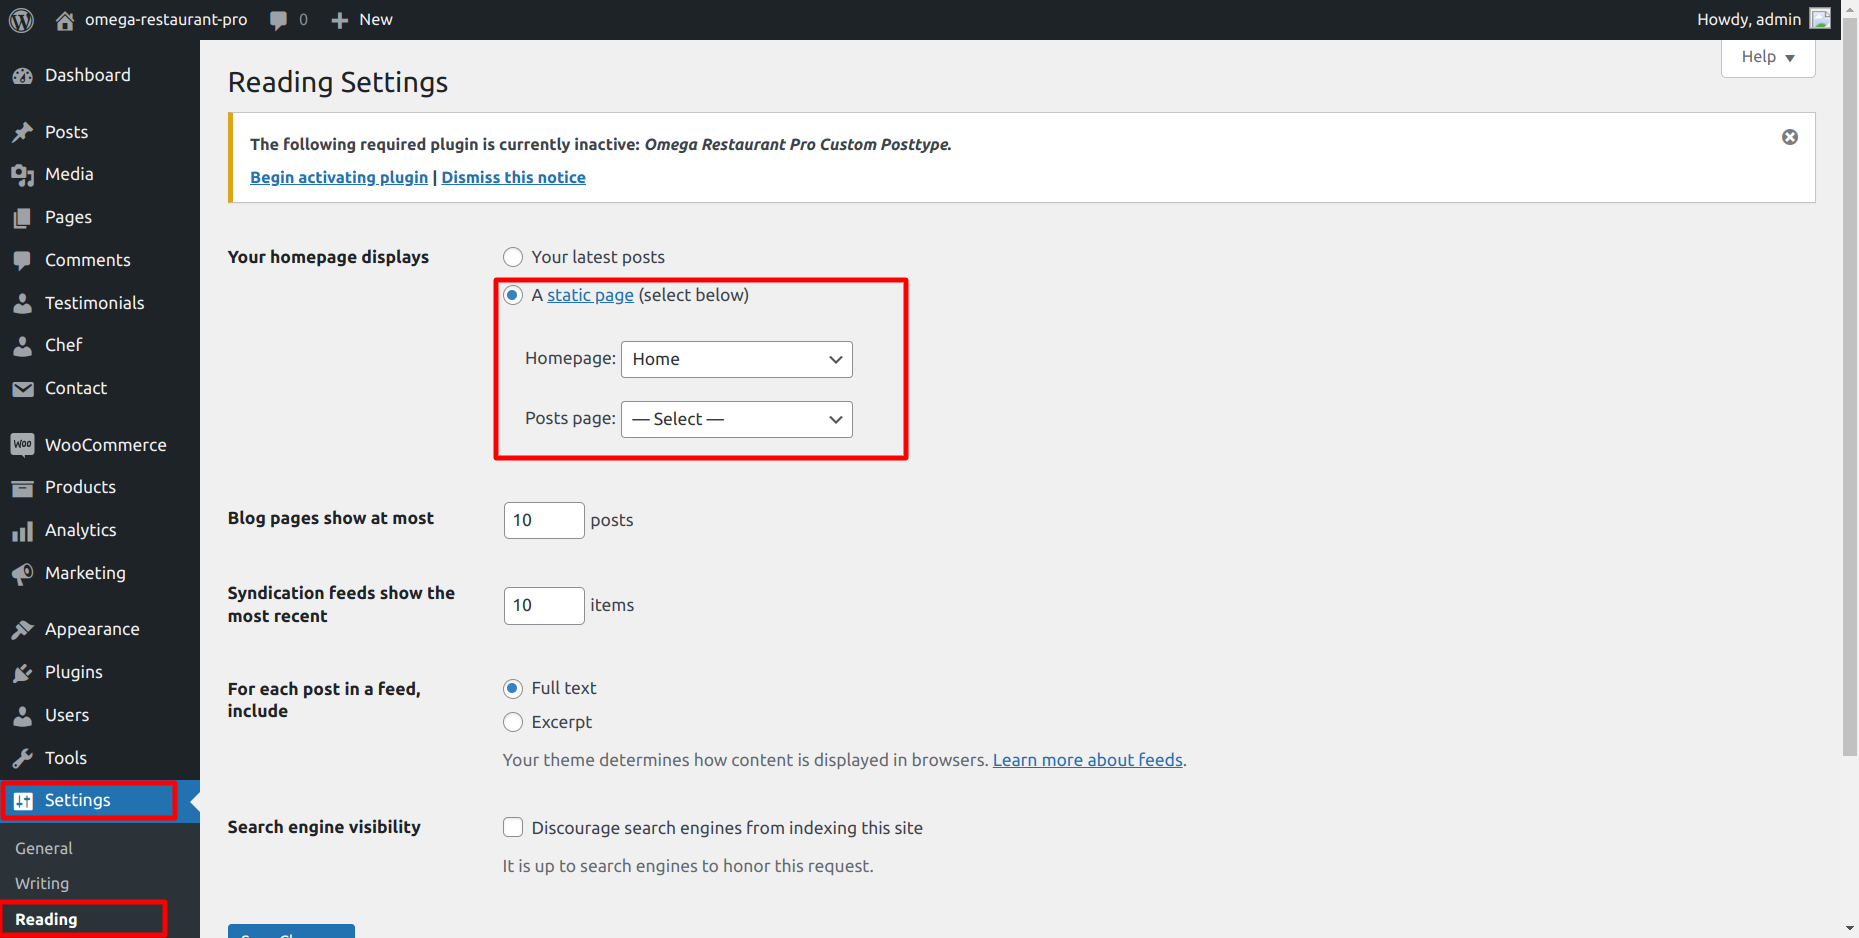
- Select Publish from the menu.
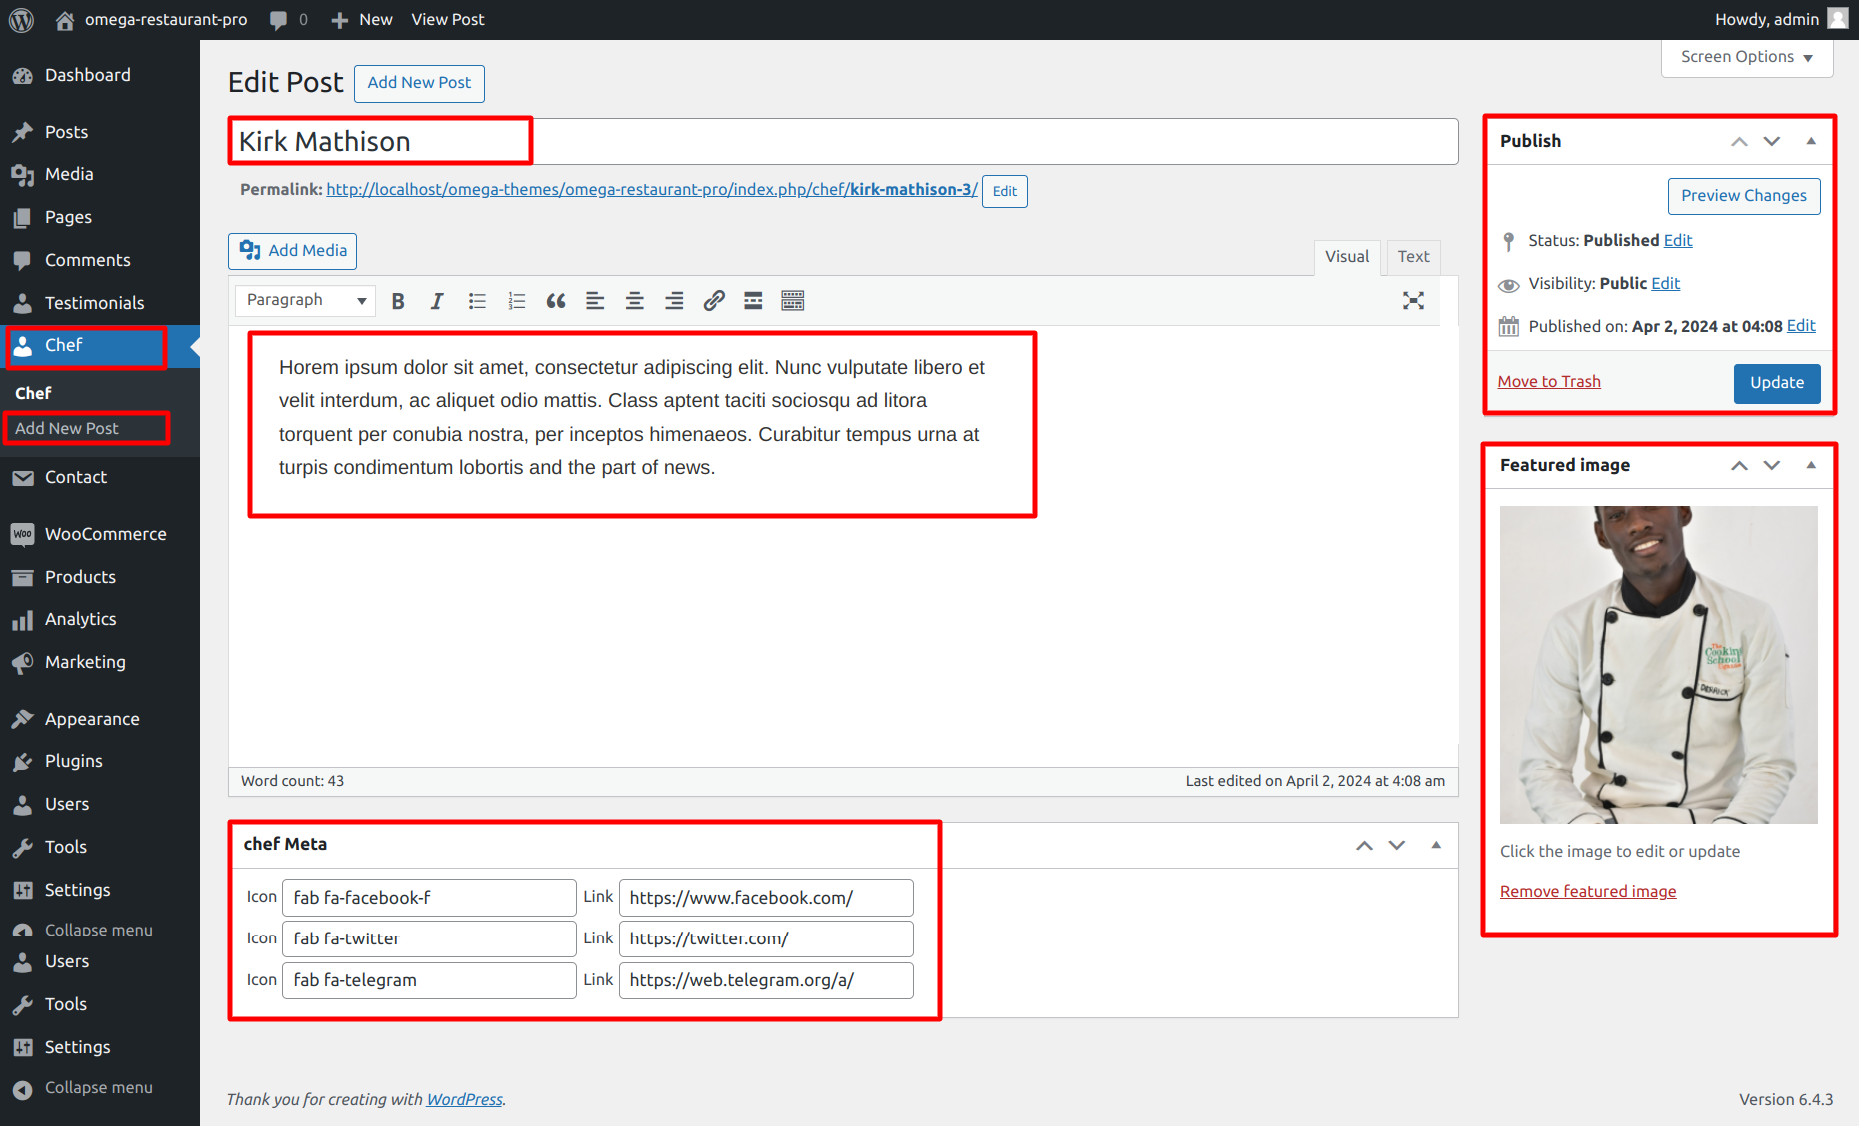
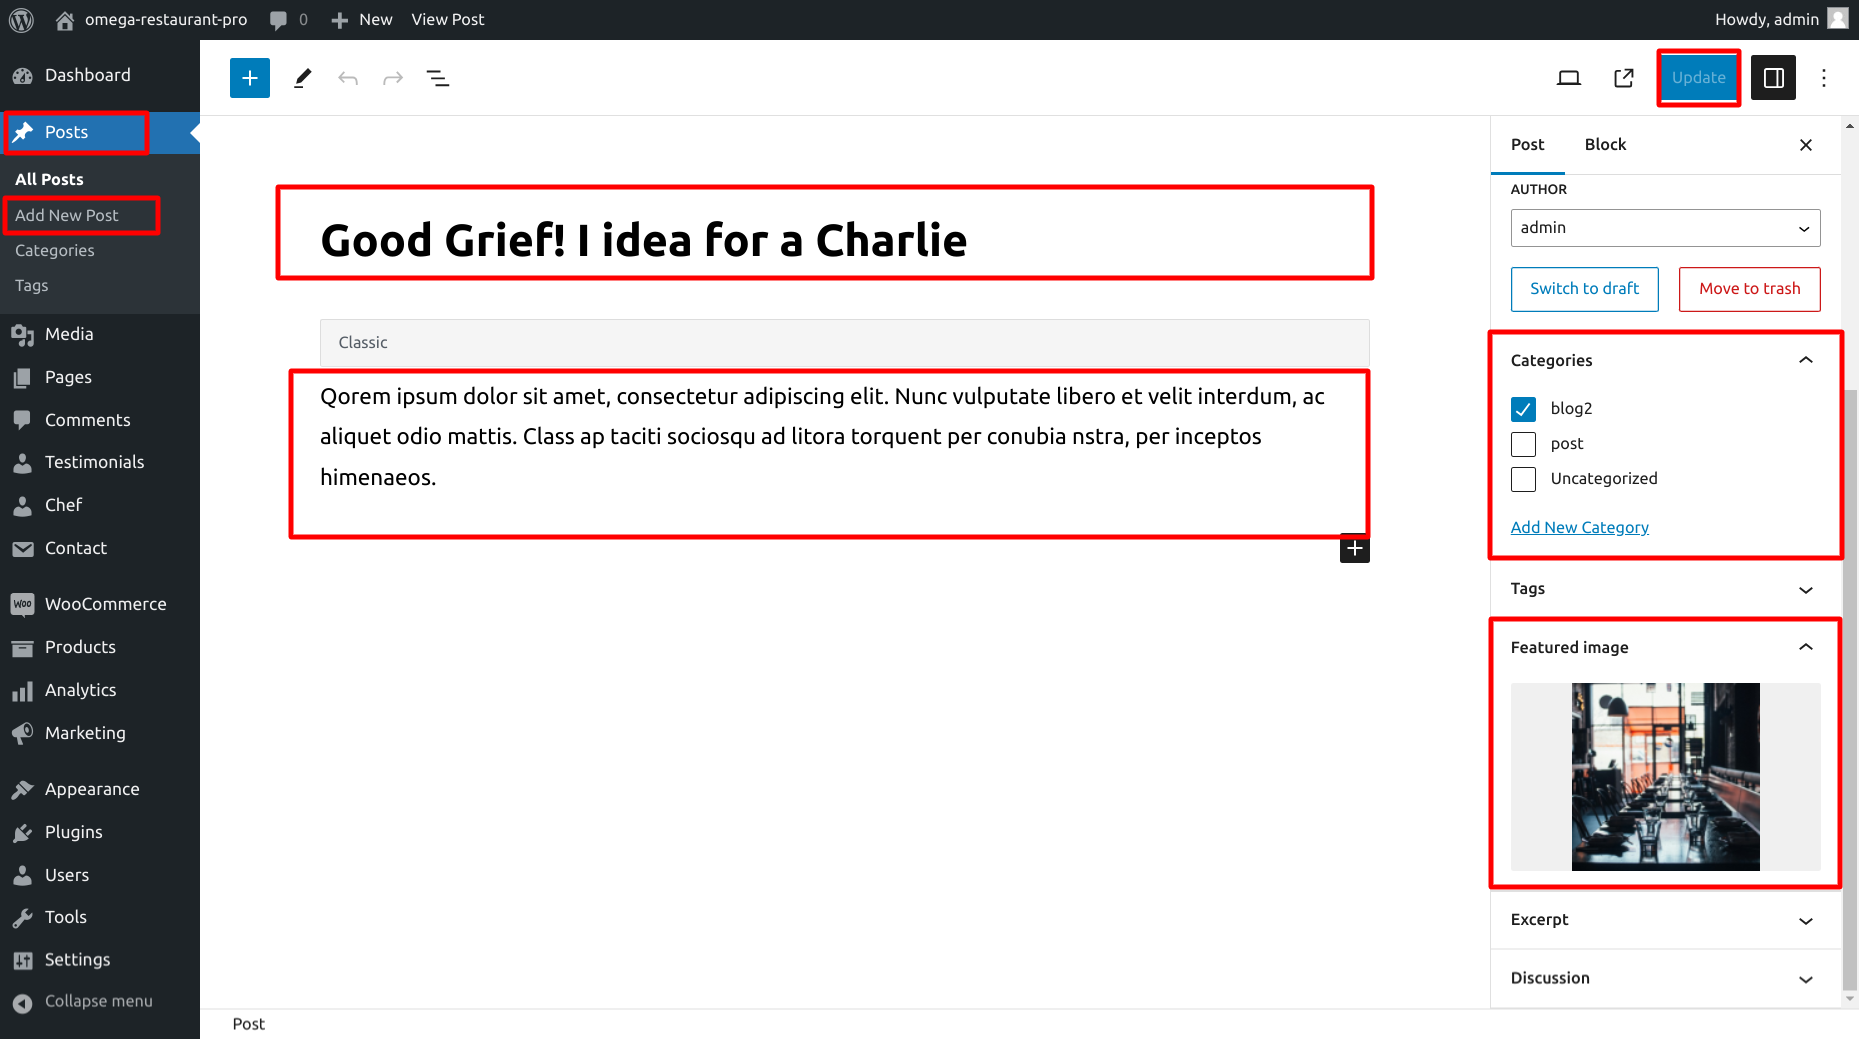
Establishing an Organic post
- Open the admin page of wordpress (Dashboard) by logging in.
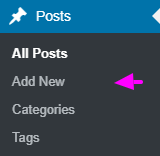
- On the tab, click. Posts tab, click.
- To add a new tab, click it.
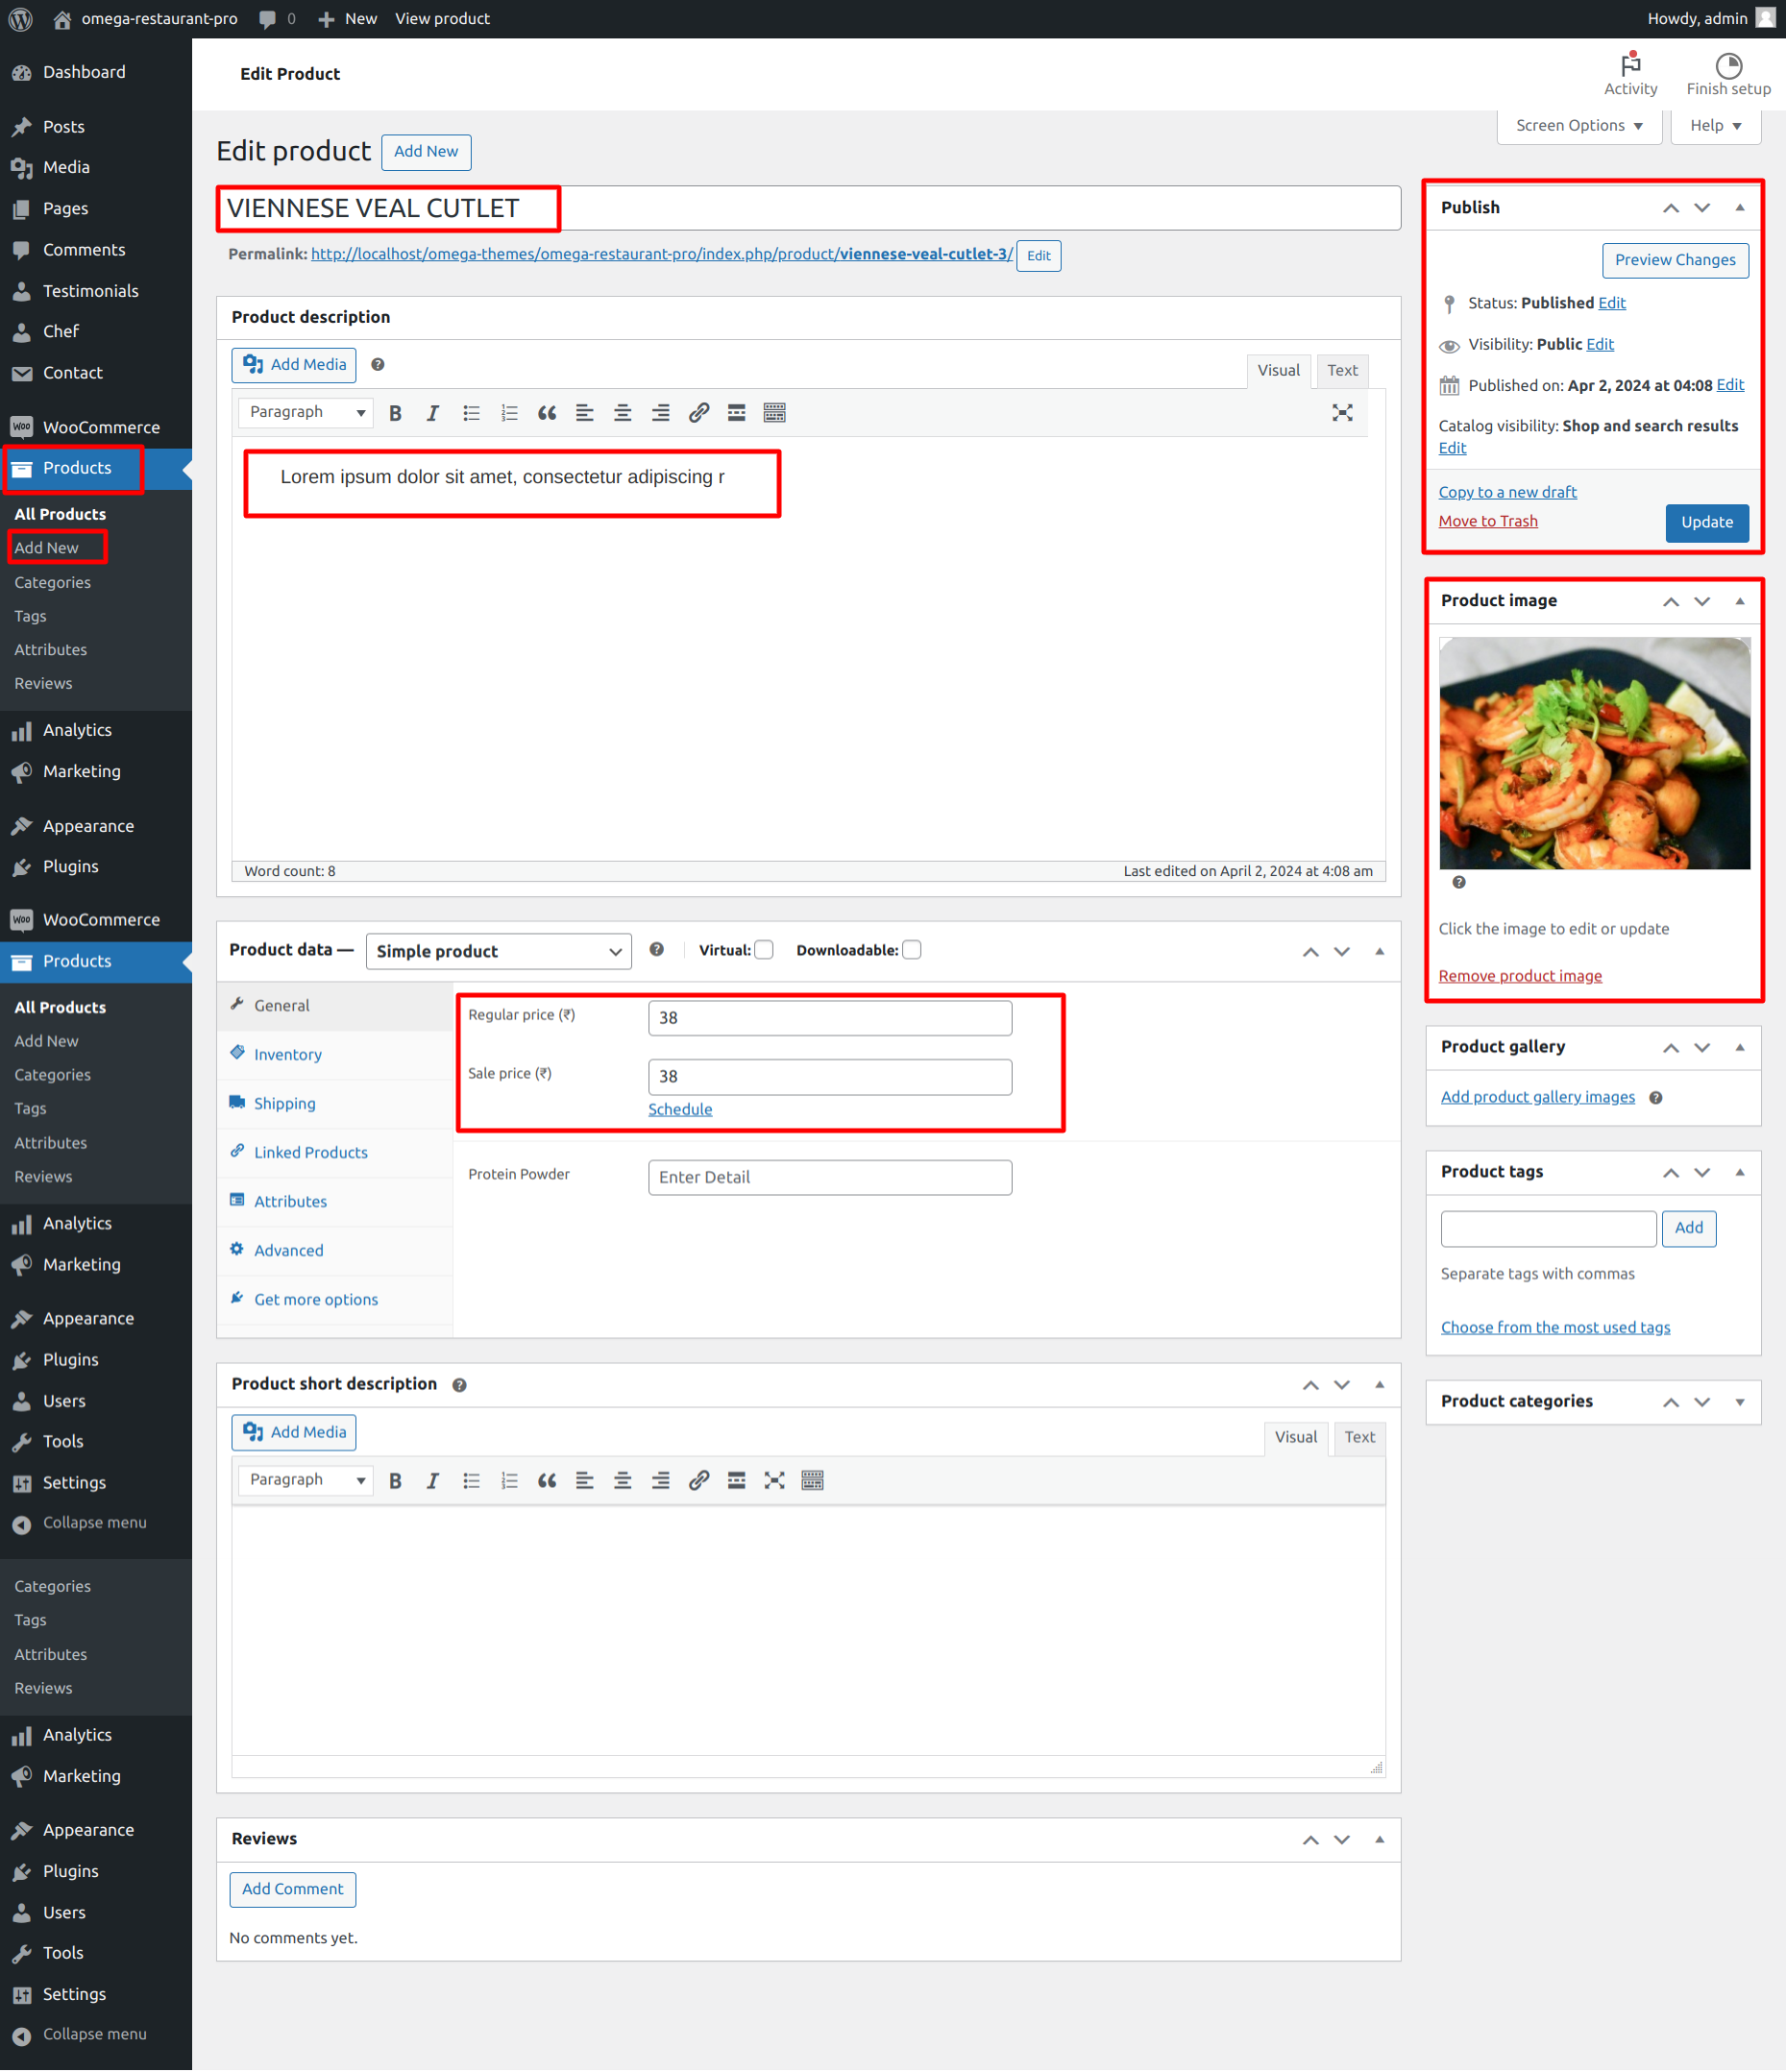
- Enter the text for your post.