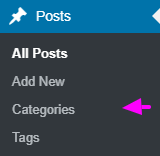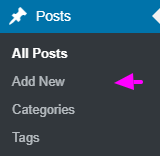

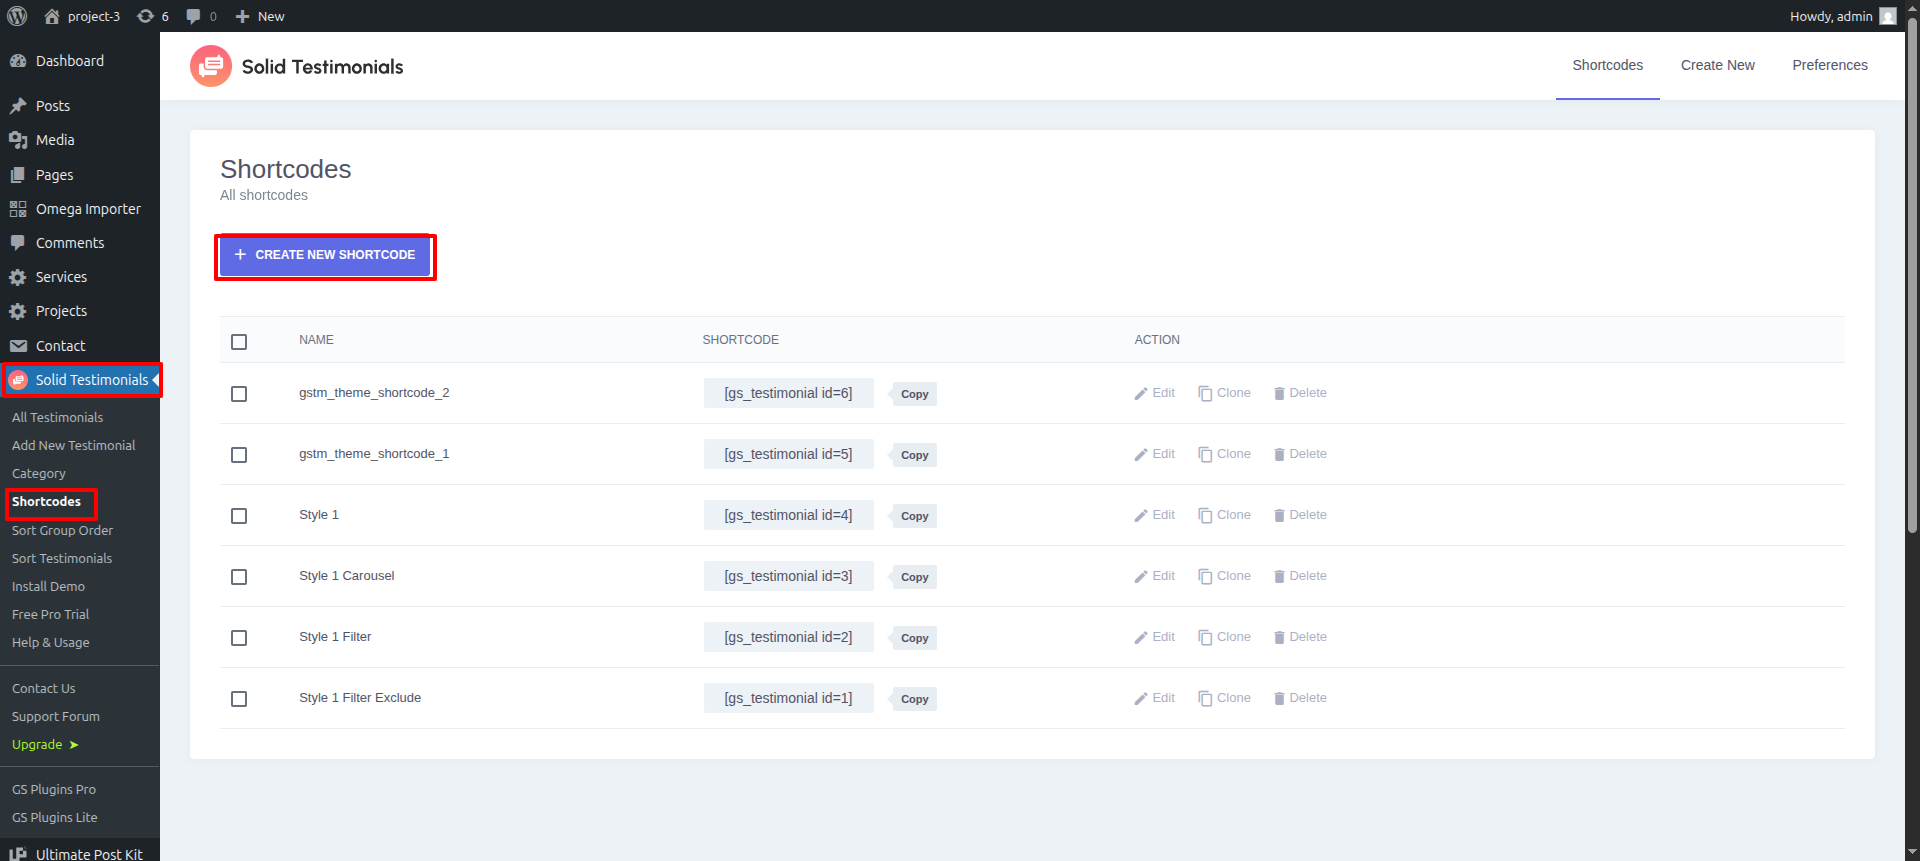
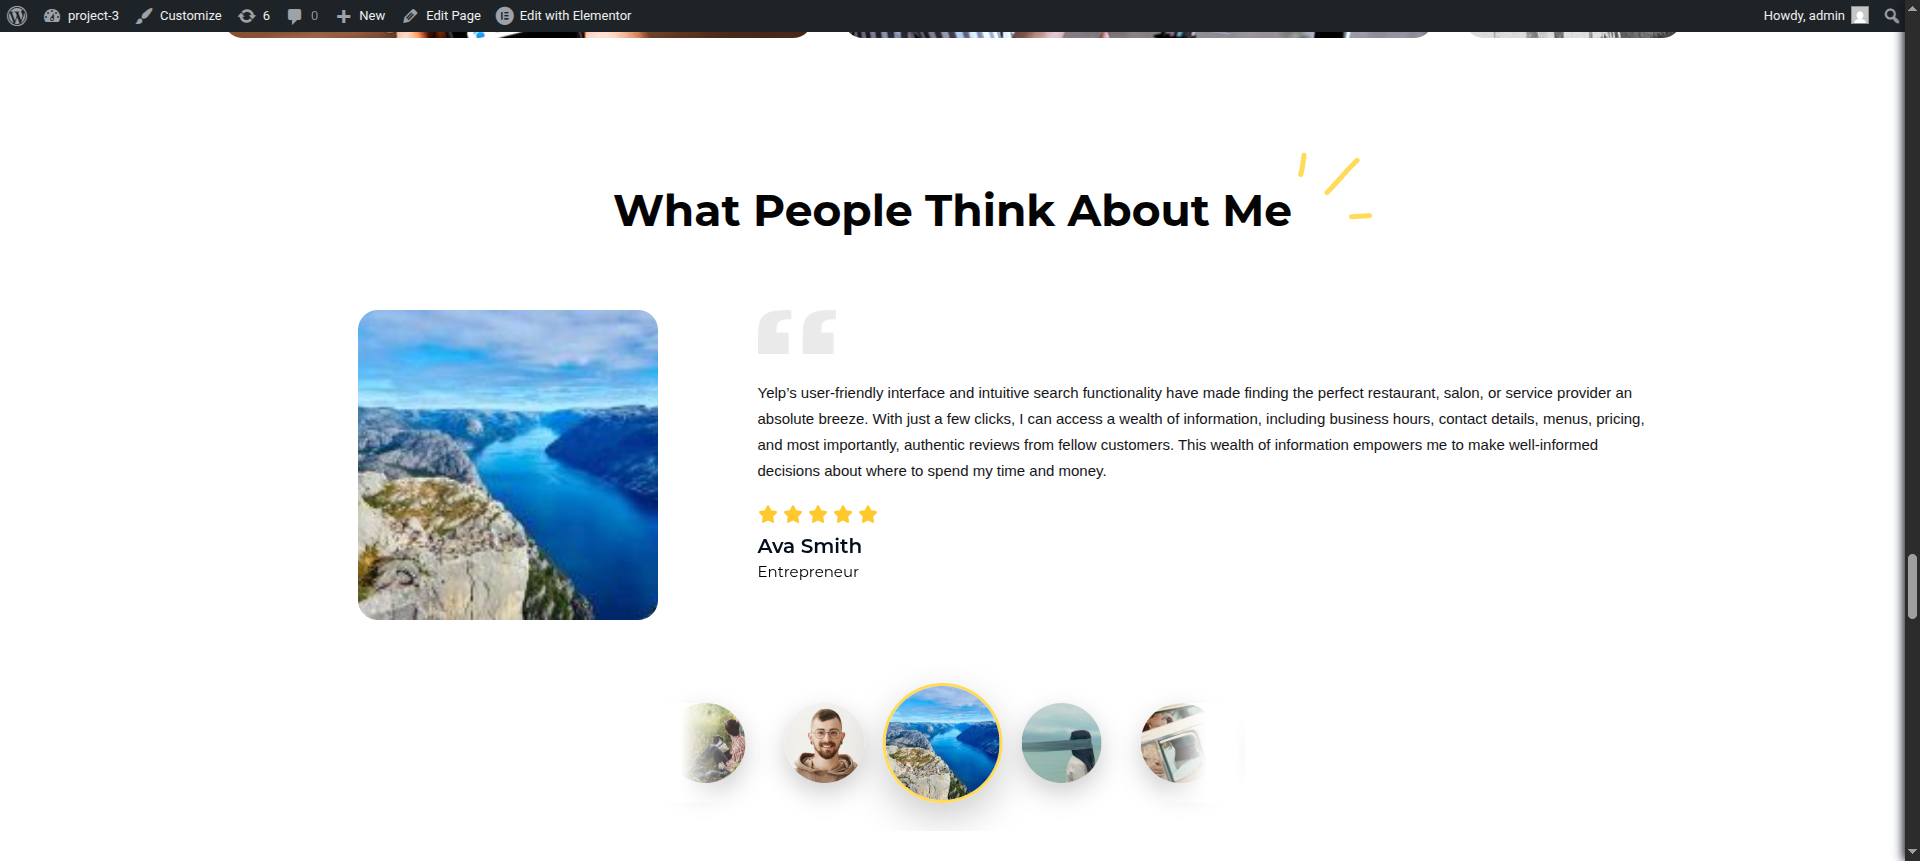
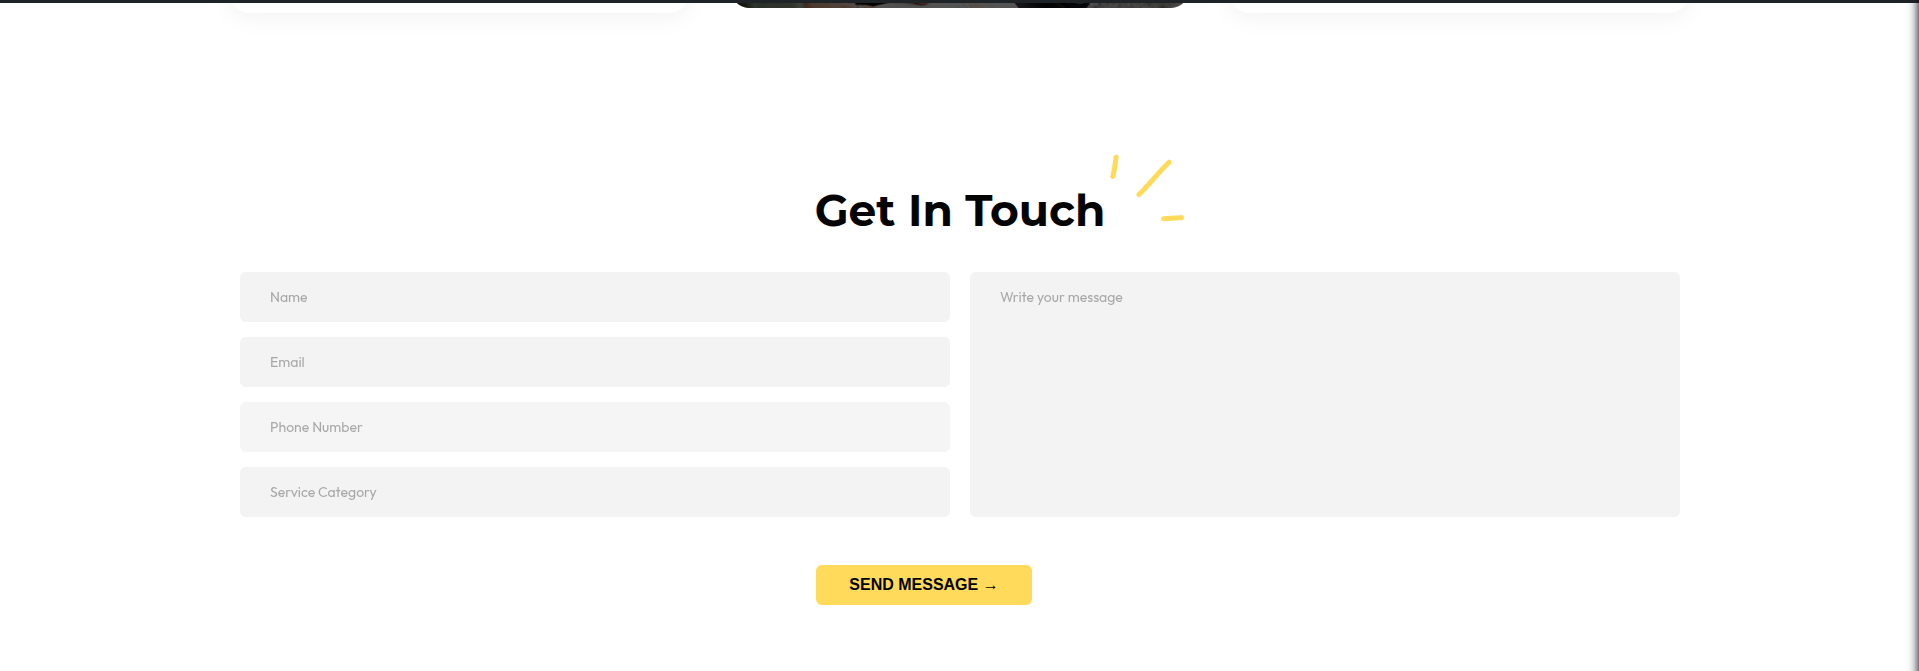
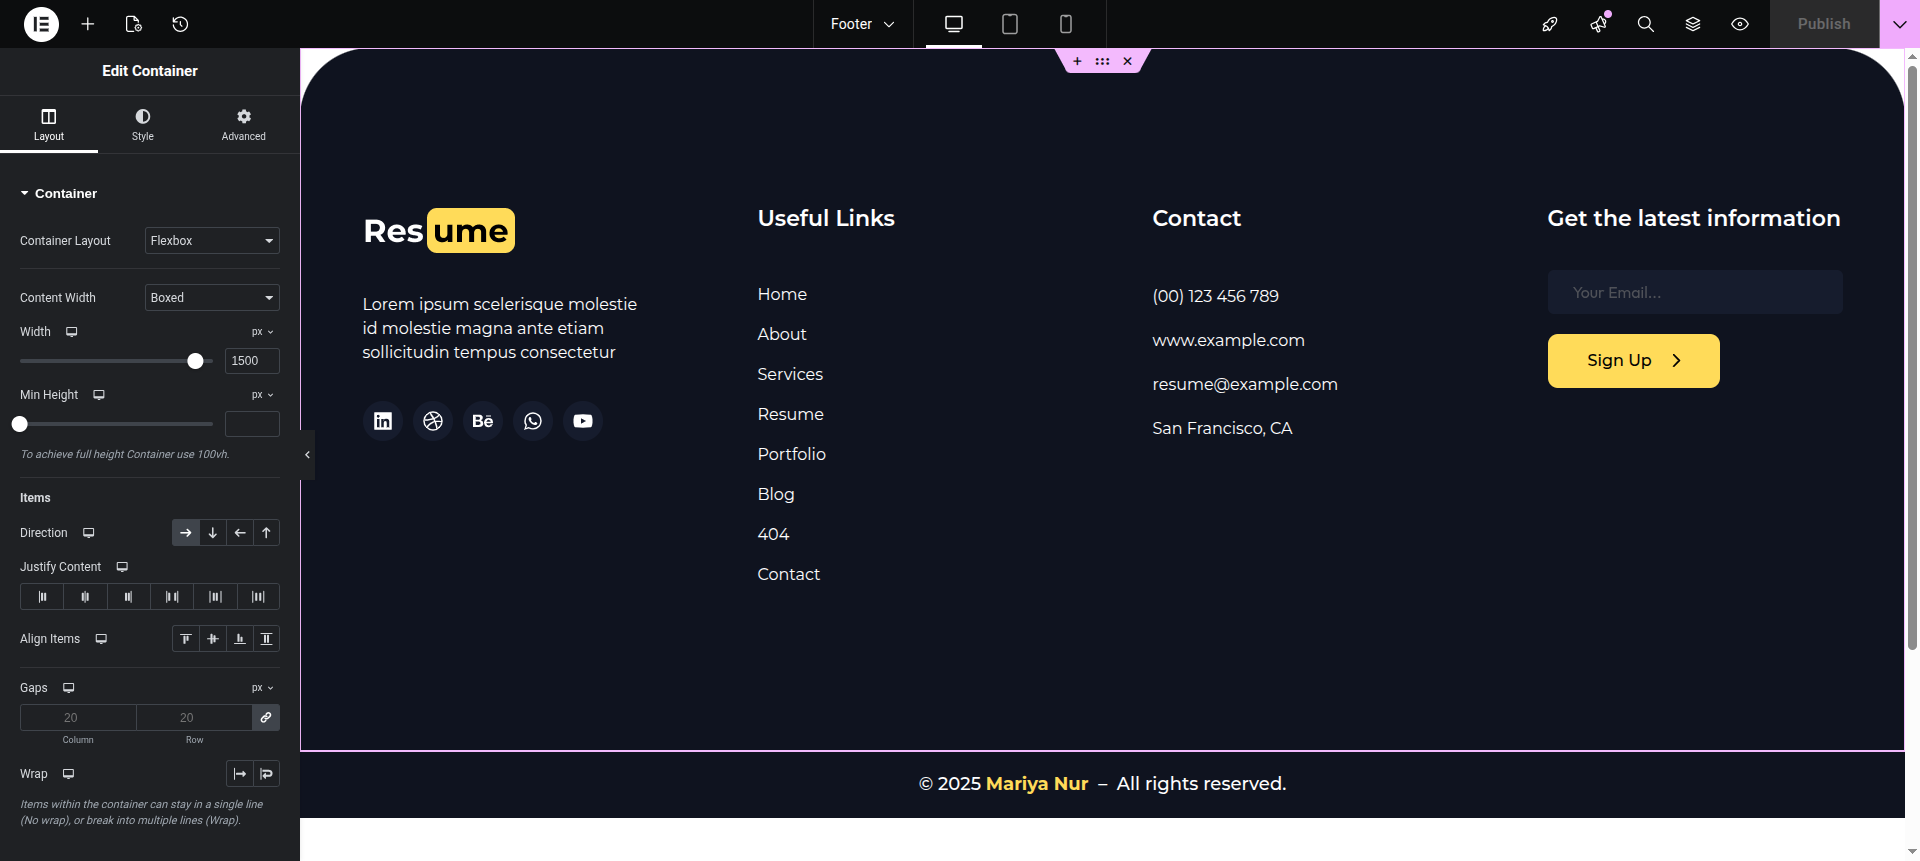
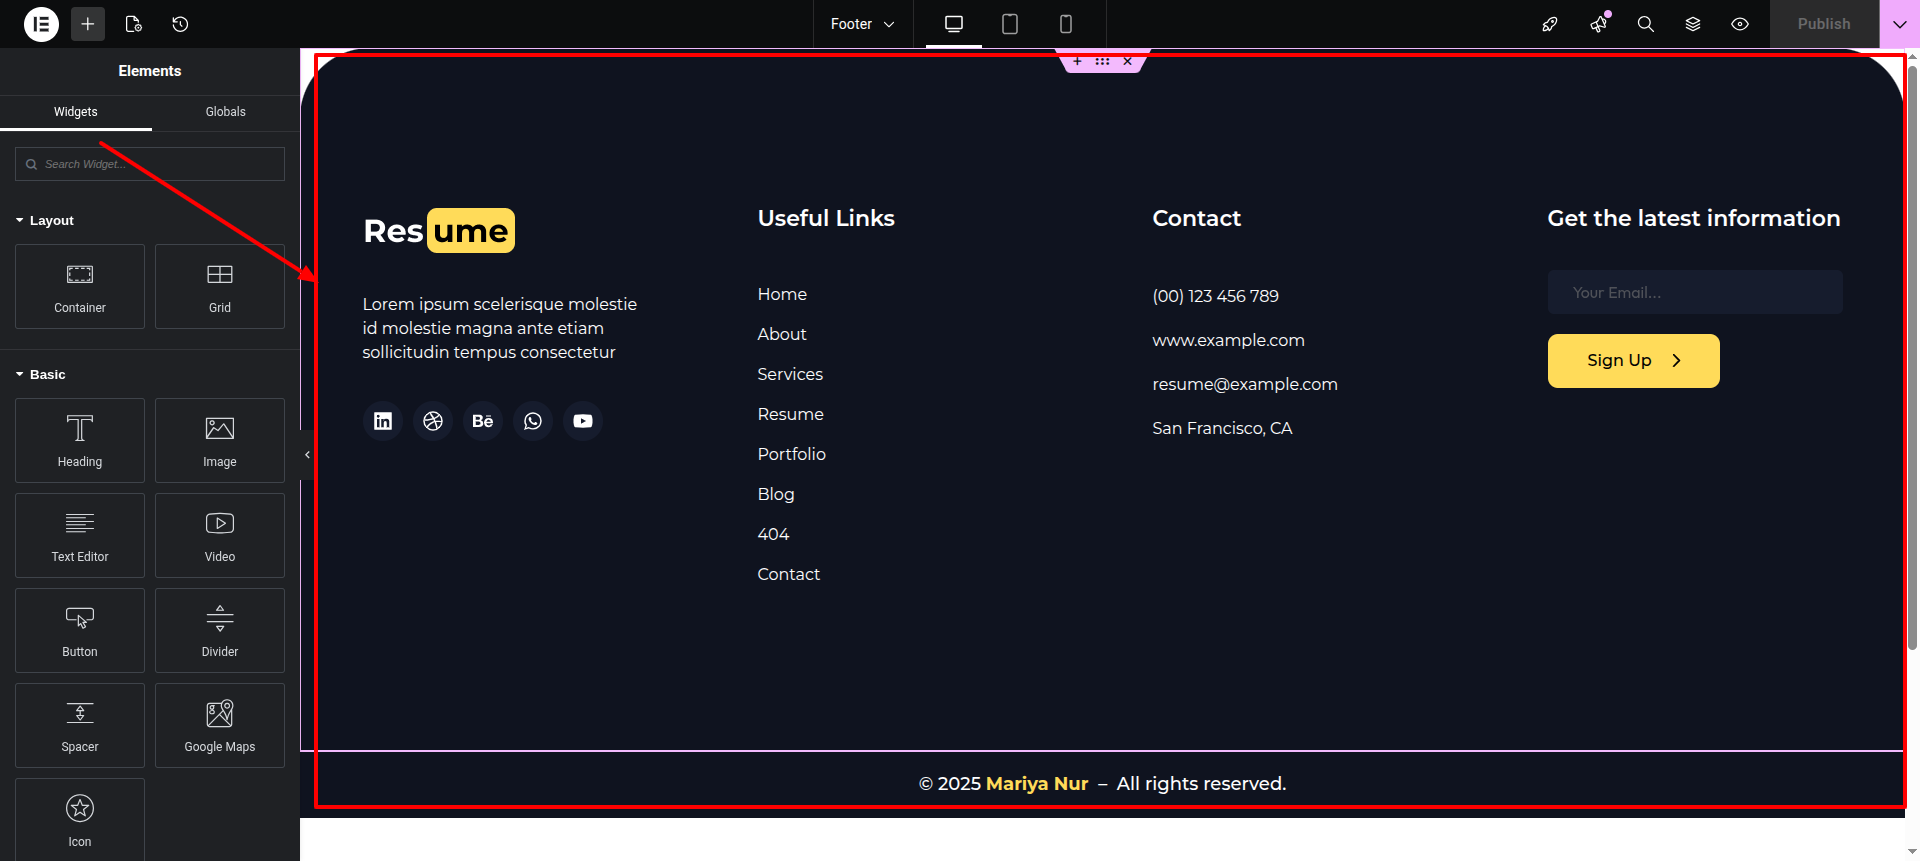
It's quite simple to set up a template. The installation procedure can be completed using either of the two methods available.
Entering into your admin panel of wordpress serves as the initial step., then
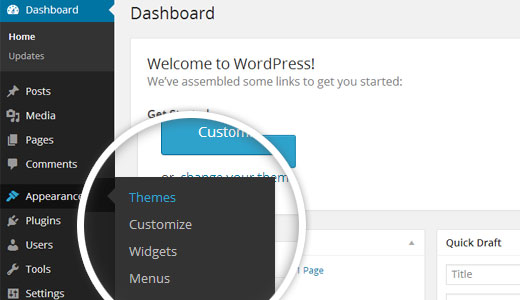
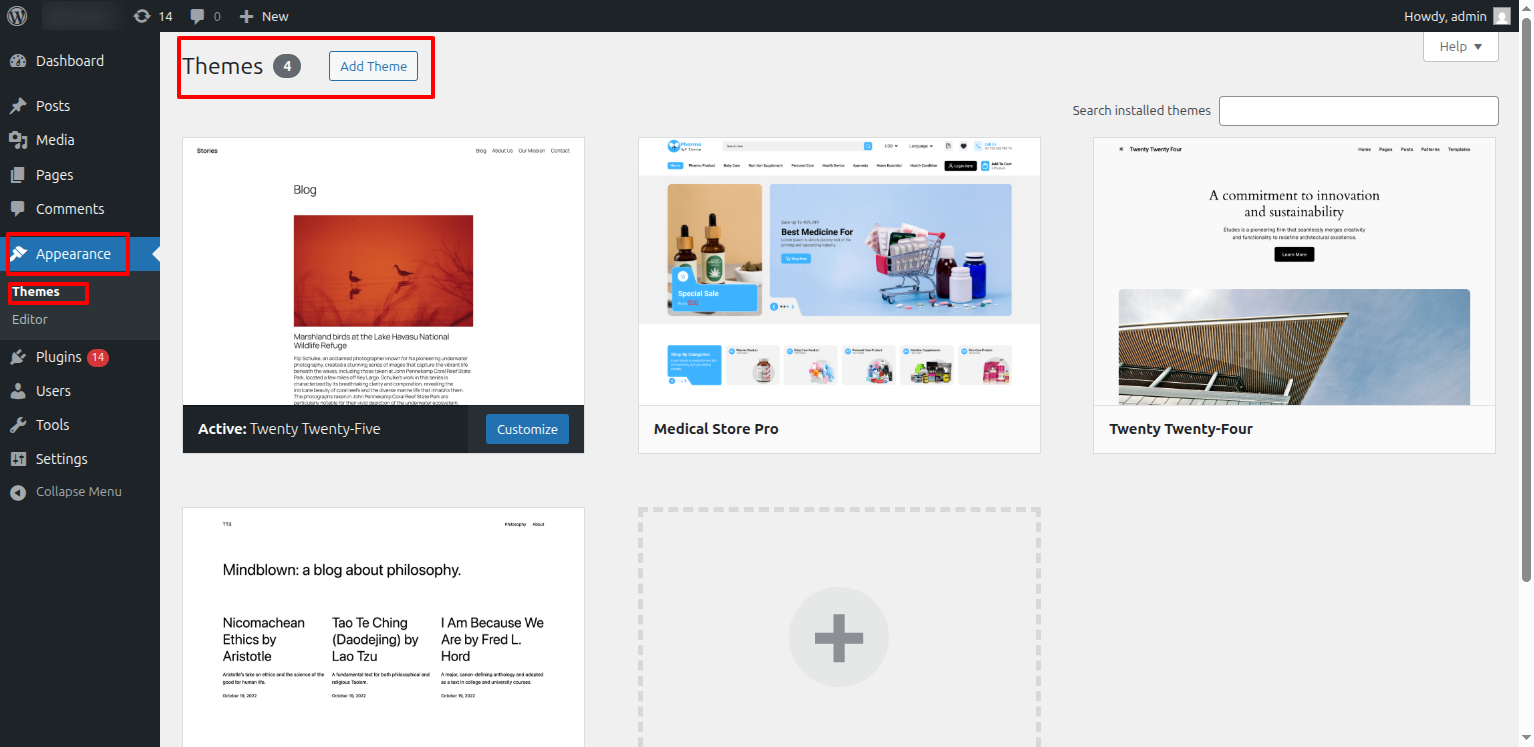
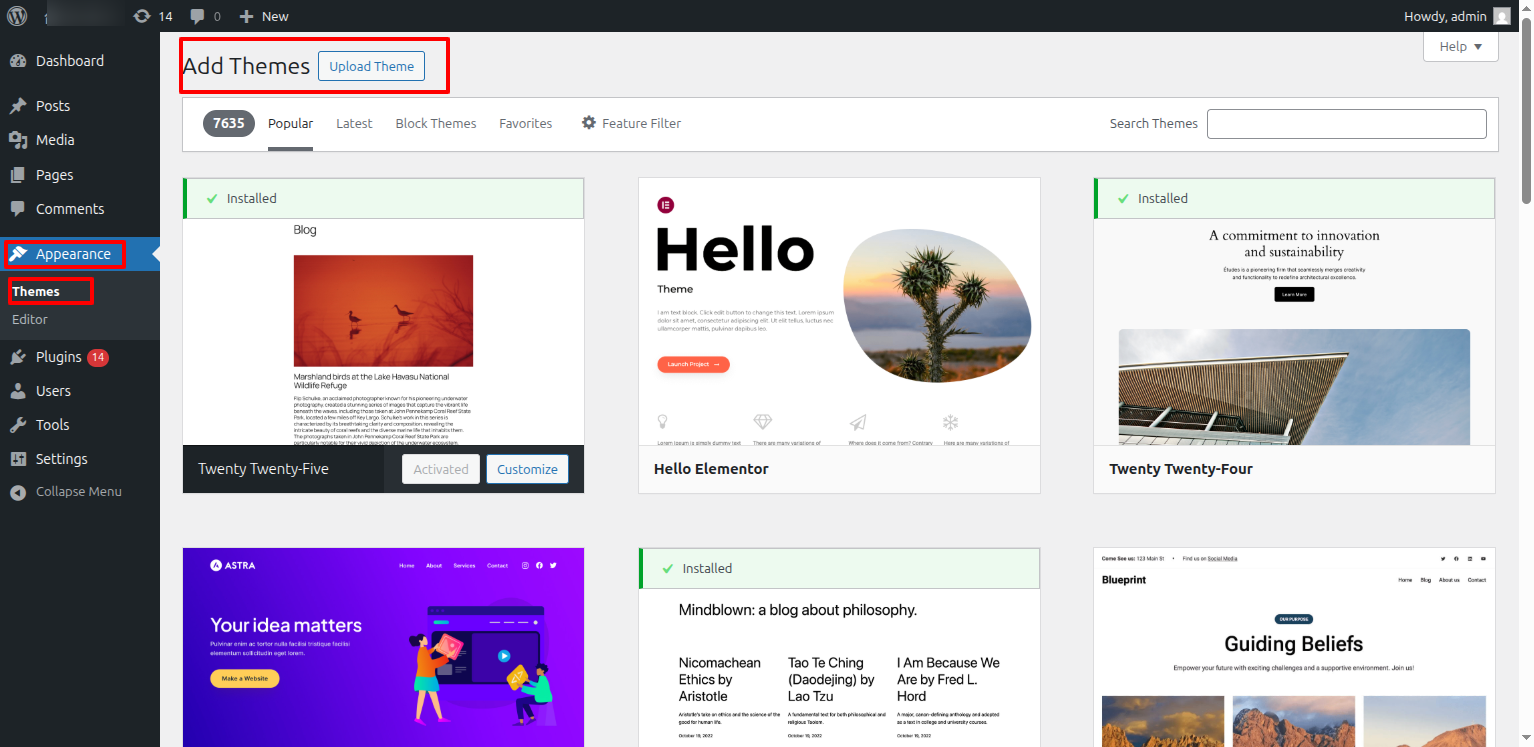
1. Select Appearance ---> Themes via the menu.
2. On the Themes section., select Add New by selecting the button, after you've arrived there.
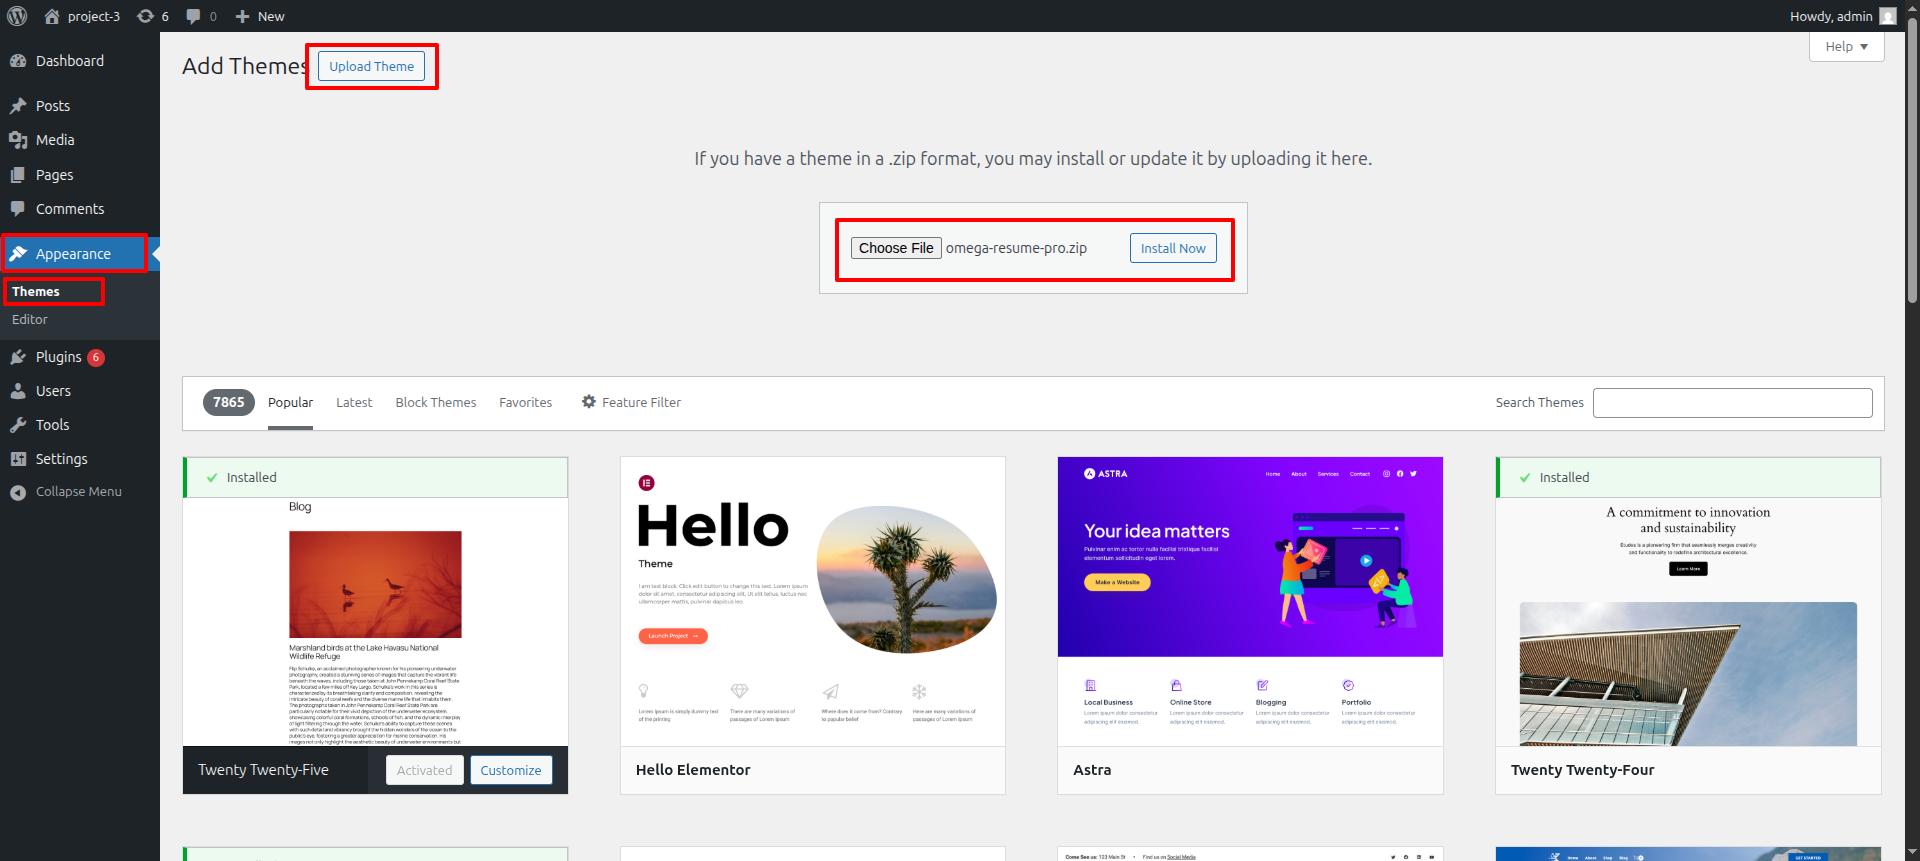
3. To upload a theme, click the button.
4. Select your cv-resume-portfolio theme by selecting the Browse button, thereafter Choose “Install Now.”
Well done! The installation of The theme has been gone well.
Alternatively, you can Use FTP Method for installation of theme. For the second option, first use FTP to visit your website., Then navigate to the wp-content/themes directory. The theme you downloaded should be unzipped before being uploaded to the server you use.
After logging in, go to navigate to appearance --->Themes and activate Total on your webpage on WordPress.
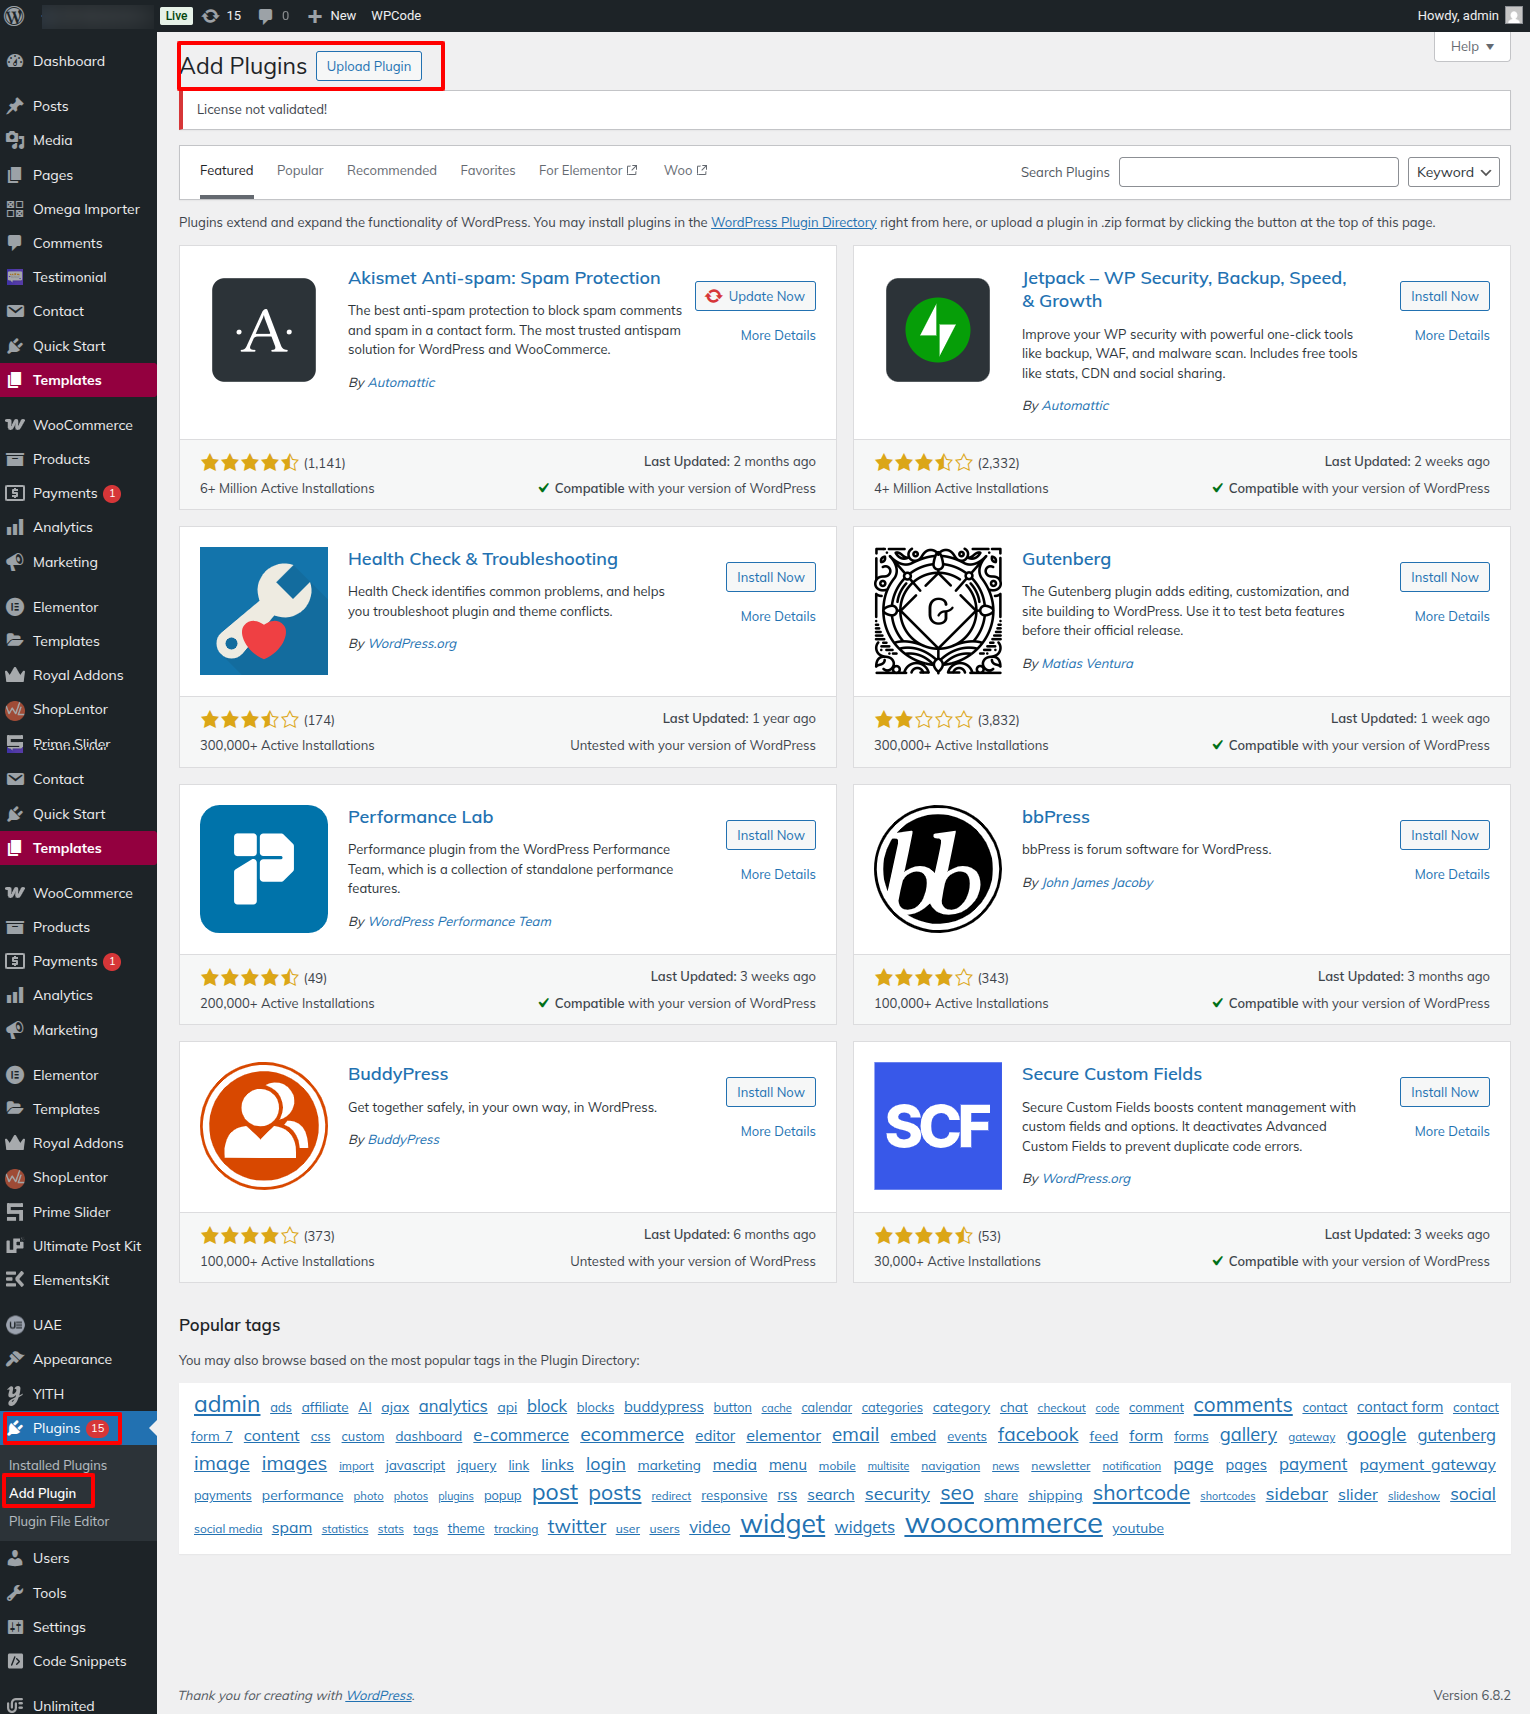
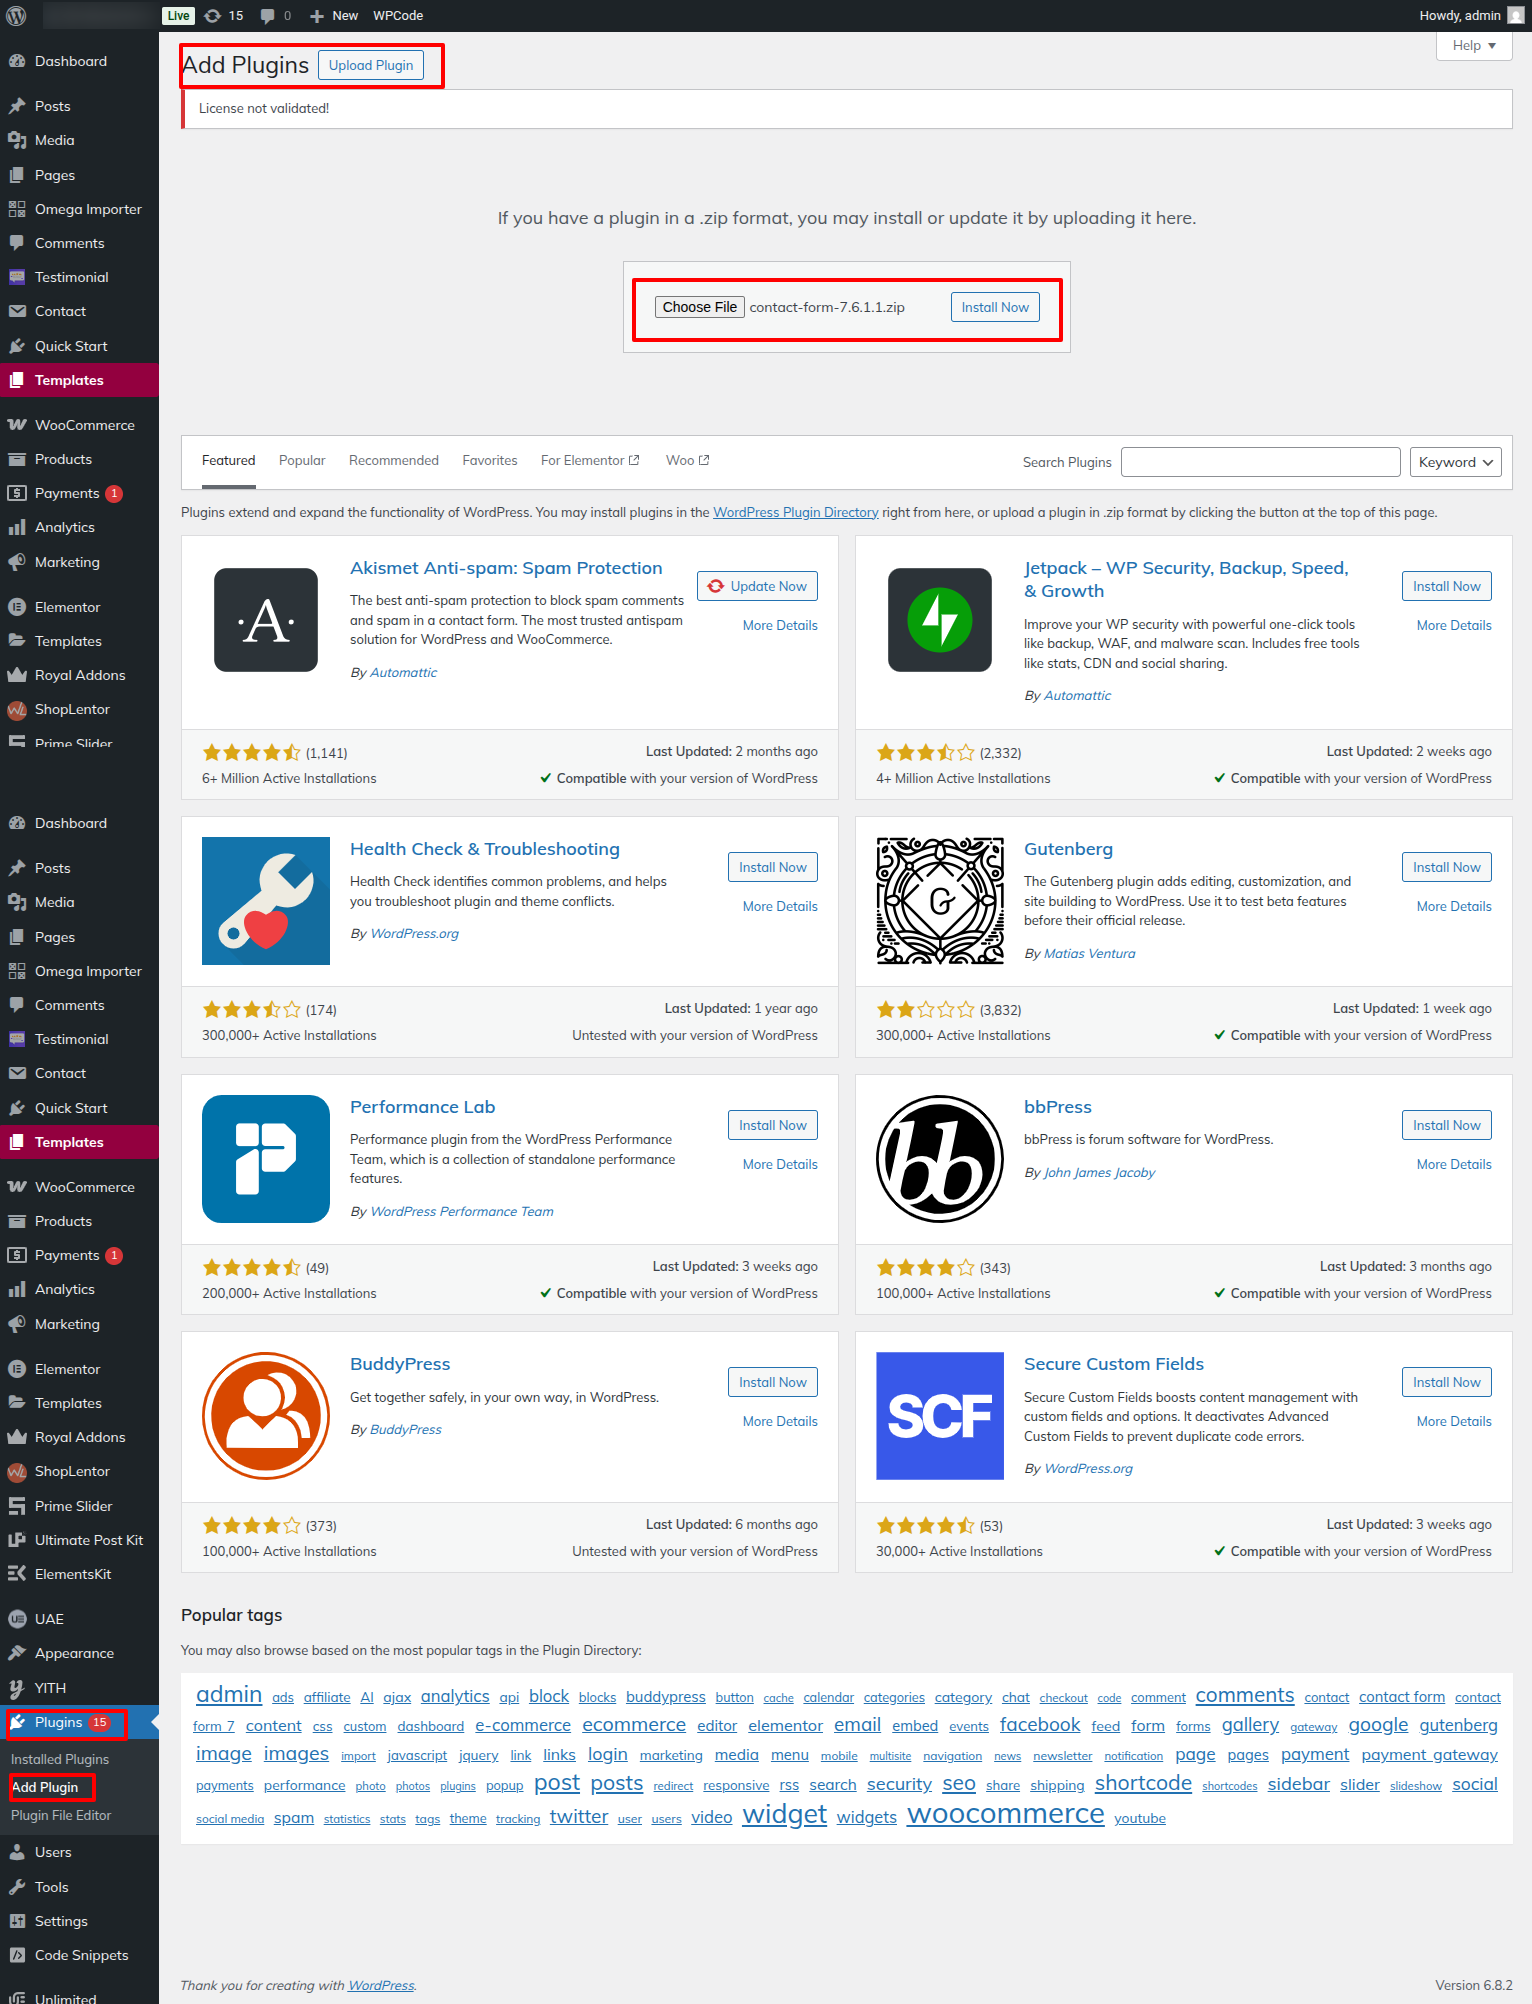
To Add a WordPress plugin. directly from a .zip file. archive, follow the steps indicated below: Upload plugin
activate the install button after clicking it.
Import sample content Using just one click to set up your theme. You can follow the instructions in this article to build your website.
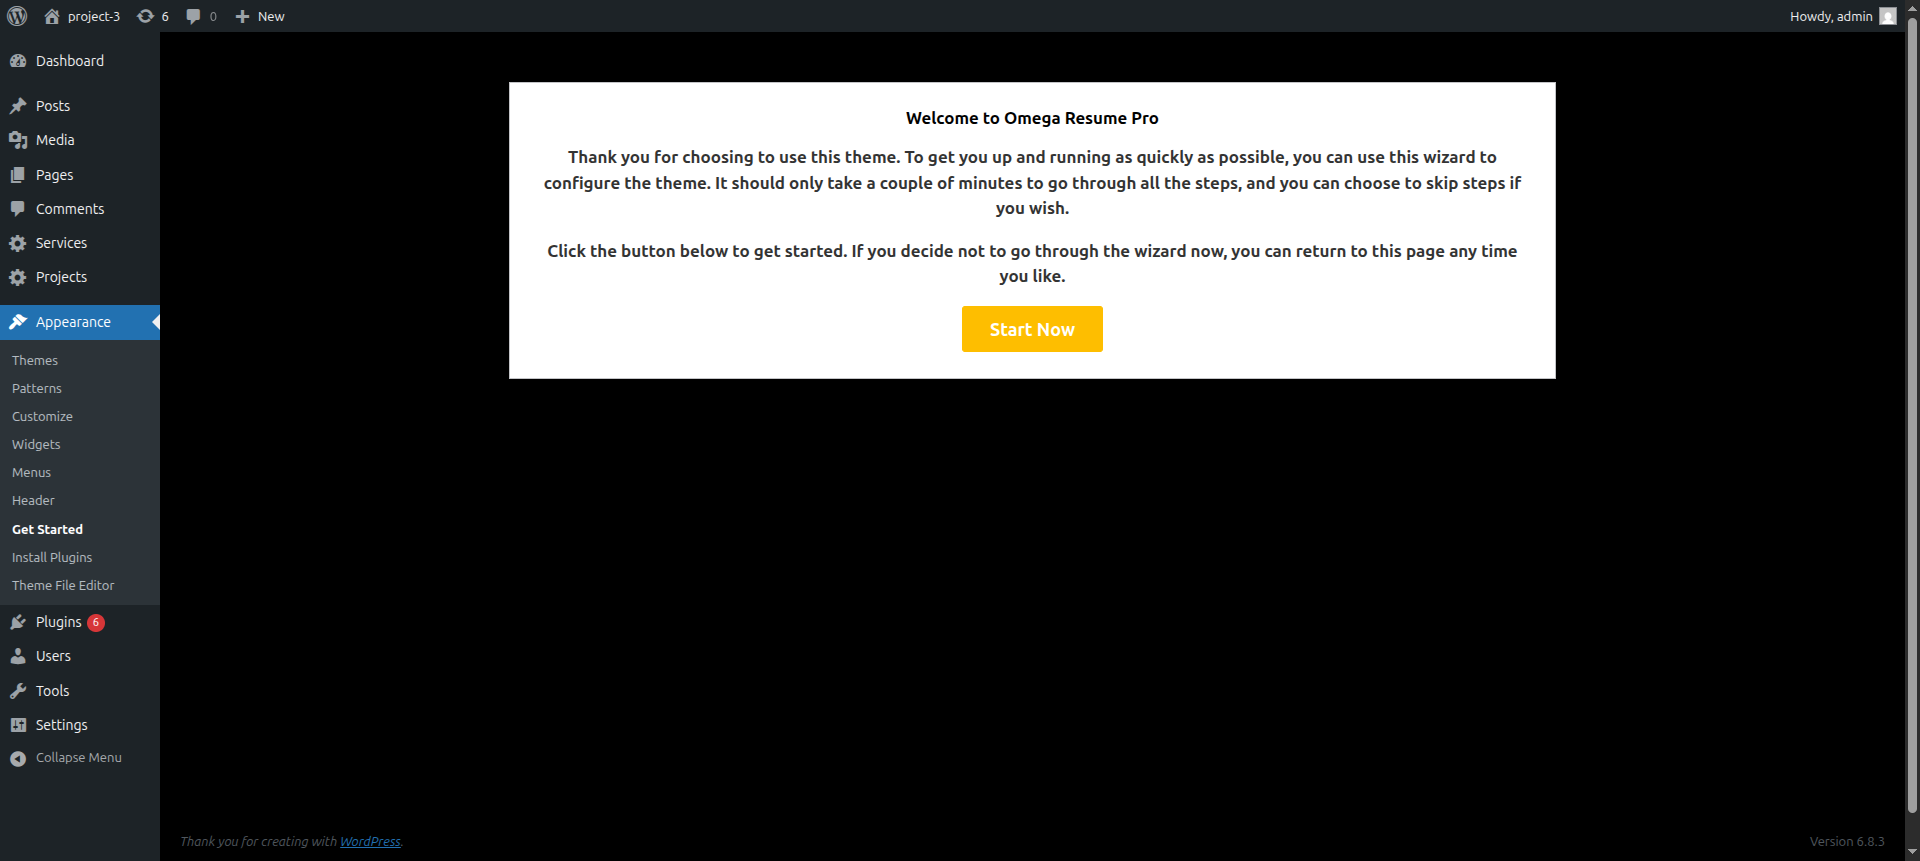
Select Dashboard --->AppearanceGet Started Start now .
Then select Run Importer
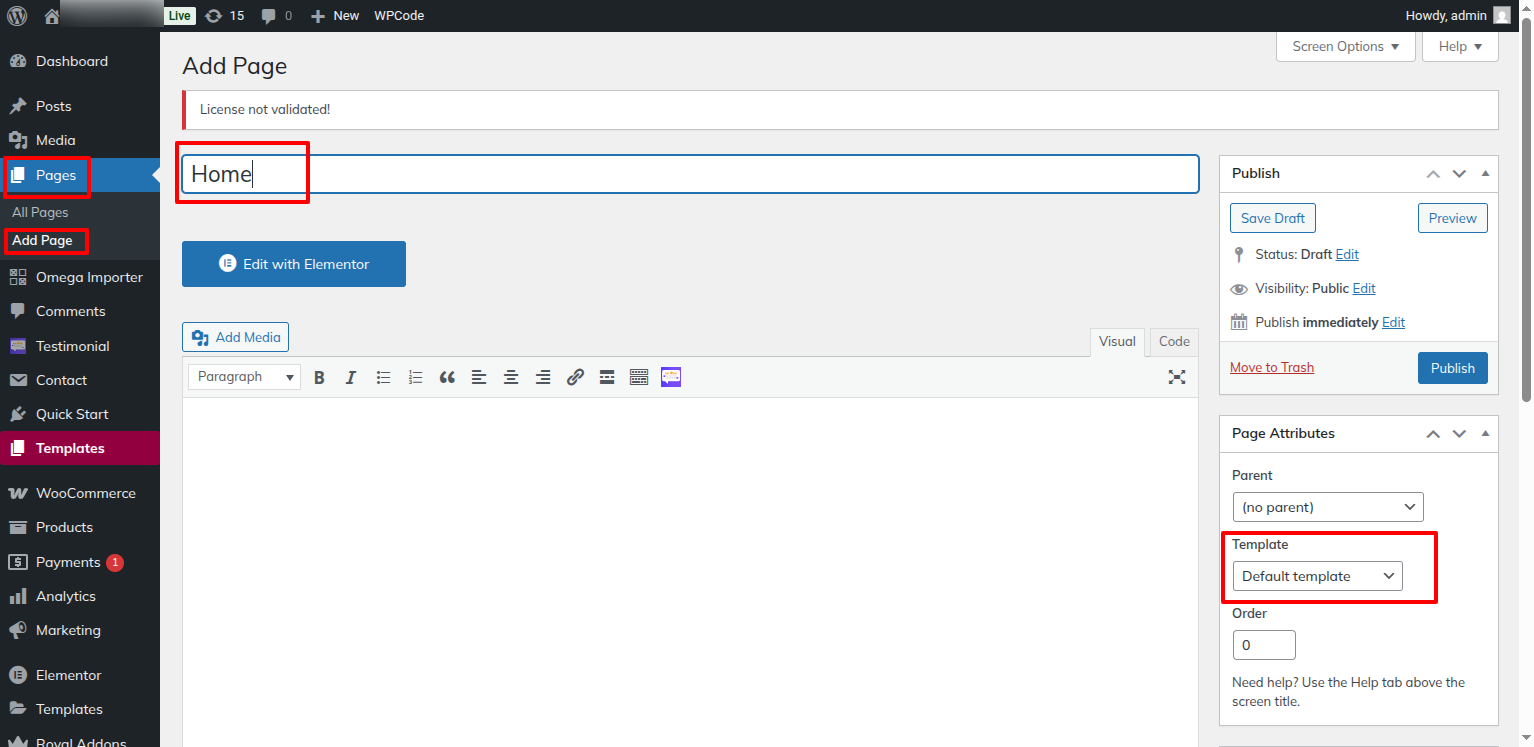
1) To configure a template, create a page--->Go to Pages in the Dashboard. New Page please.
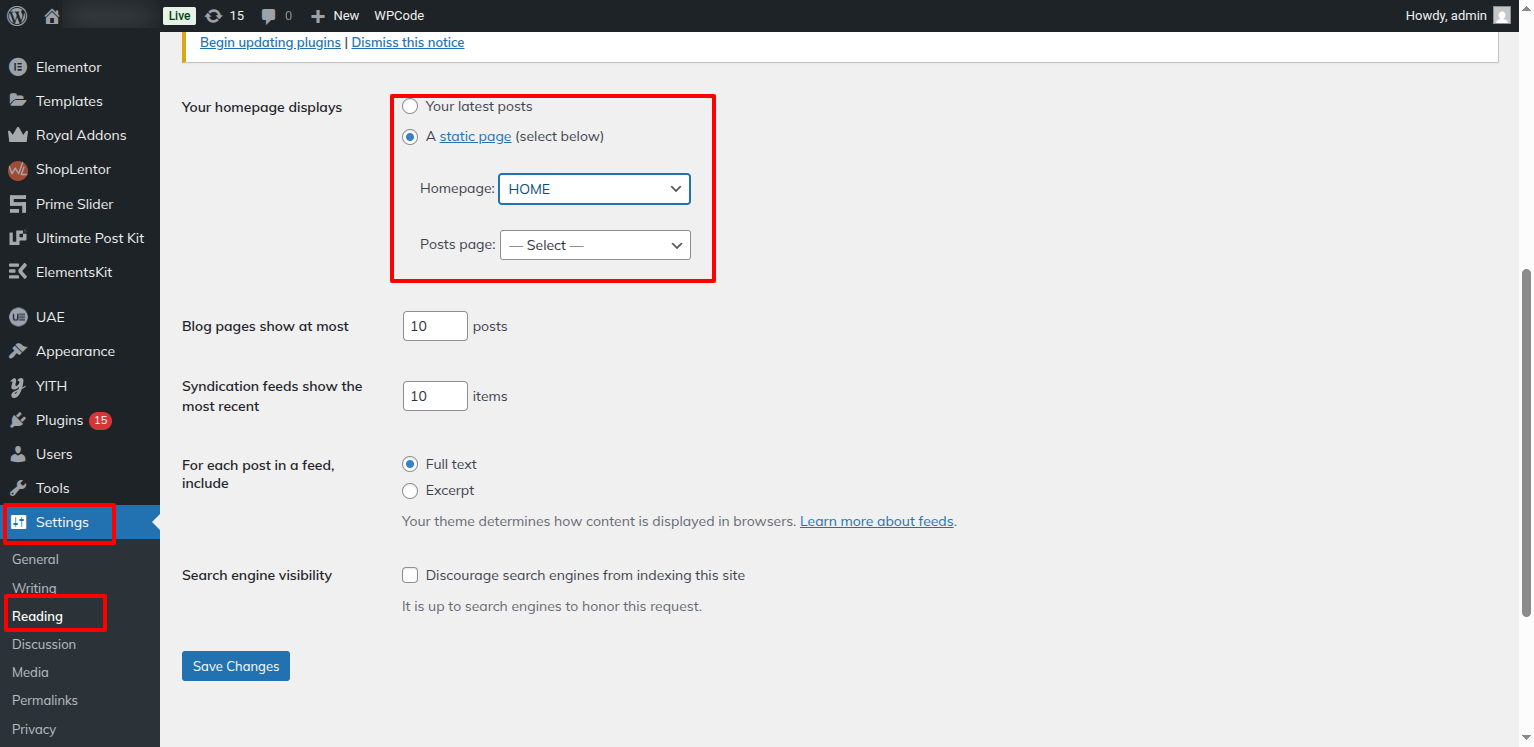
Label your home page either as the home page or with the name of your parent site. Then select Reading from the options menu, and change the static template to home page.
2)Configure the home page--->Visit Settings Reading. Configure the home page as the post set the homepage to a static page. .
Once completed, the top page will display the entire demo.
With respect to Site Identity,
Select Appearance---> Customize-->Site Identity.
With Content Header as the starting point,
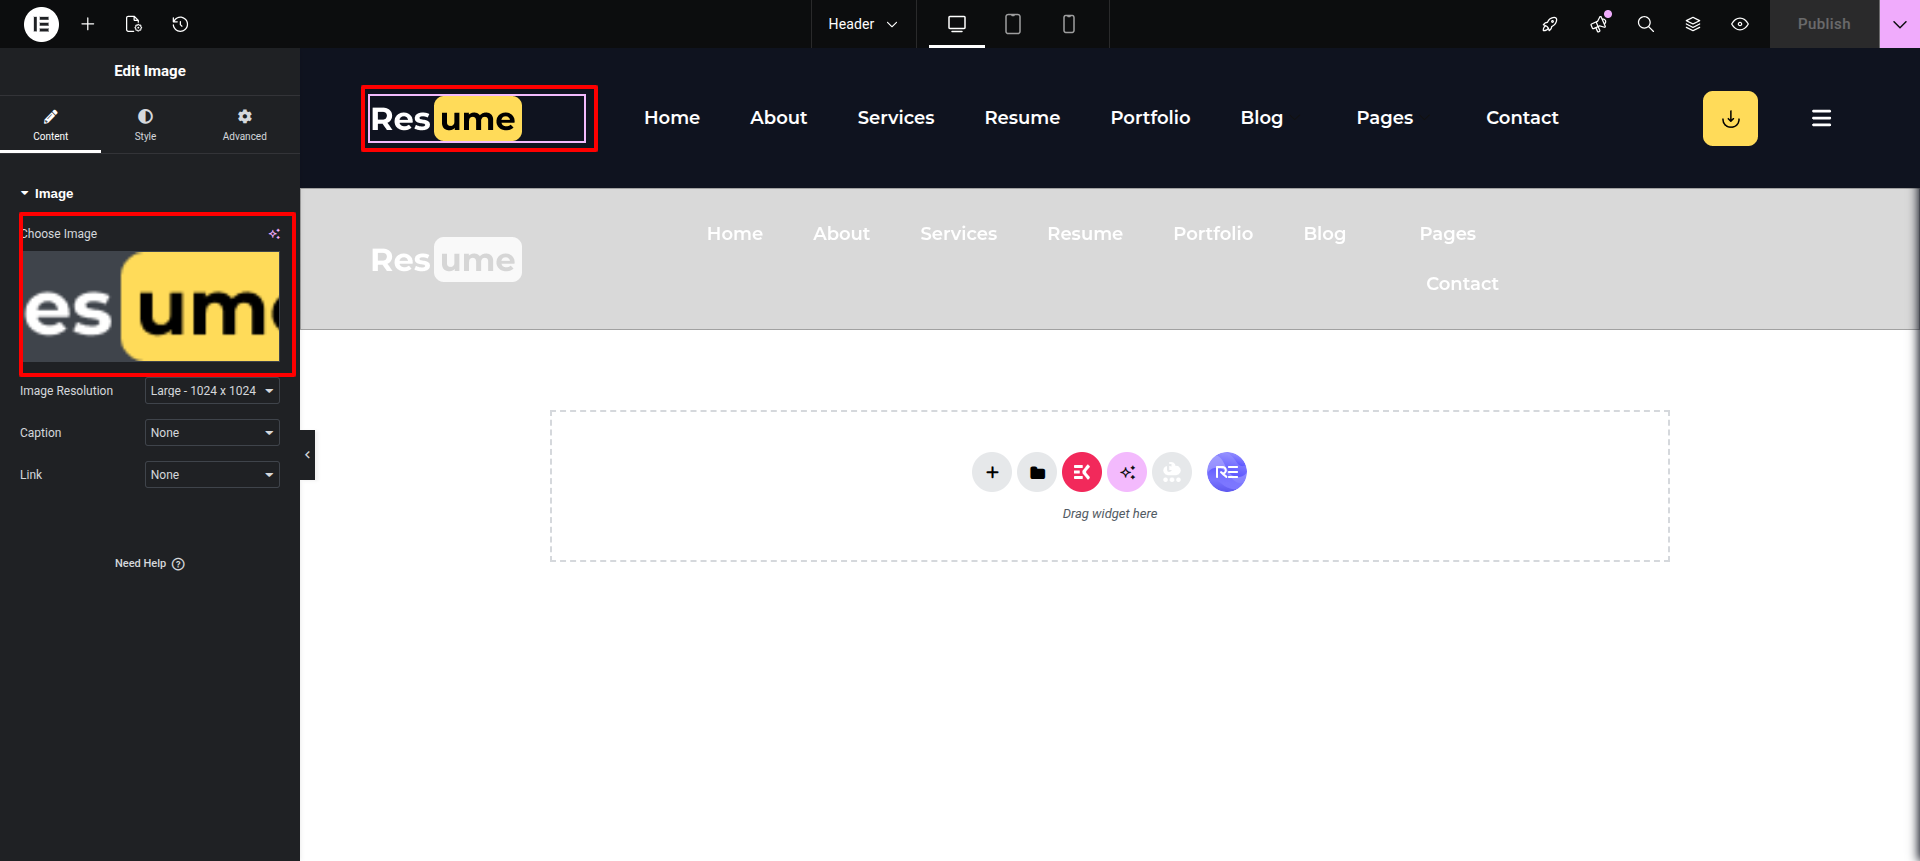
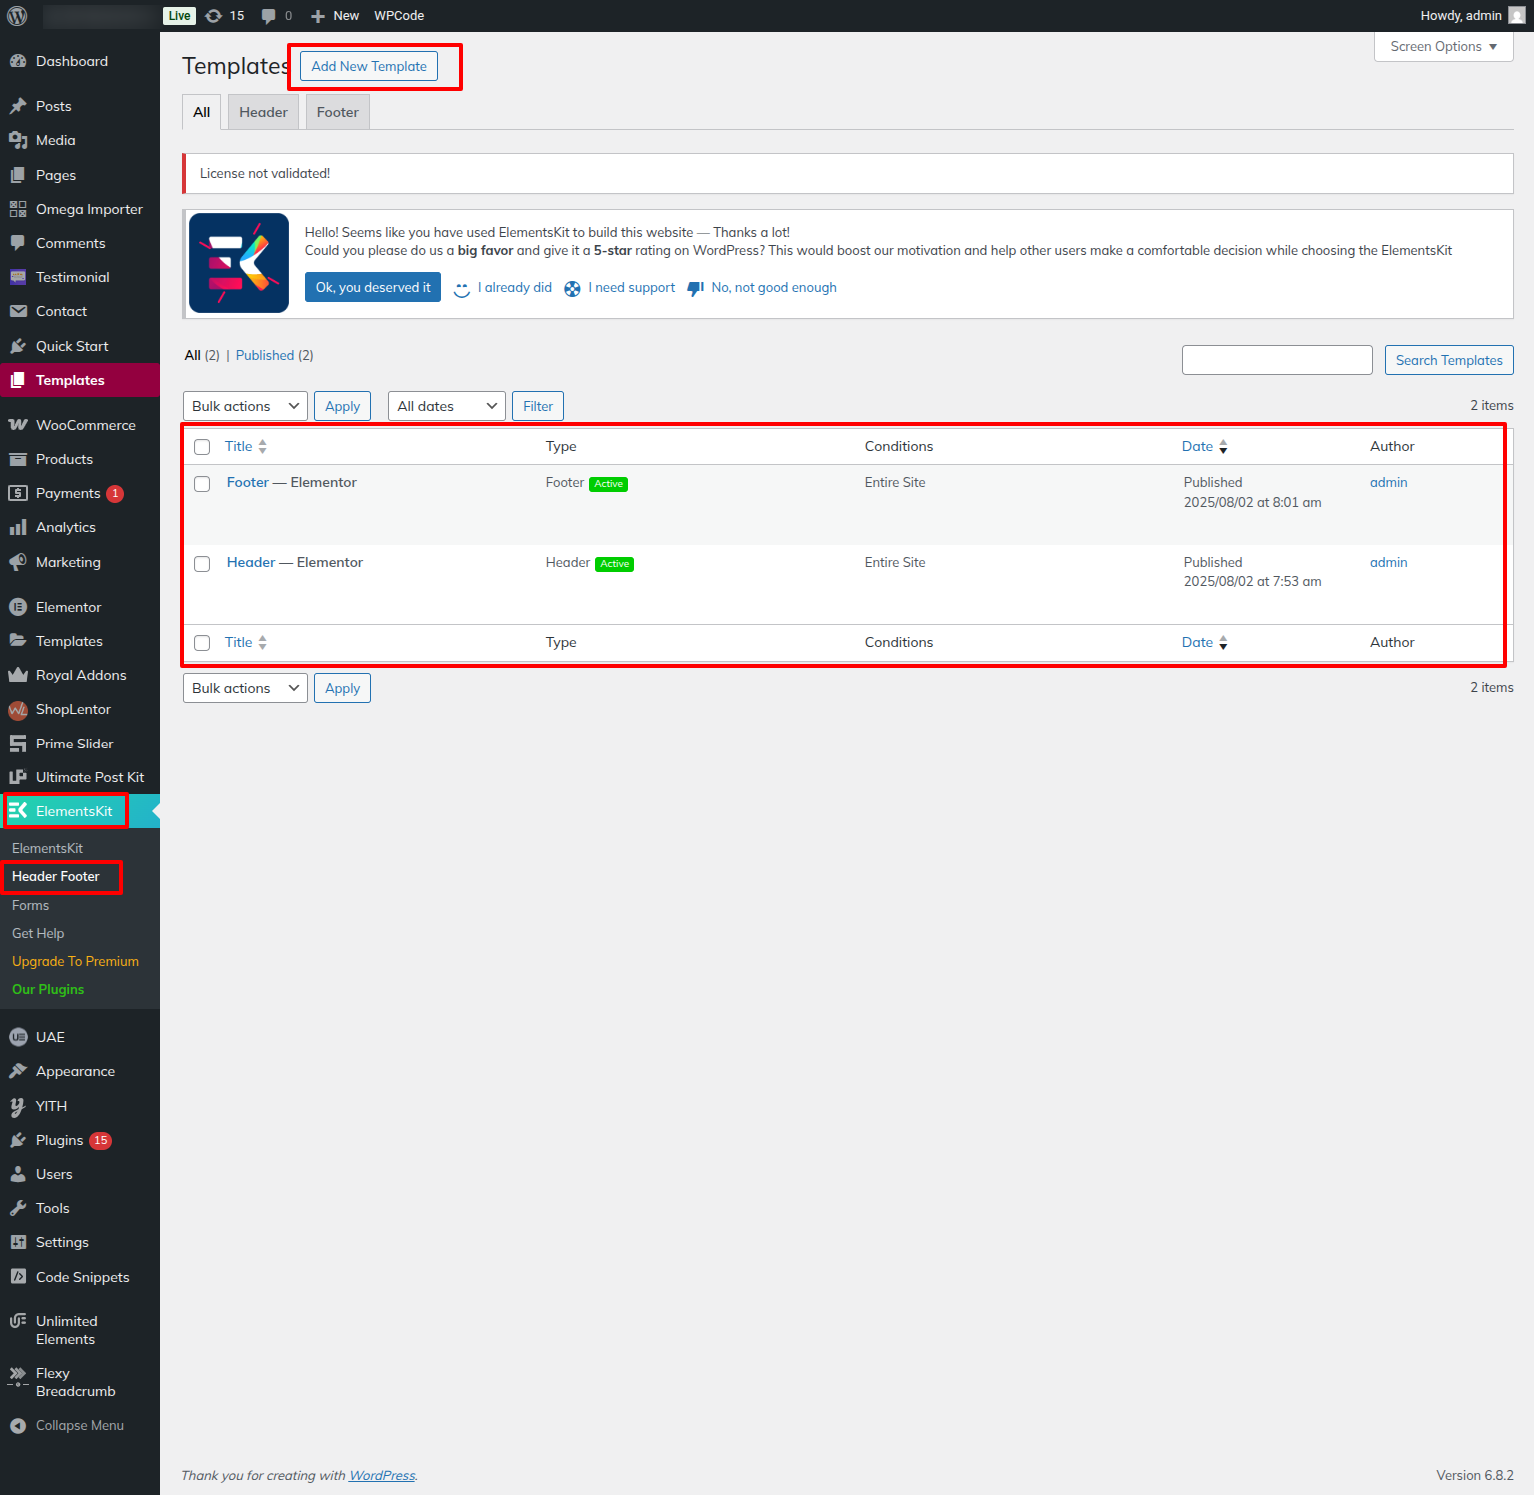
Access the Content Header option and Content Header settings by going to Elements Kit---> "Header & Footer"---> Add New Template--->Edit with Elementor.

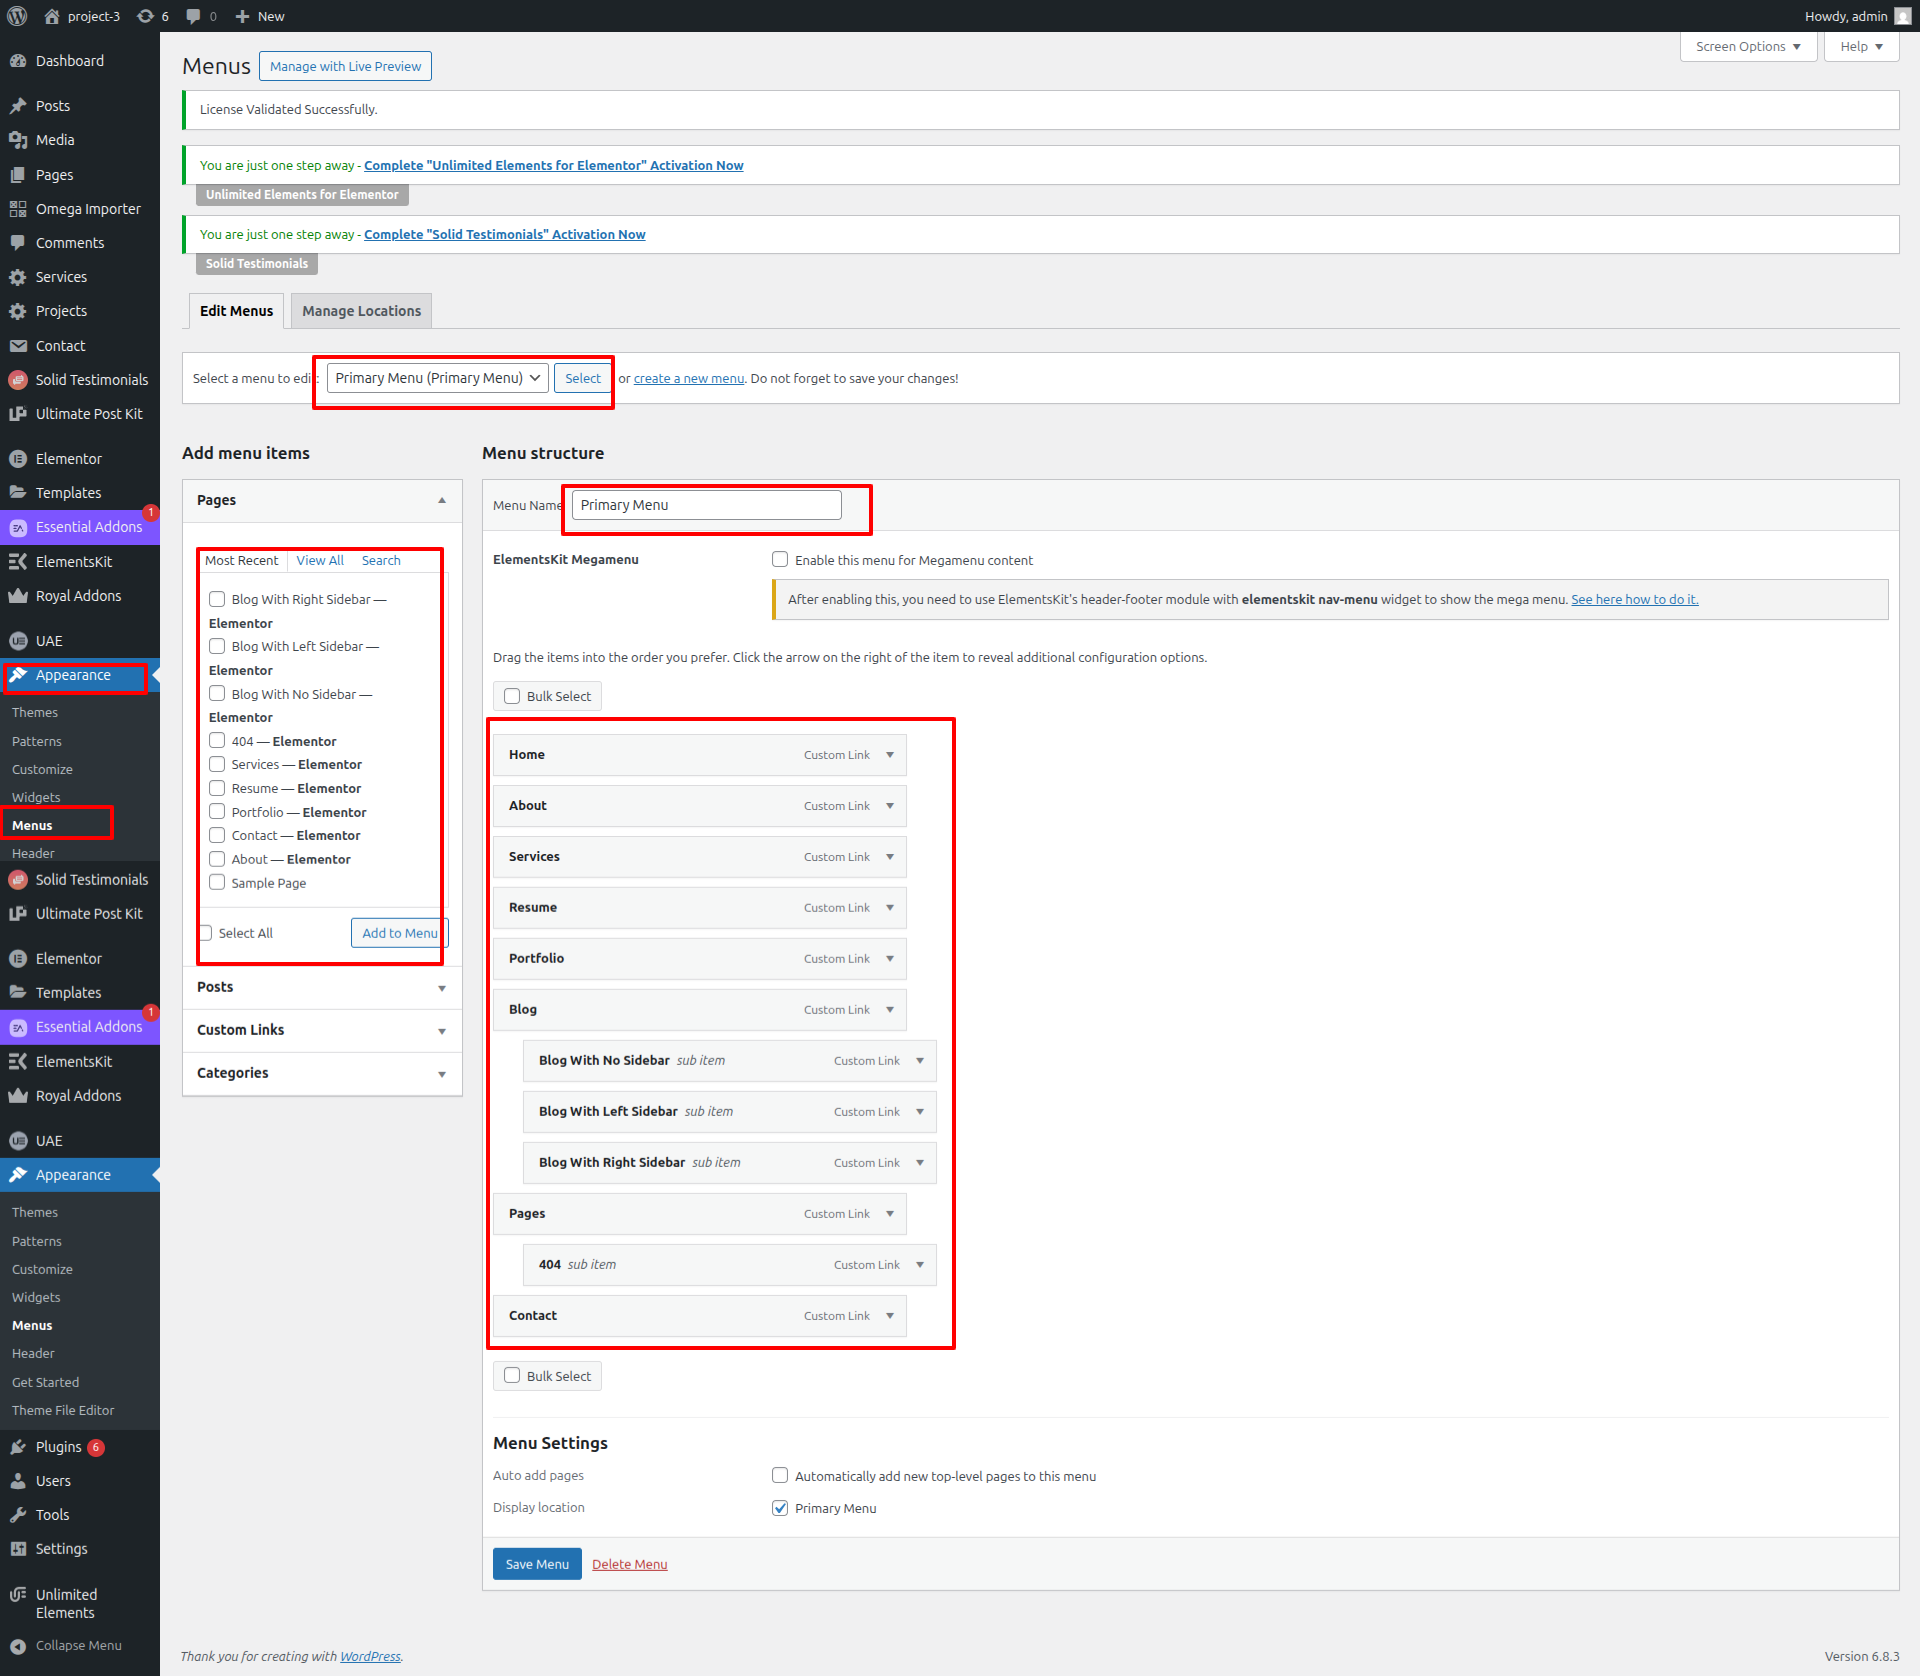
It will look like this in the Content Header Section.

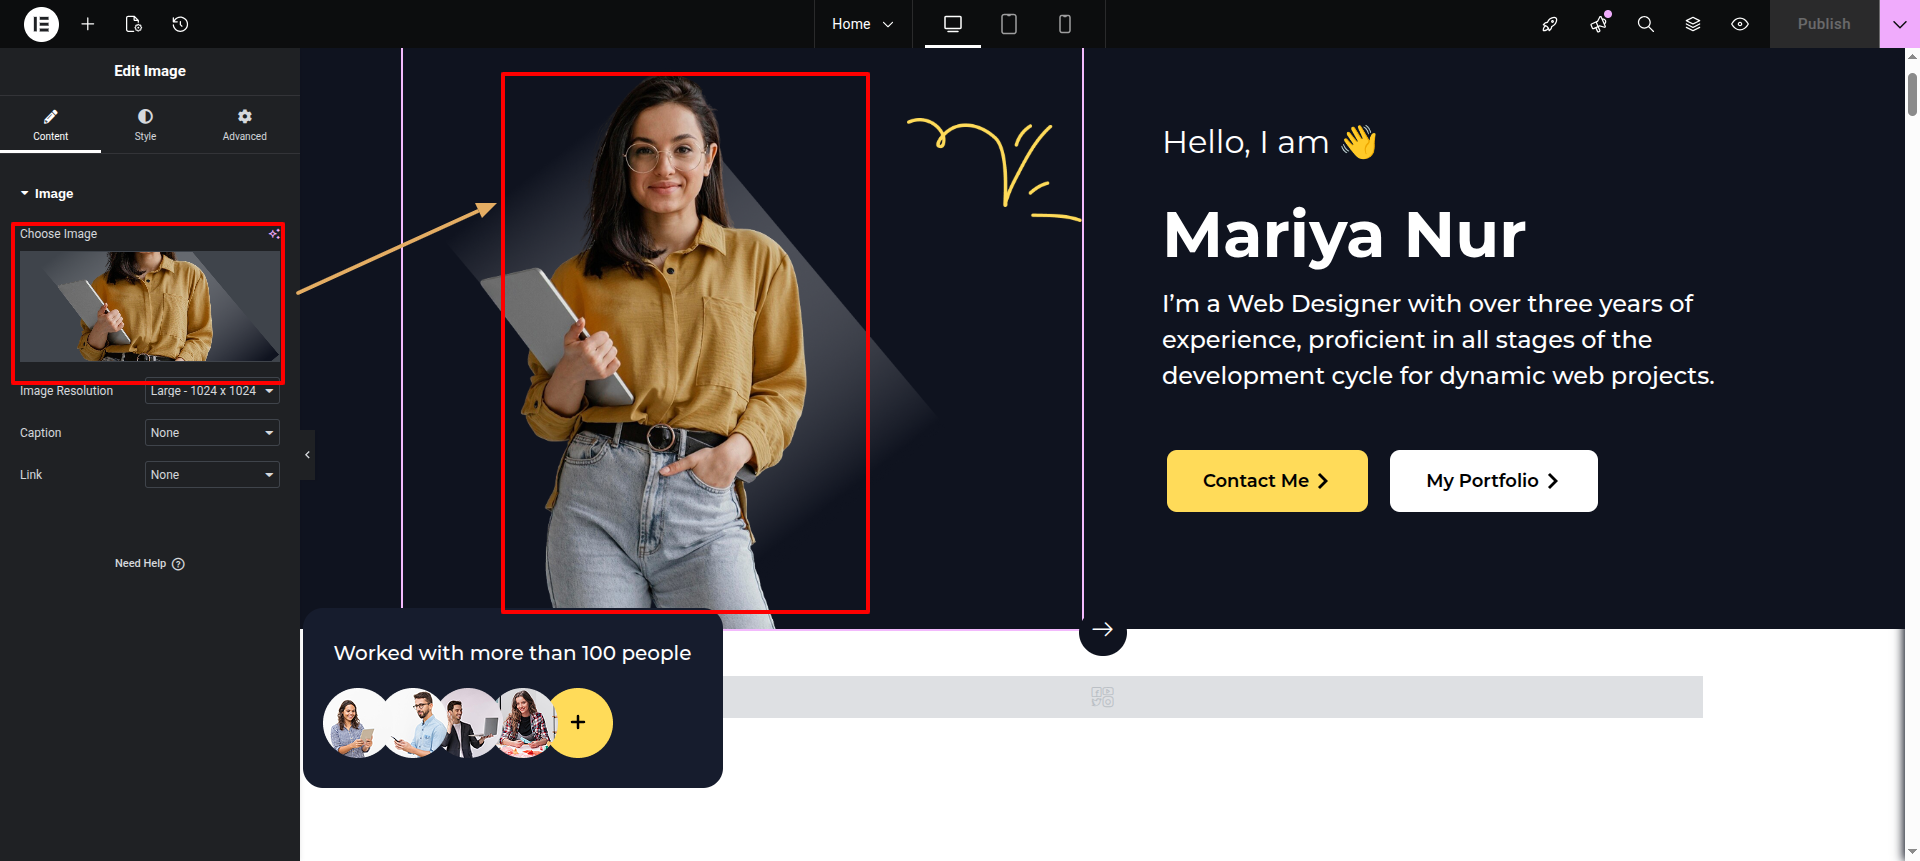
Access any page: Edit with Elementor---> Normal Image Widget ---> Upload desired image.
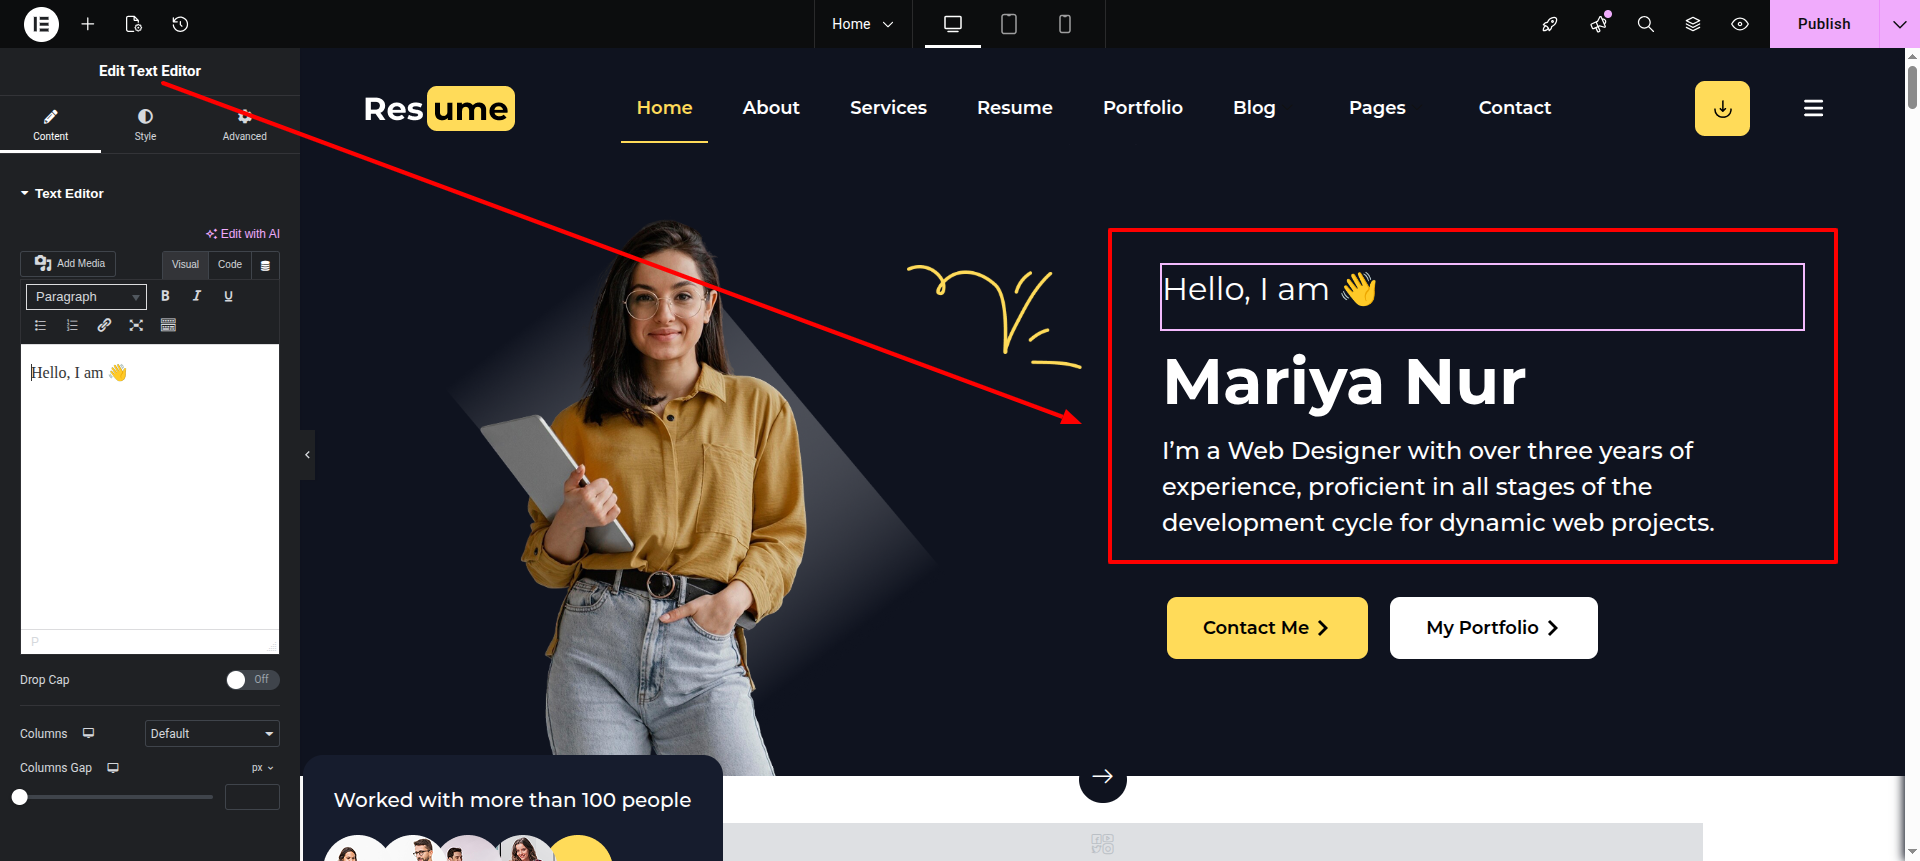
Drag & Drop Text Editor widget
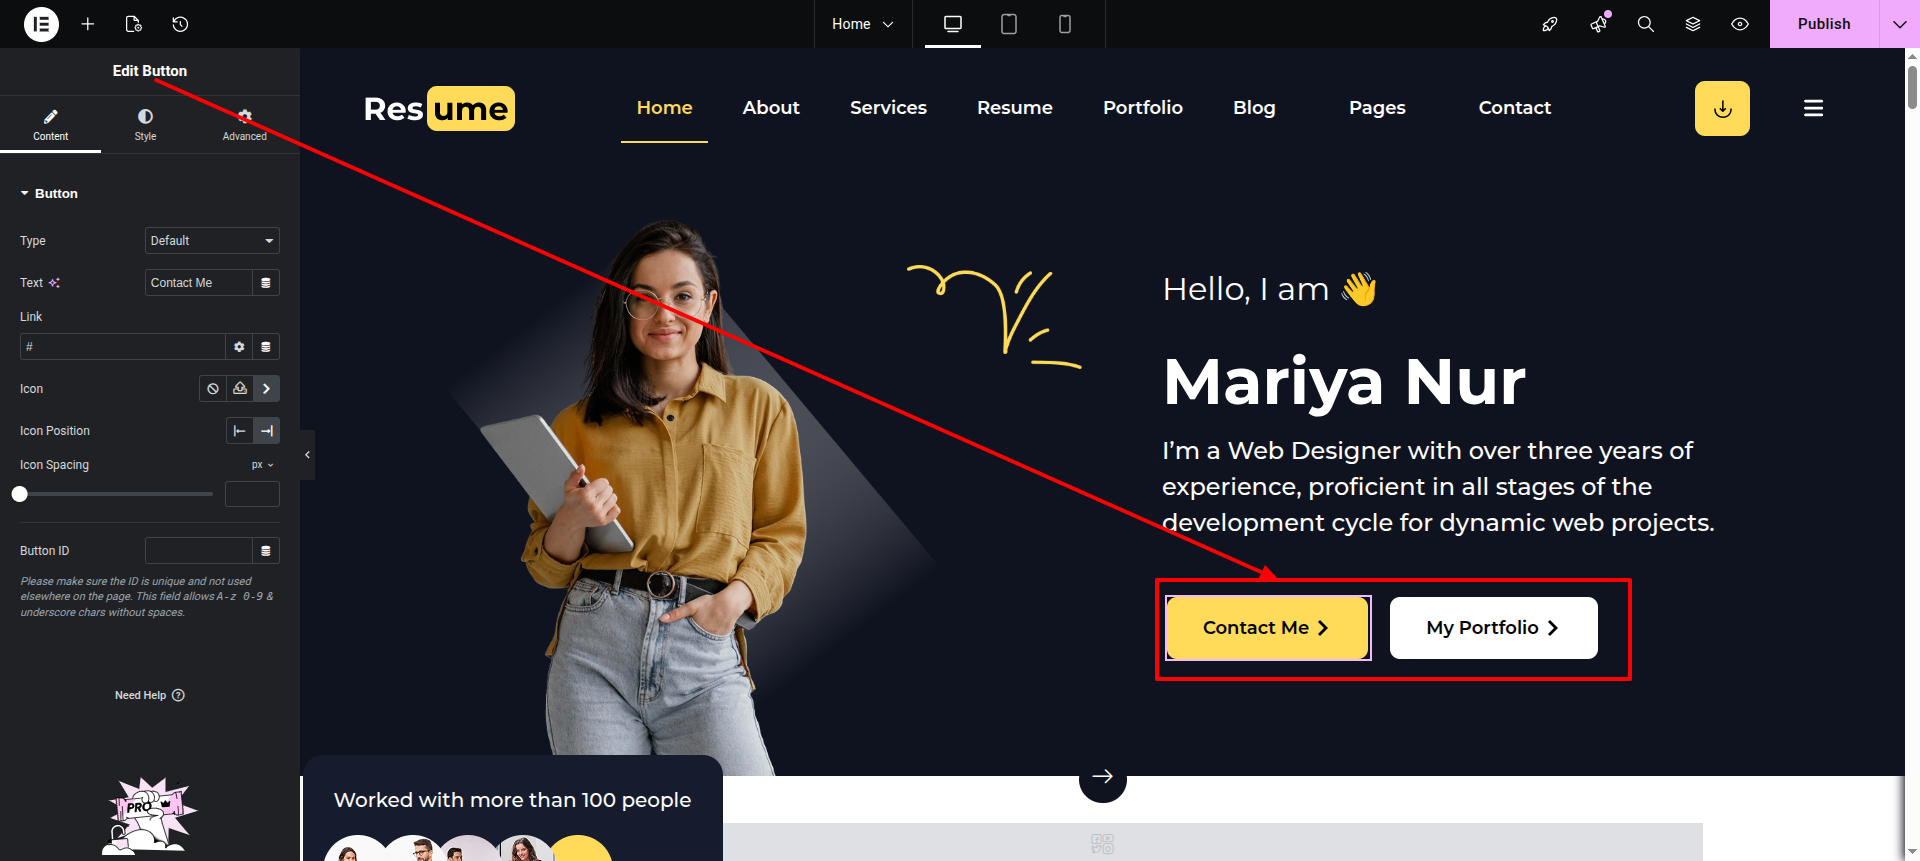
In here the first element is a normal button.
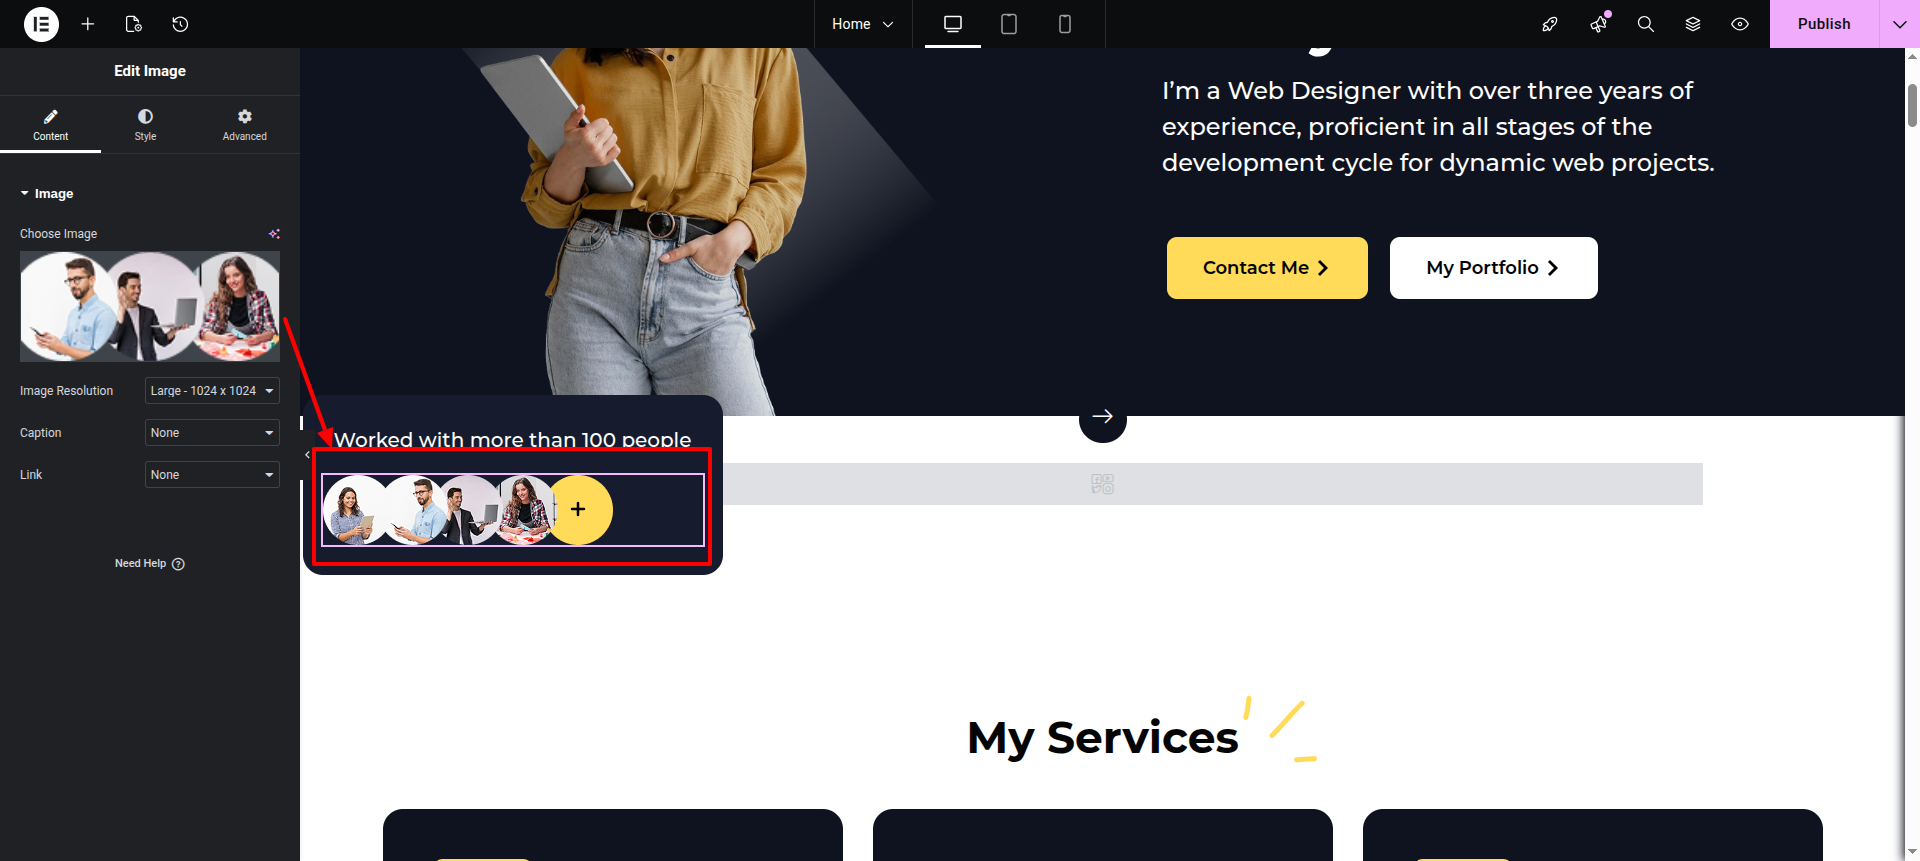
This is the Normal Image widget
All these 3 widgets are Normal Buttons
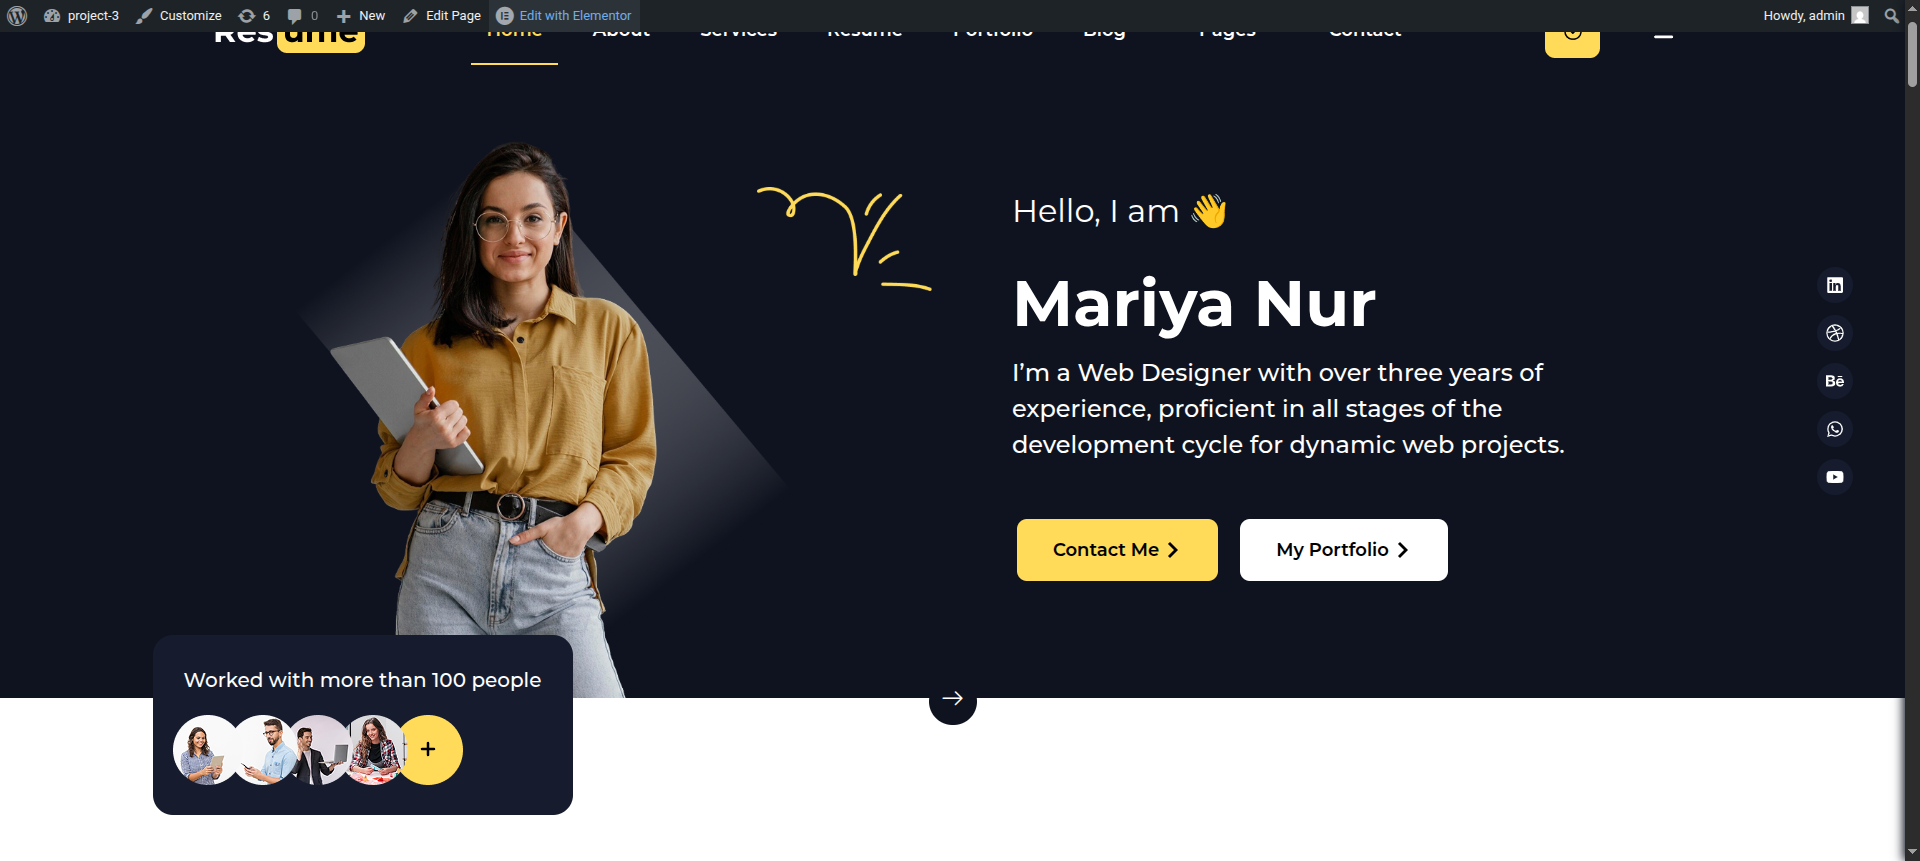
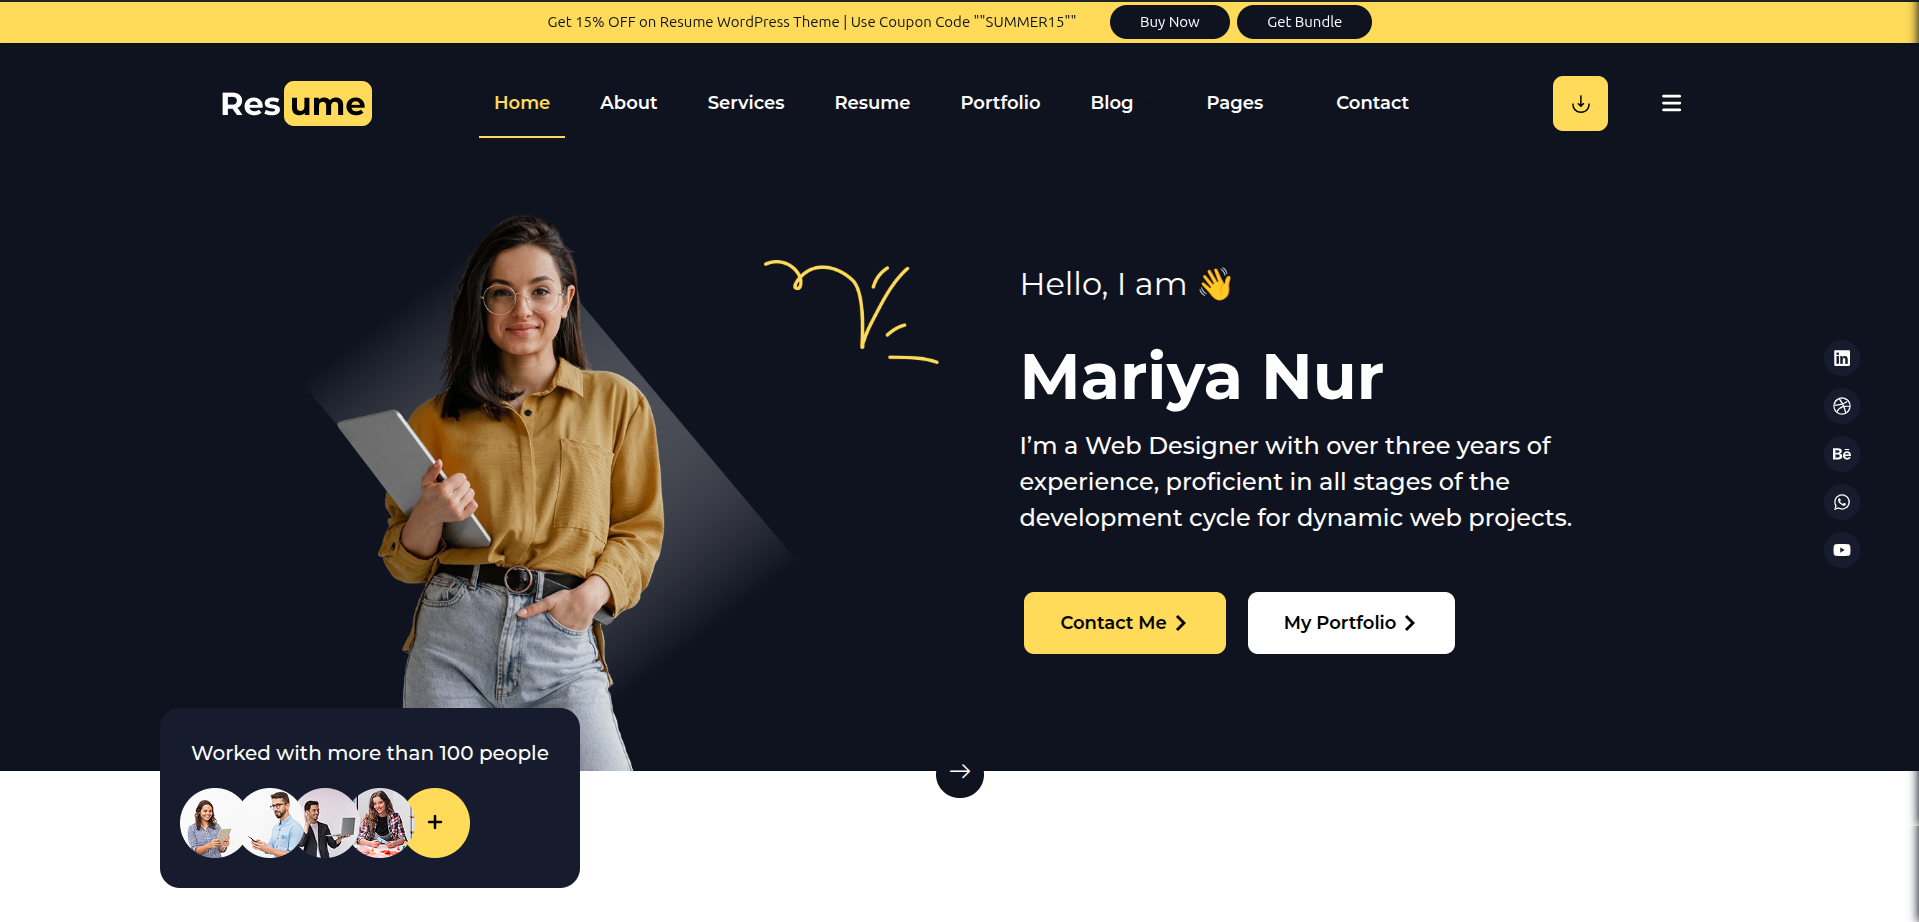
This is how it will initially seem.
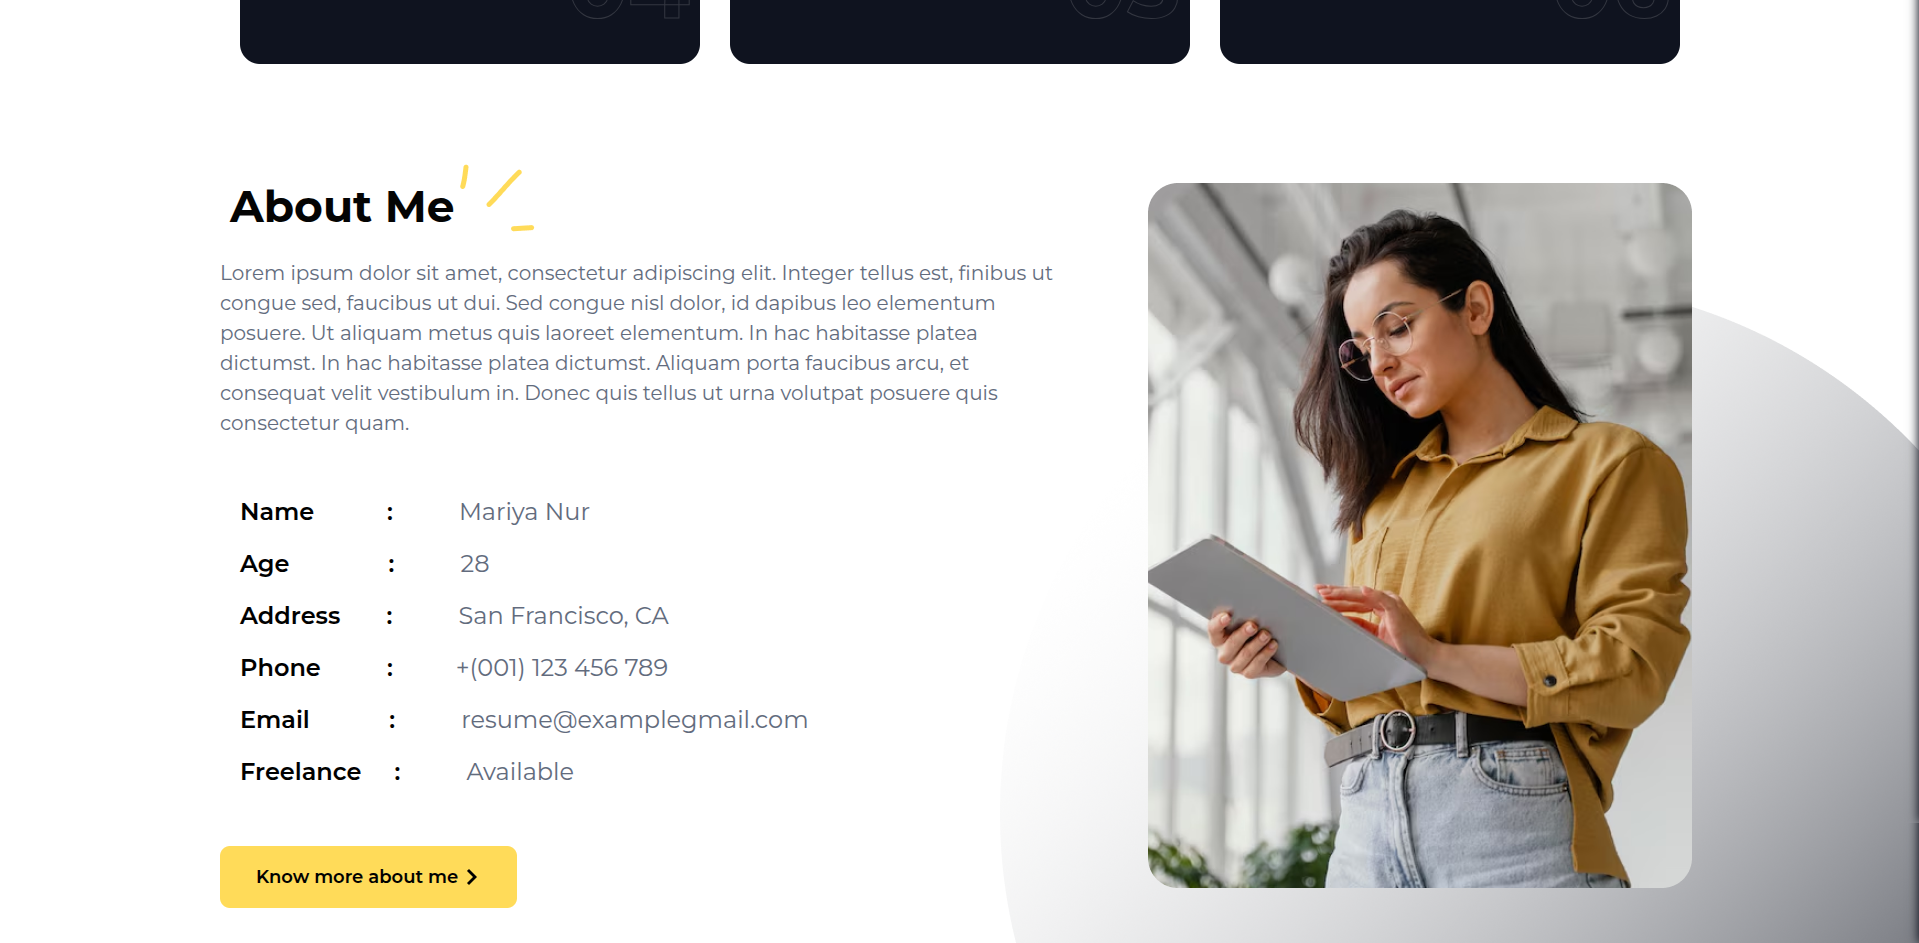
Starting with the About Us Section
Edit any page with Elementor.Add a container.
Now follow these steps
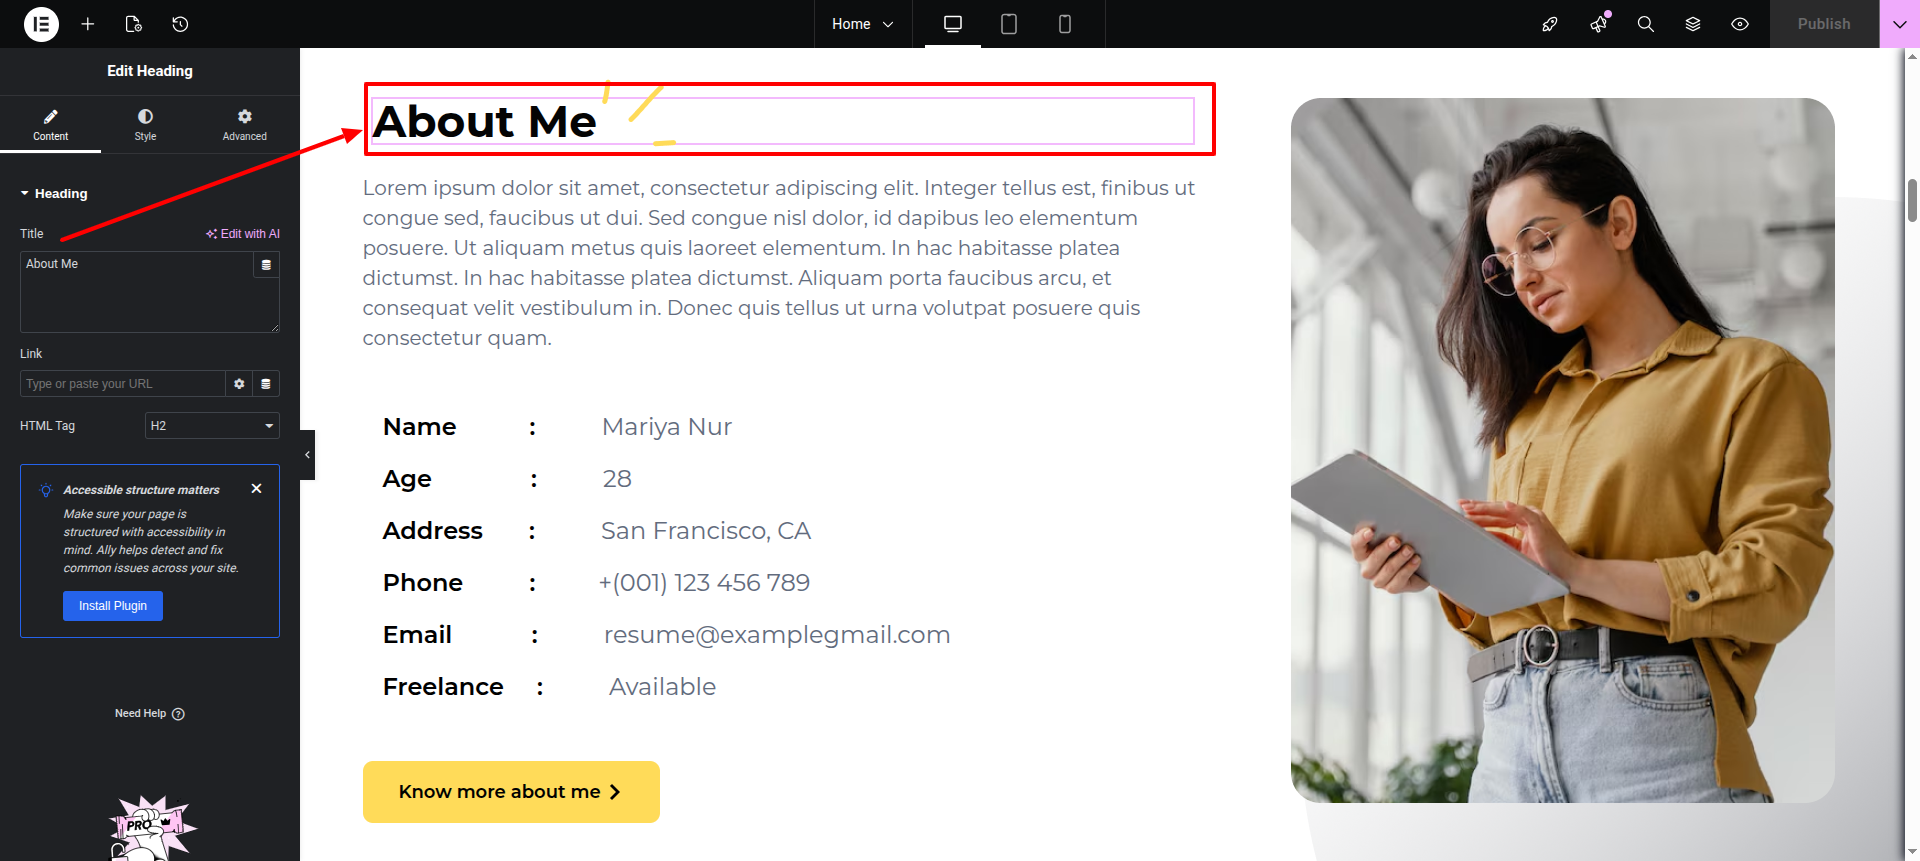
This is a Normal Text Heading>
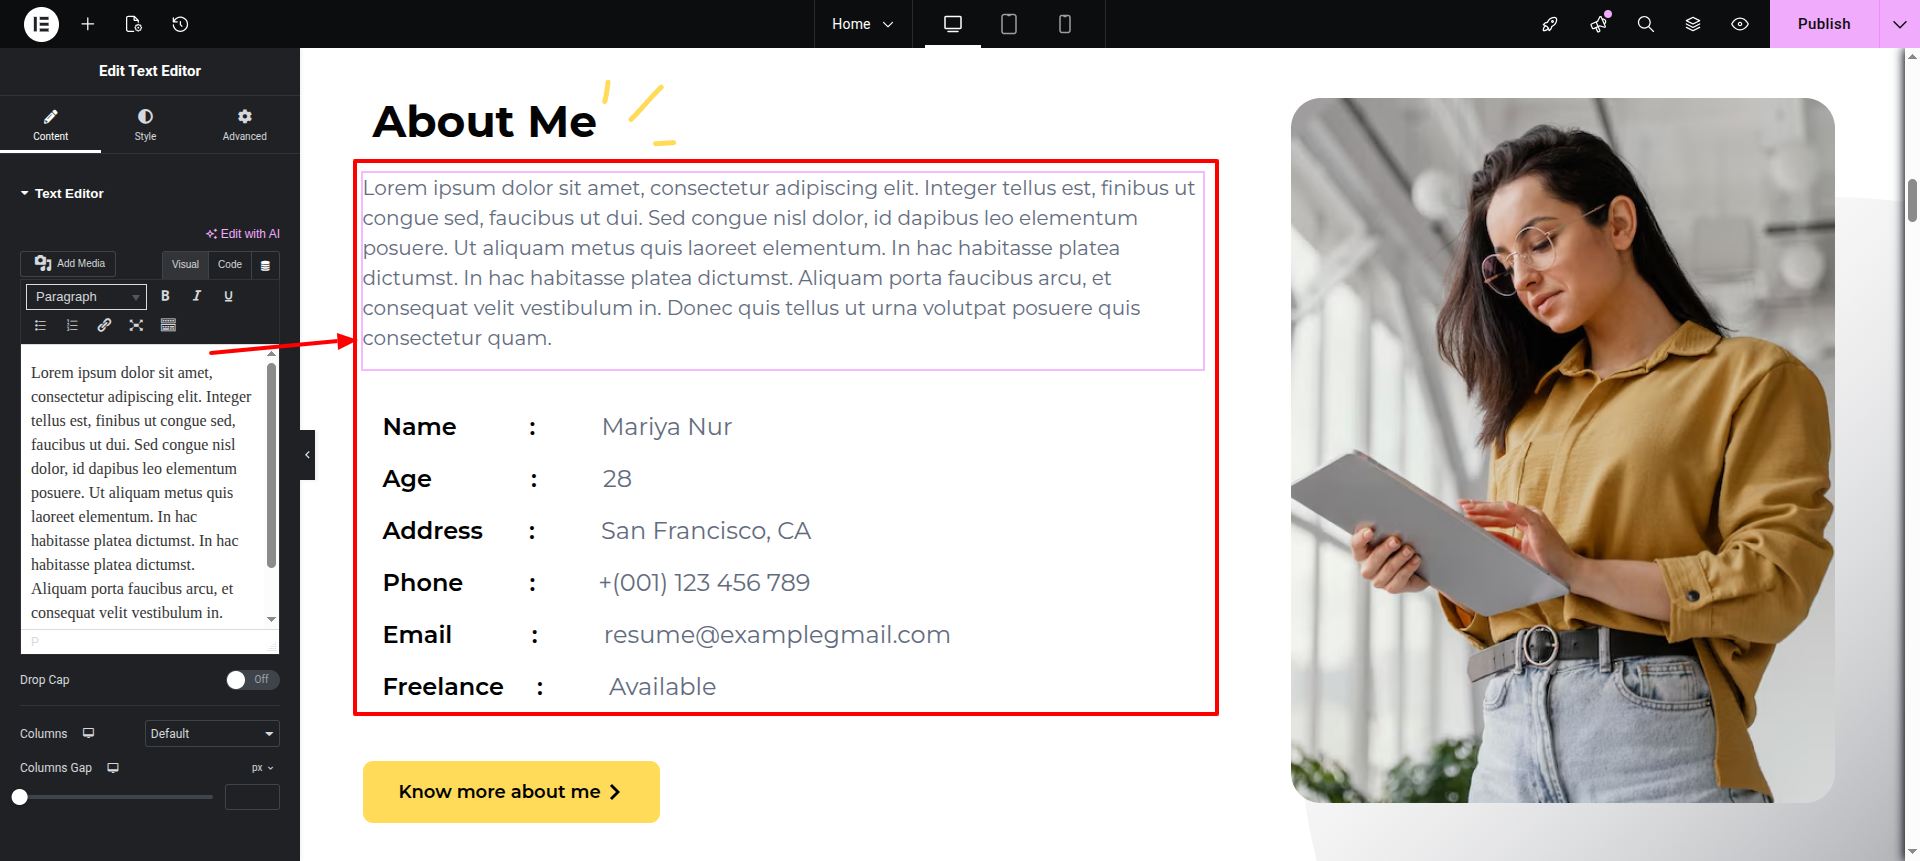
Then add Widget-->Text Editor
This is the Normal Button Widget.
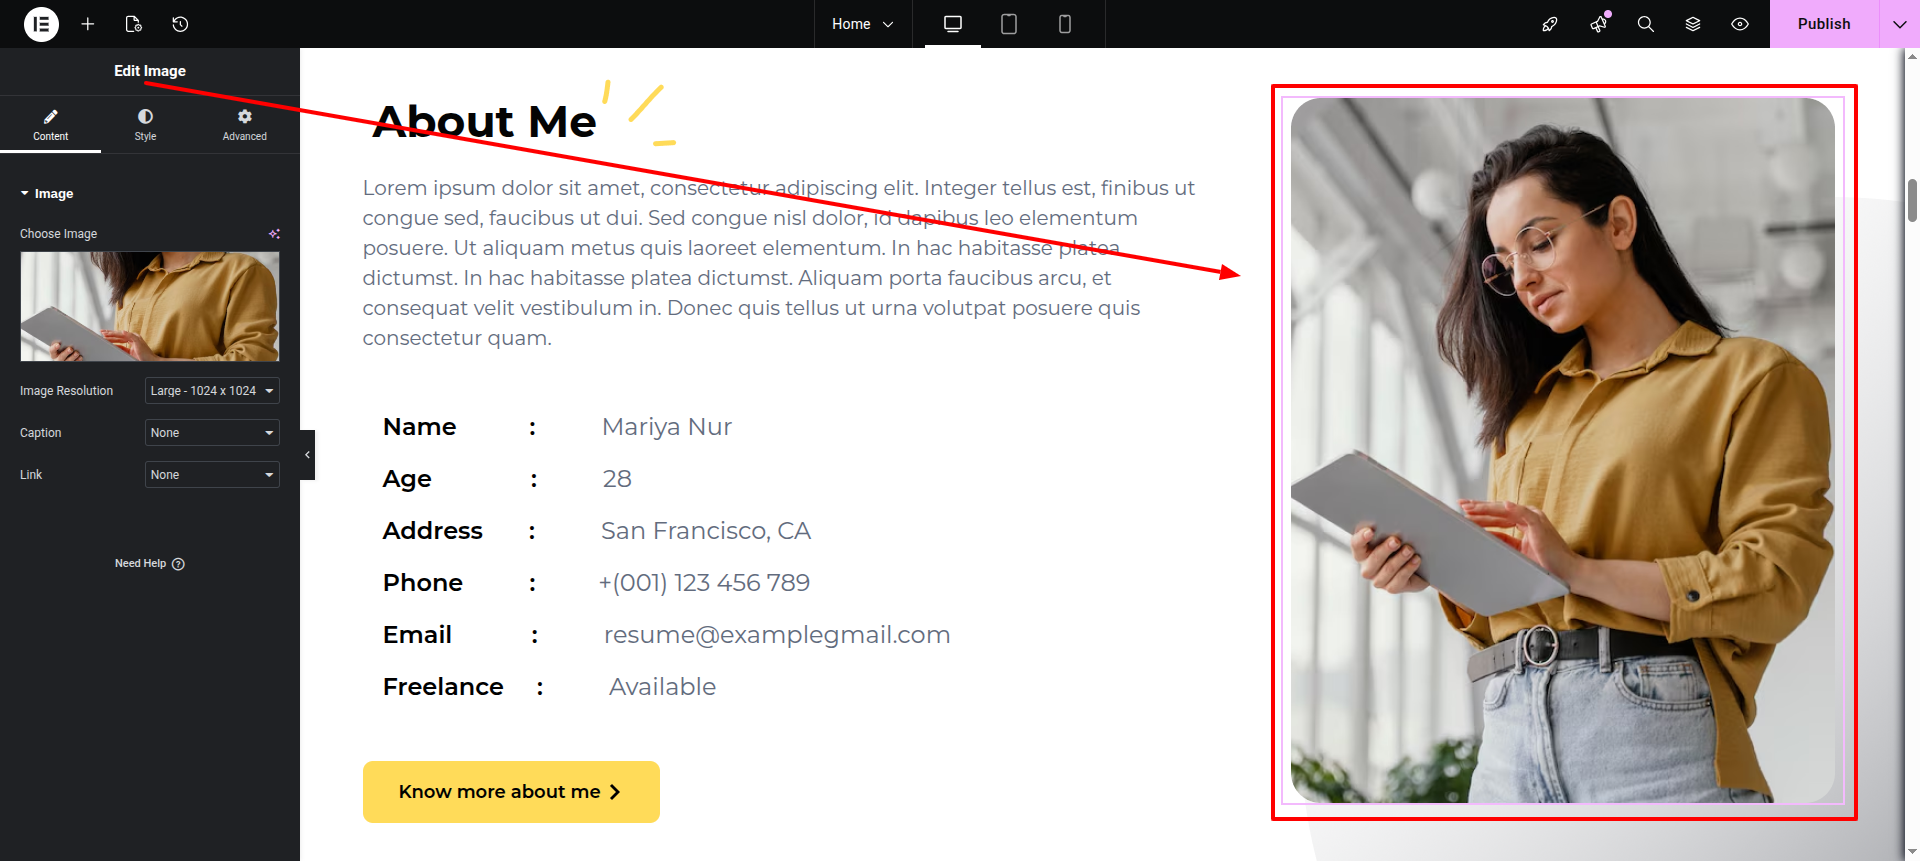
These all are the Image widget.
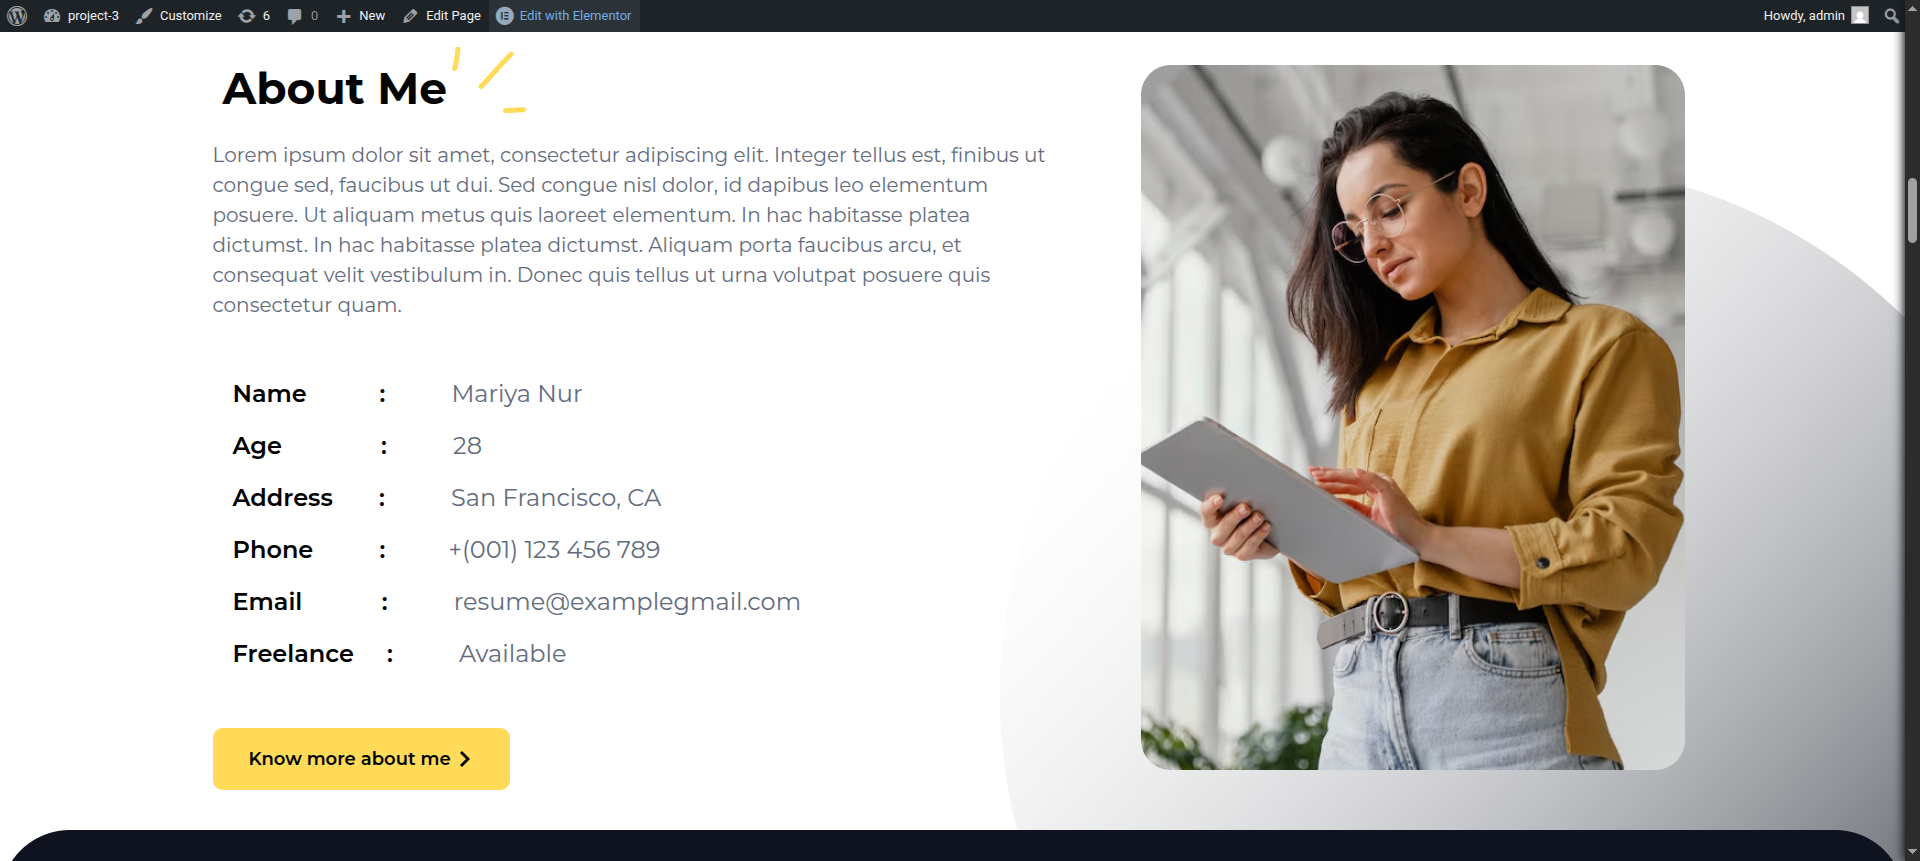
On the front end, it will appear as shown.
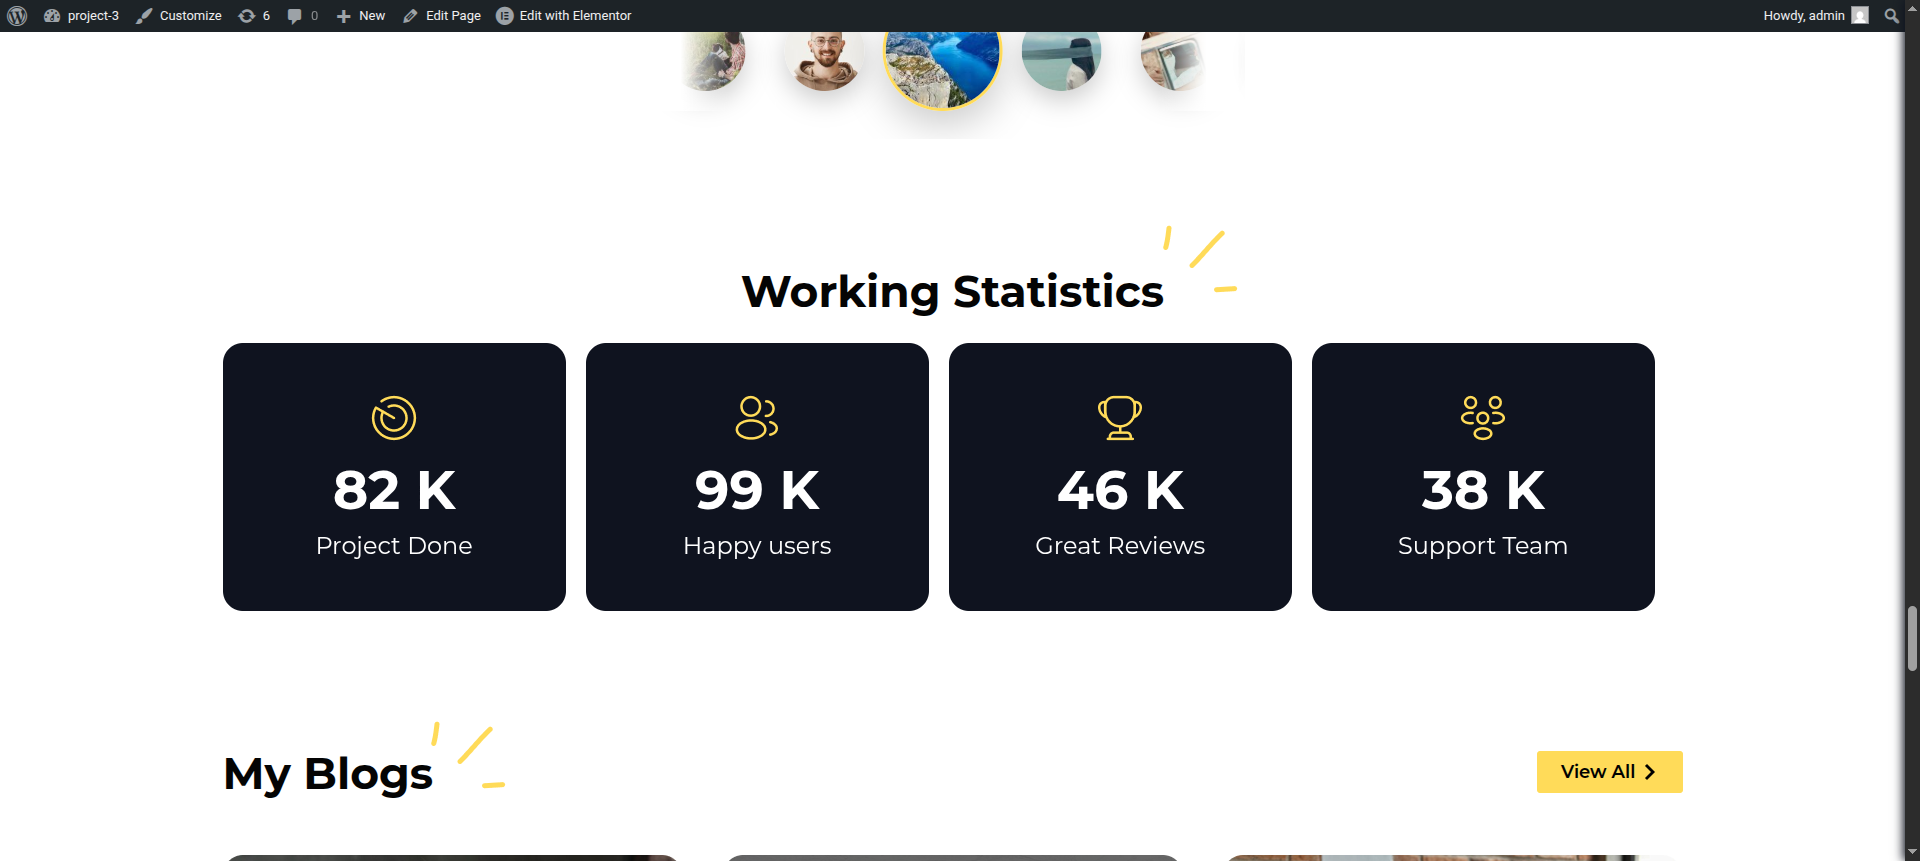
Starting with the Working Statistics
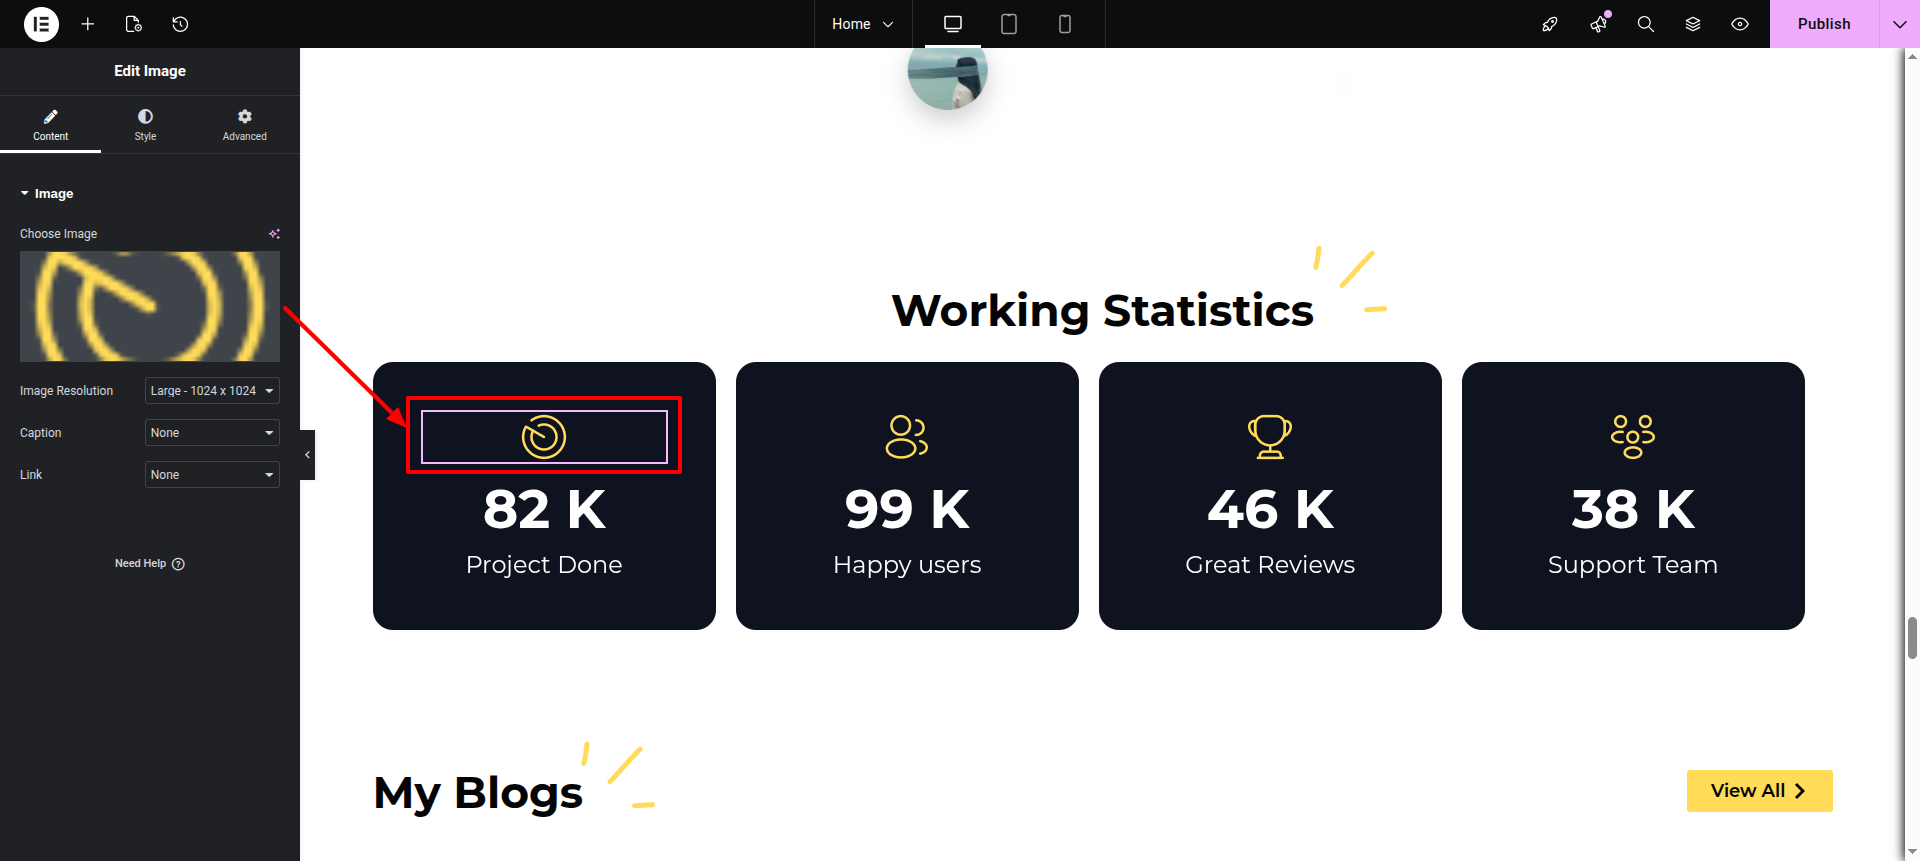
Edit any page with Elementor.Add a container.
Now follow these steps
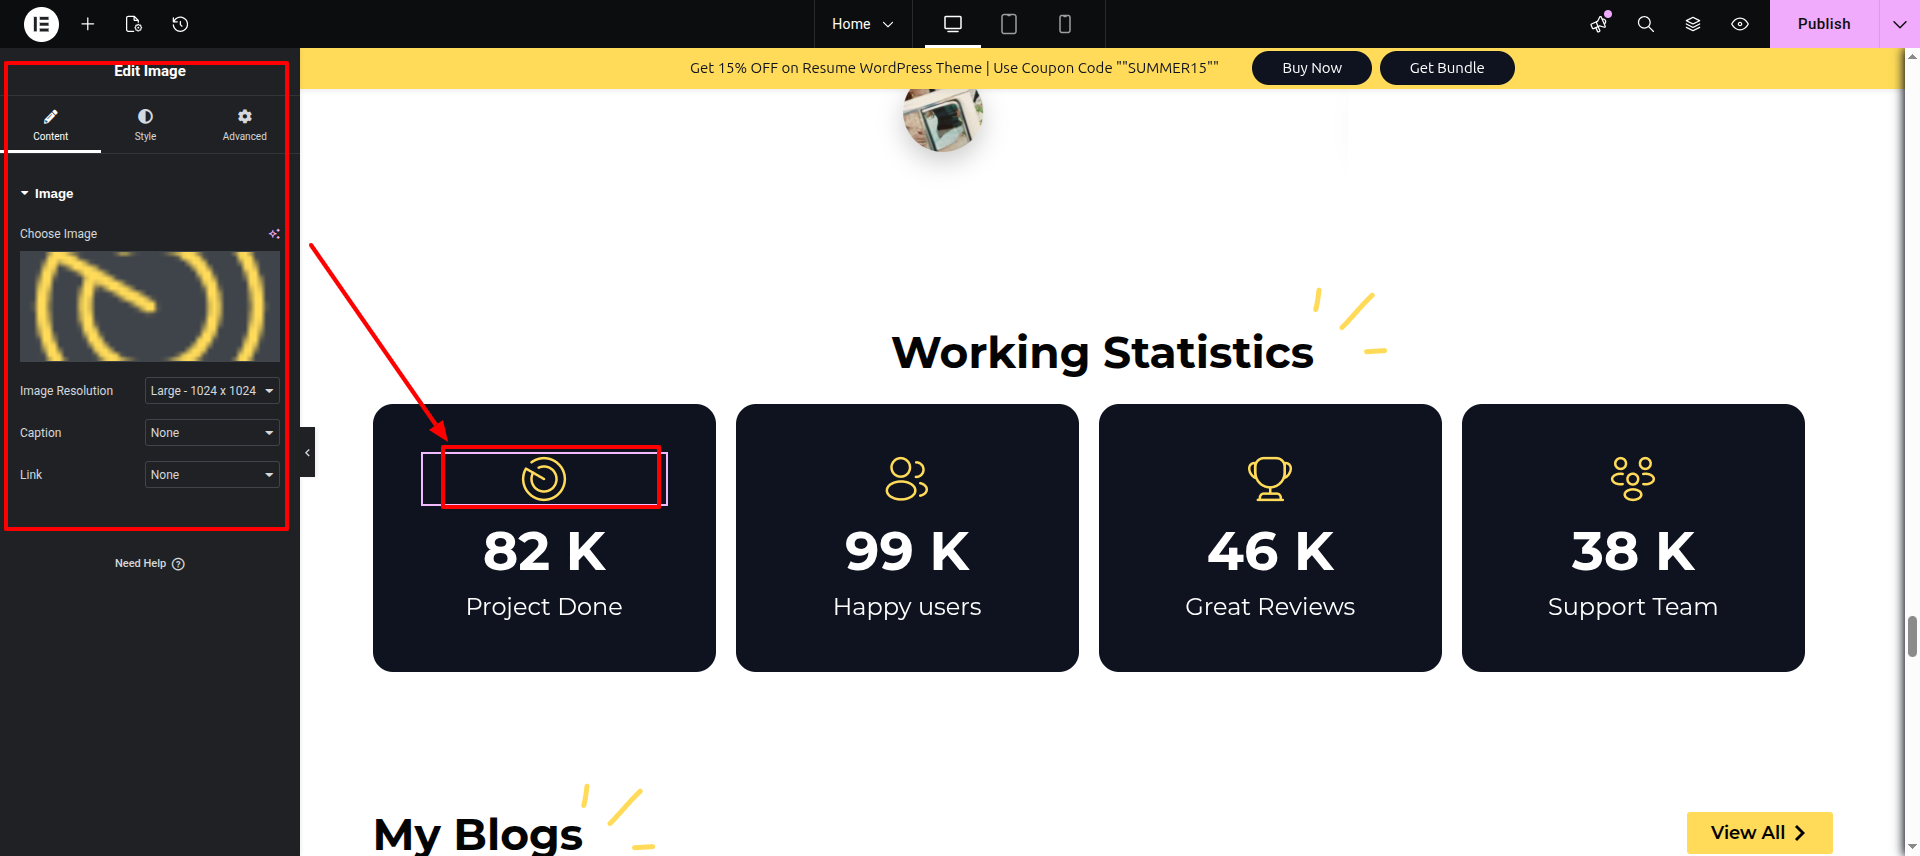
This is a normal Image widget in a container.
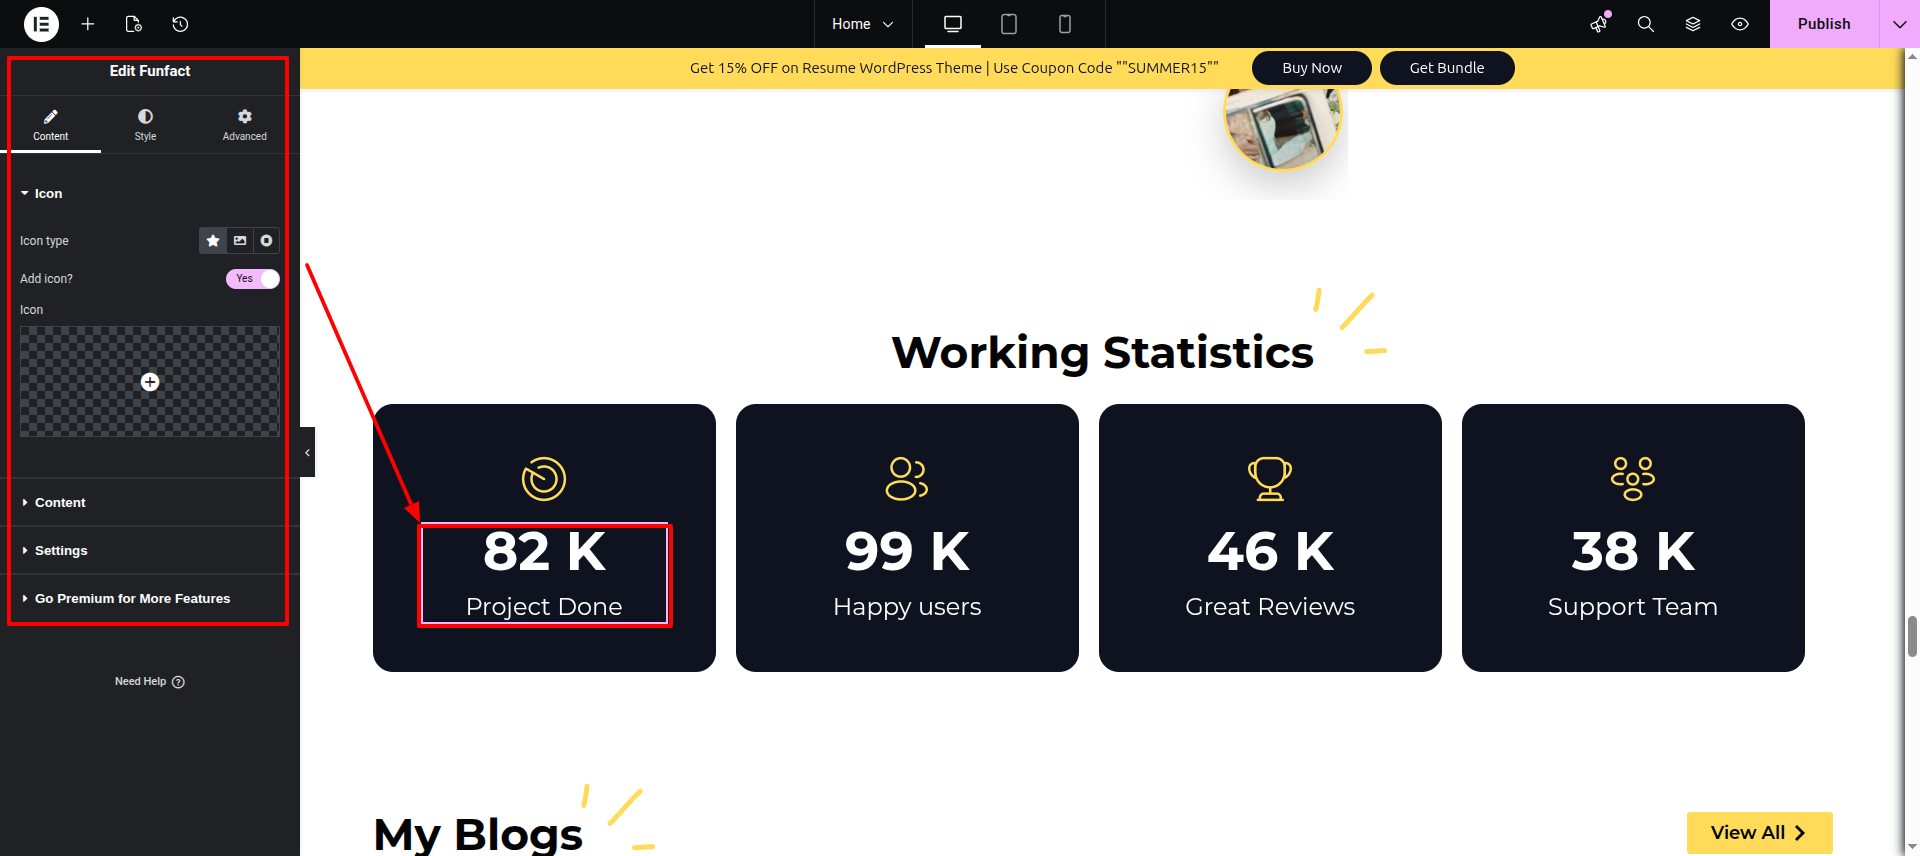
This is the Fun Fact> widget
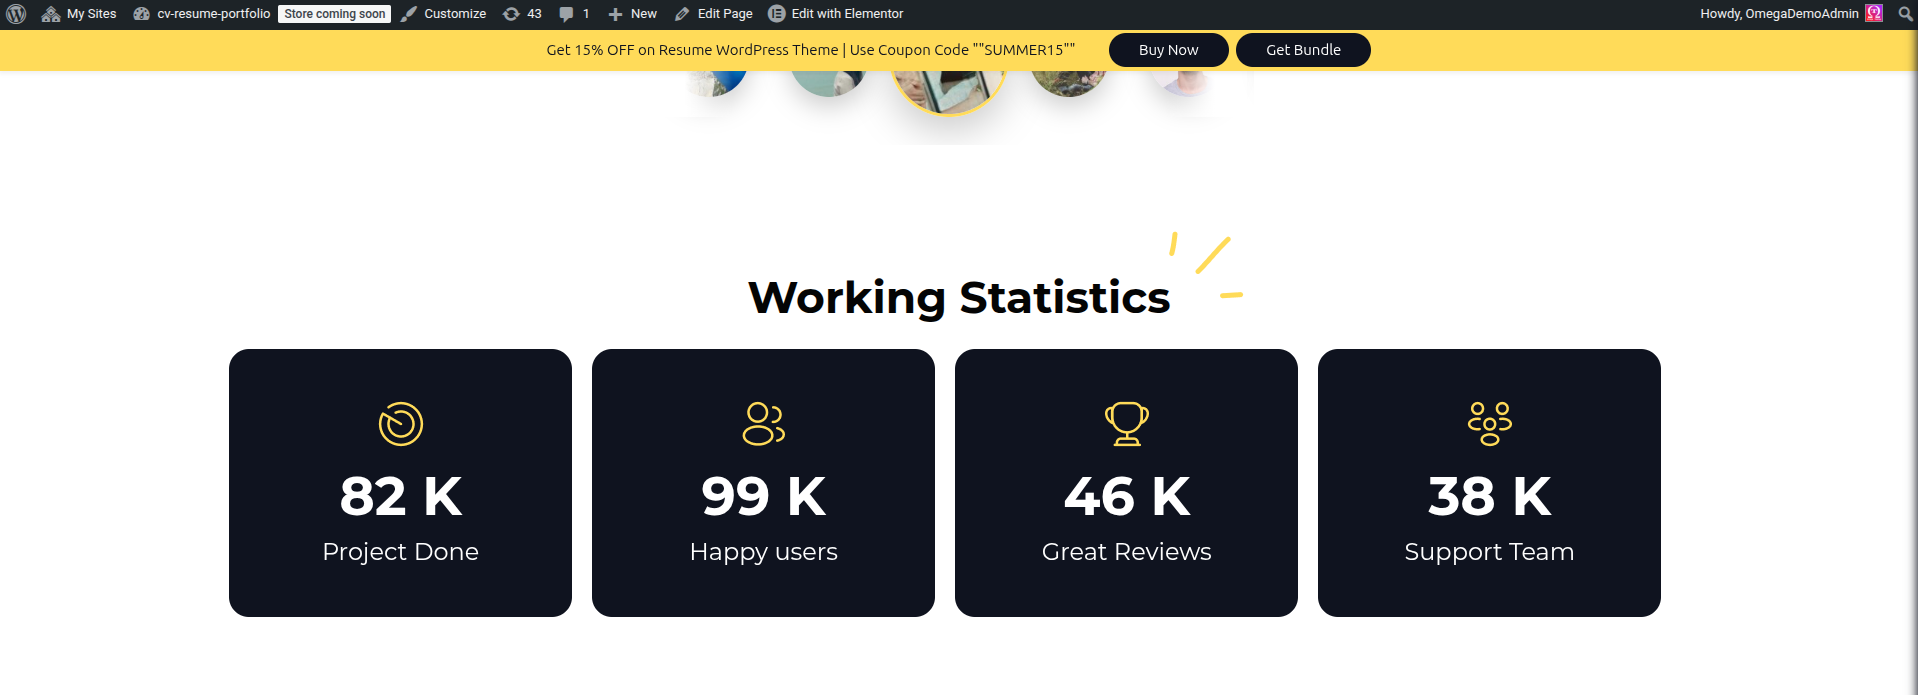
On the front end, it will appear as shown.
Starting with the Services Section
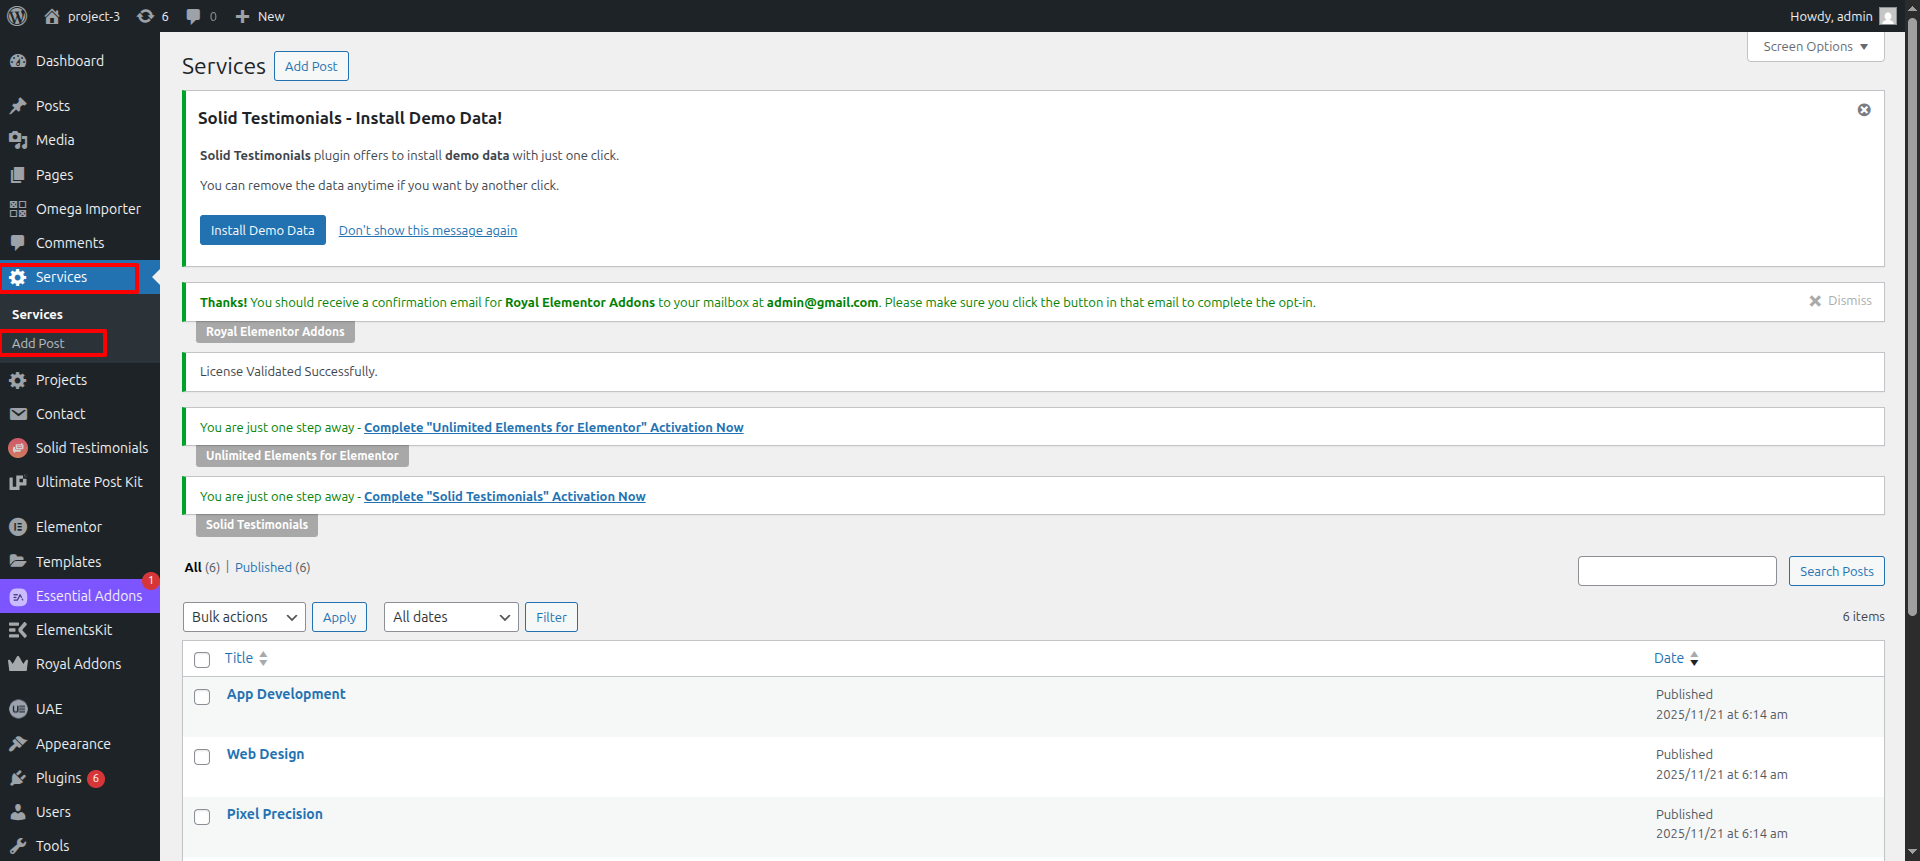
Click Services post type ---> and add new post in tours post type
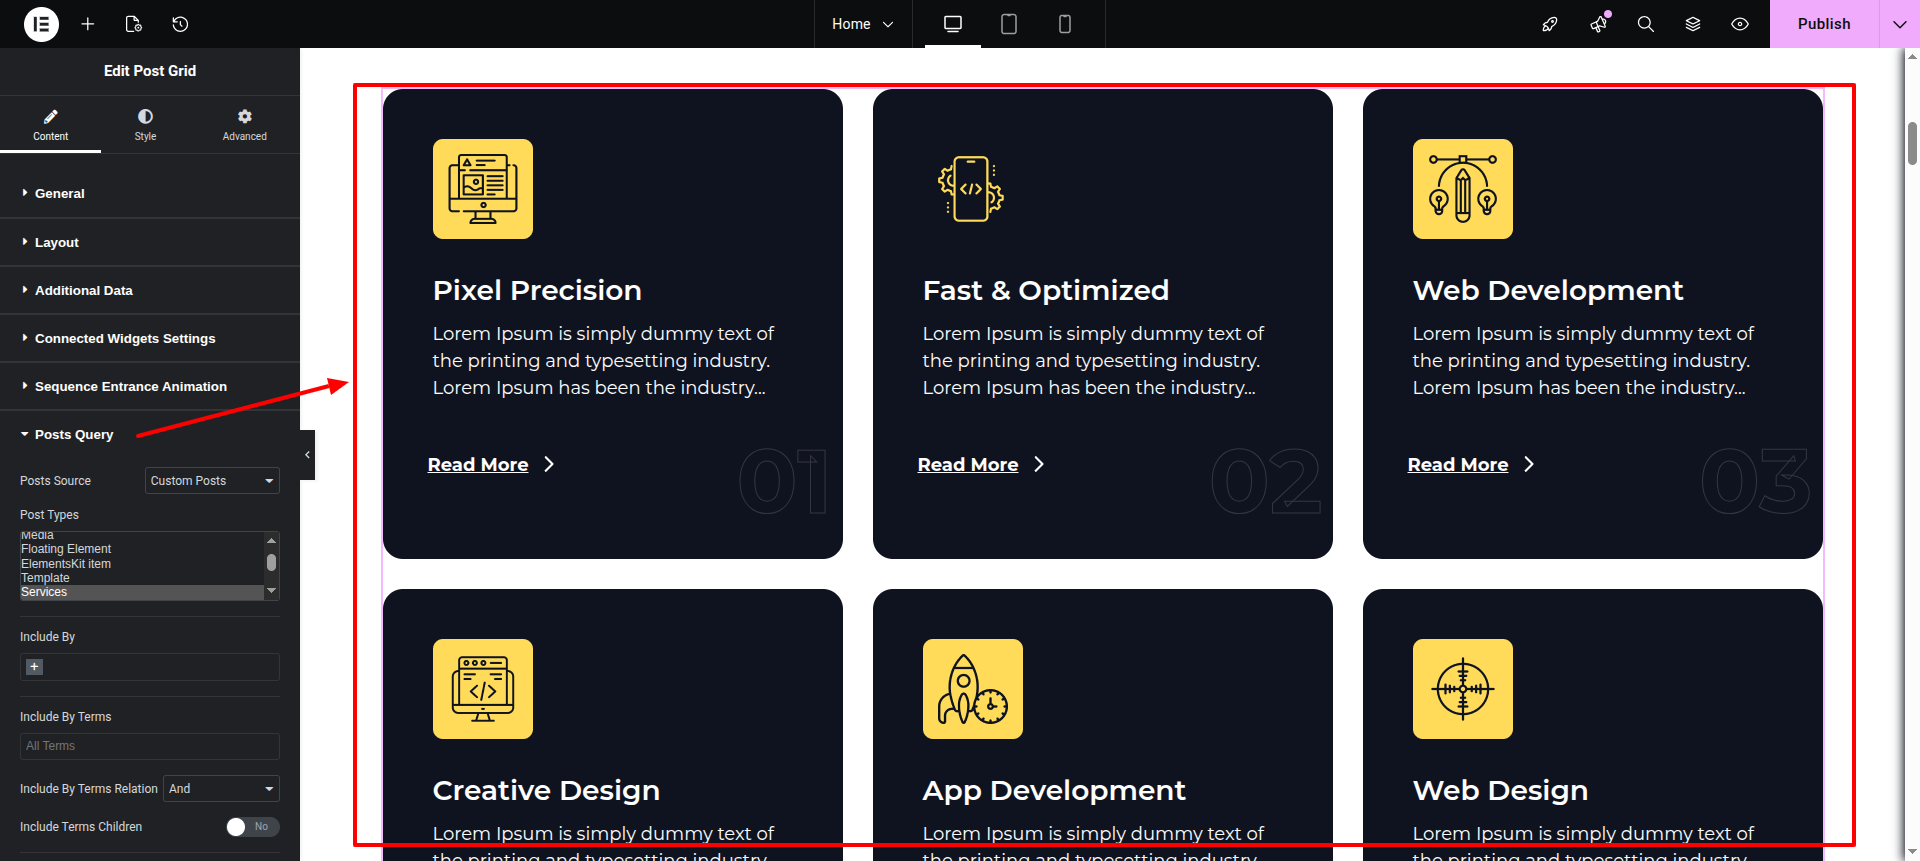
This is the post grid widget by Unlimited Elements
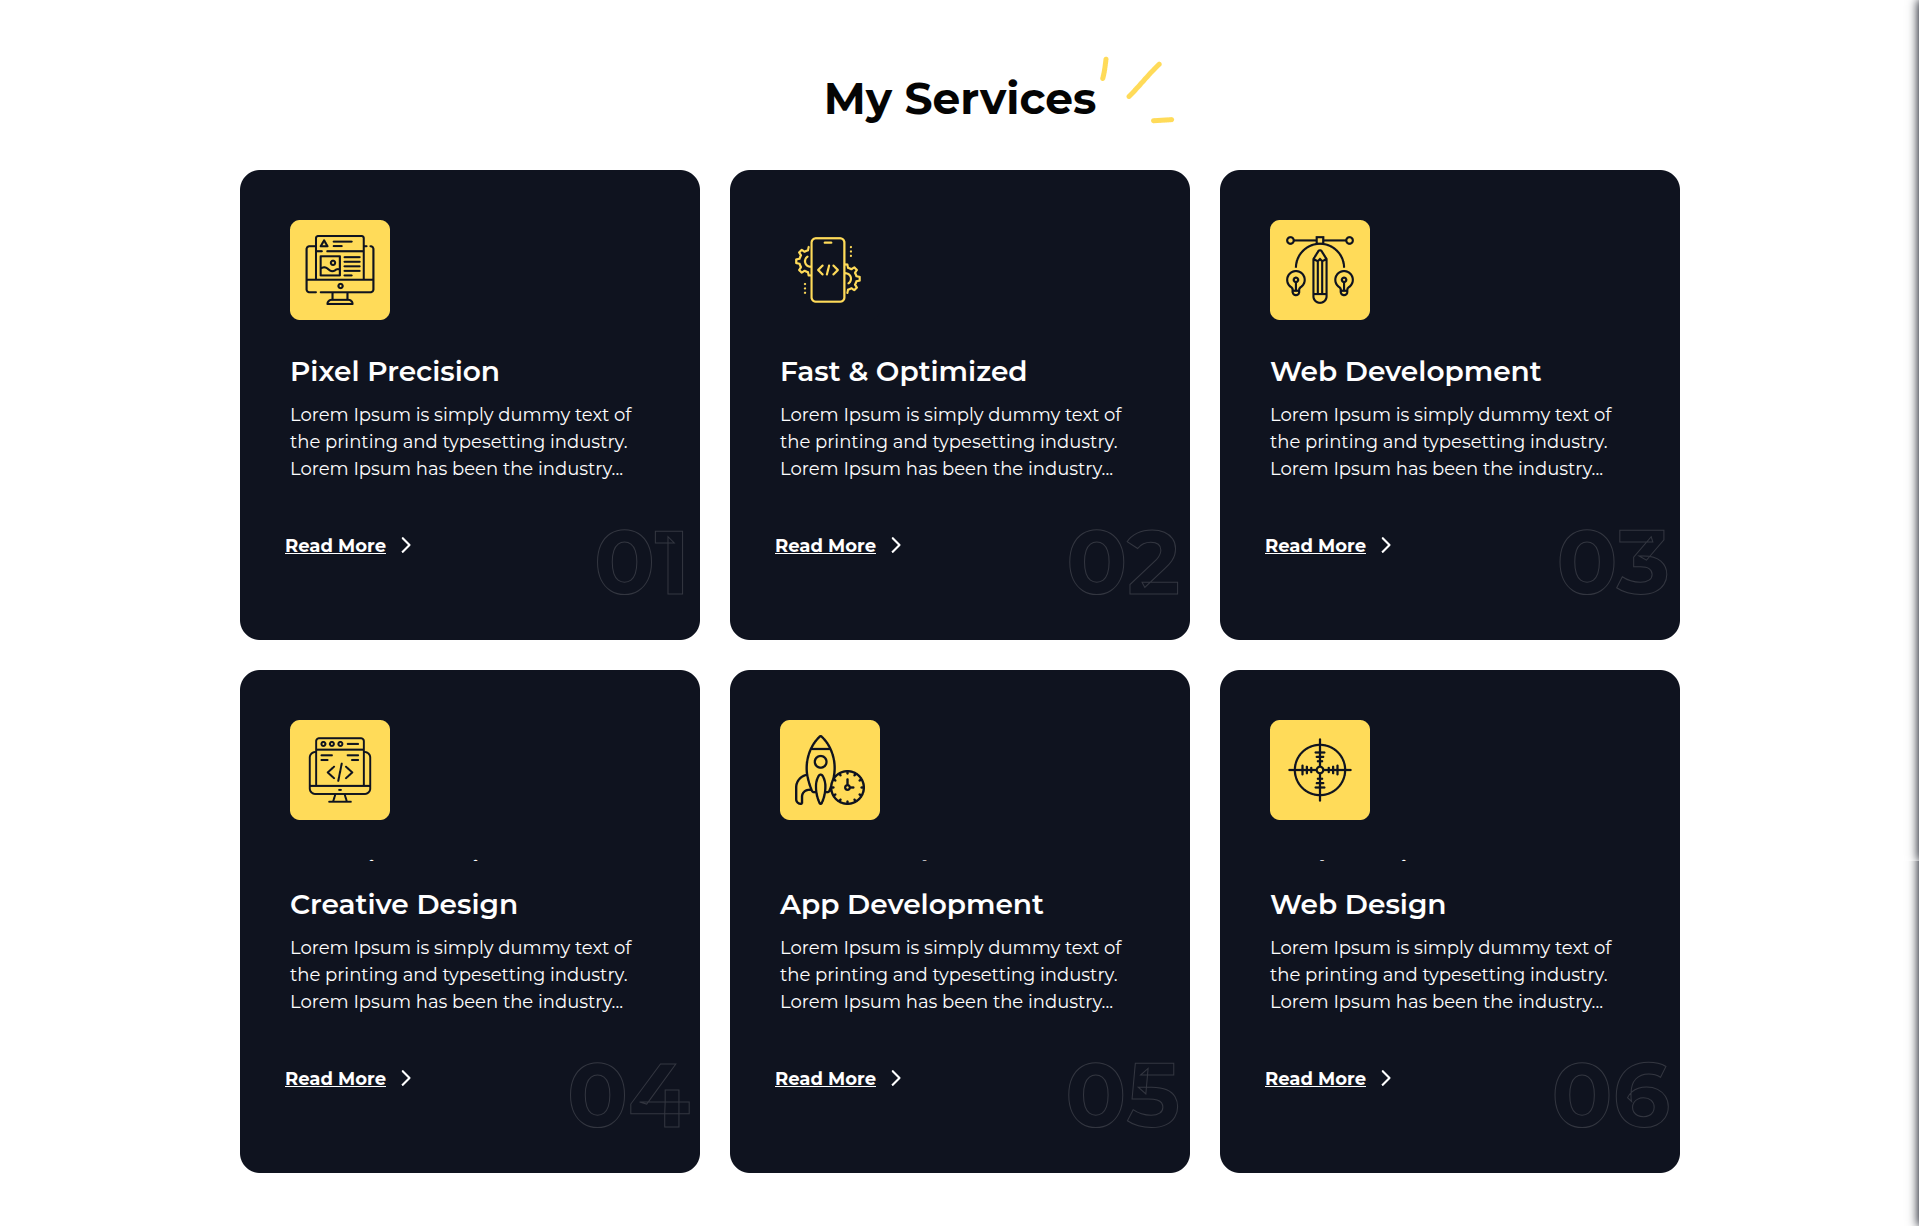
Front-end visuals will resemble this.
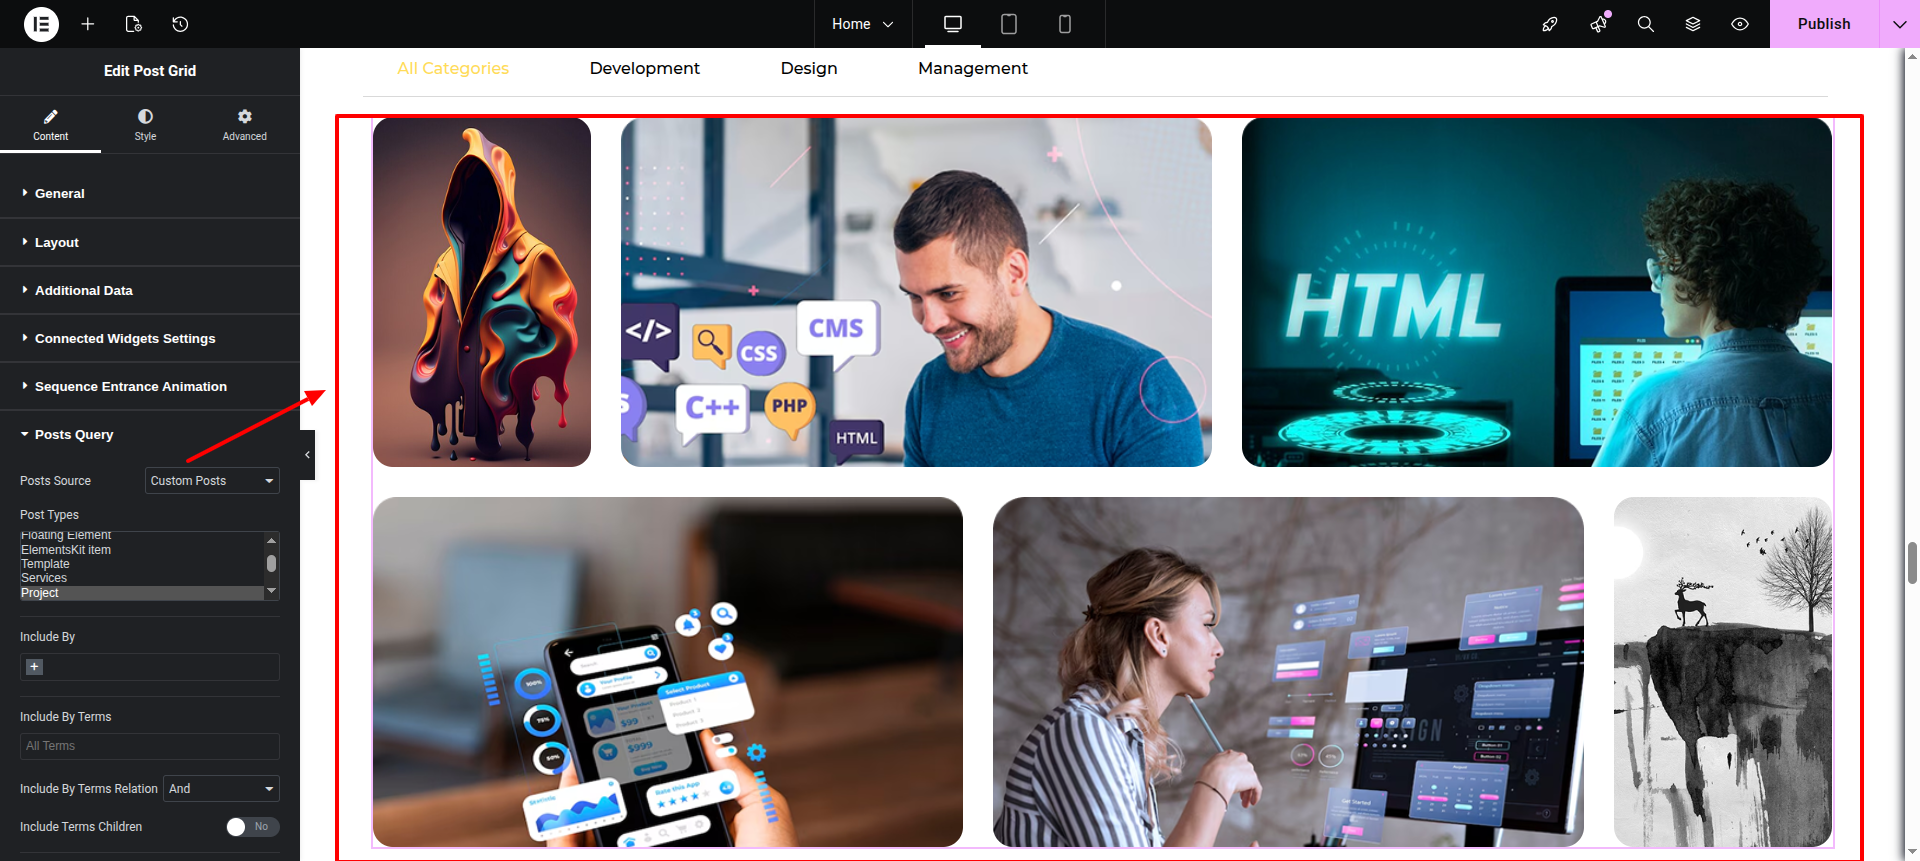
Starting with the My Projects.
You must first edit the page with Elementor.After you add a container.
Click on Widget---> and start adding yor data .
This is the Project Posttype.
These are Tabs. inserted through tabs widget
This is again the post grid widget by Unlimited Elements.
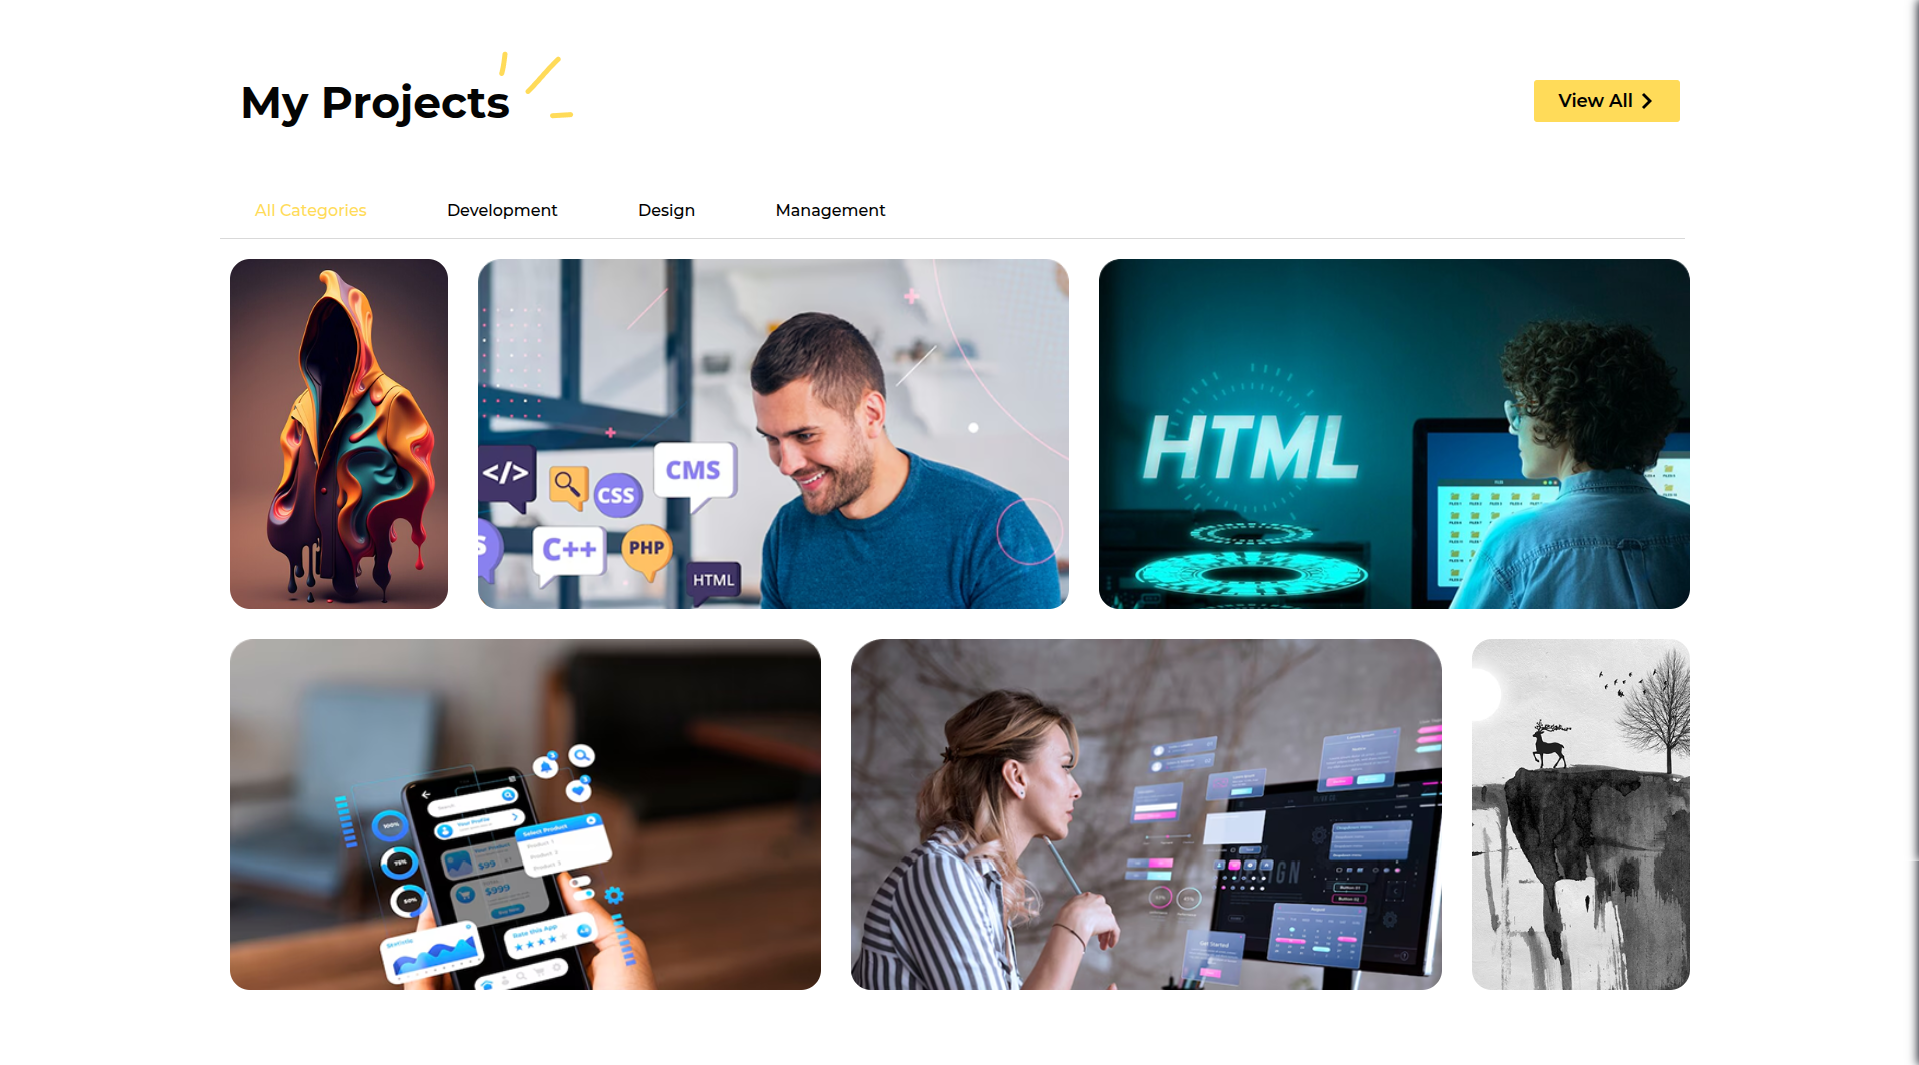
On the front end, it will appear as shown.
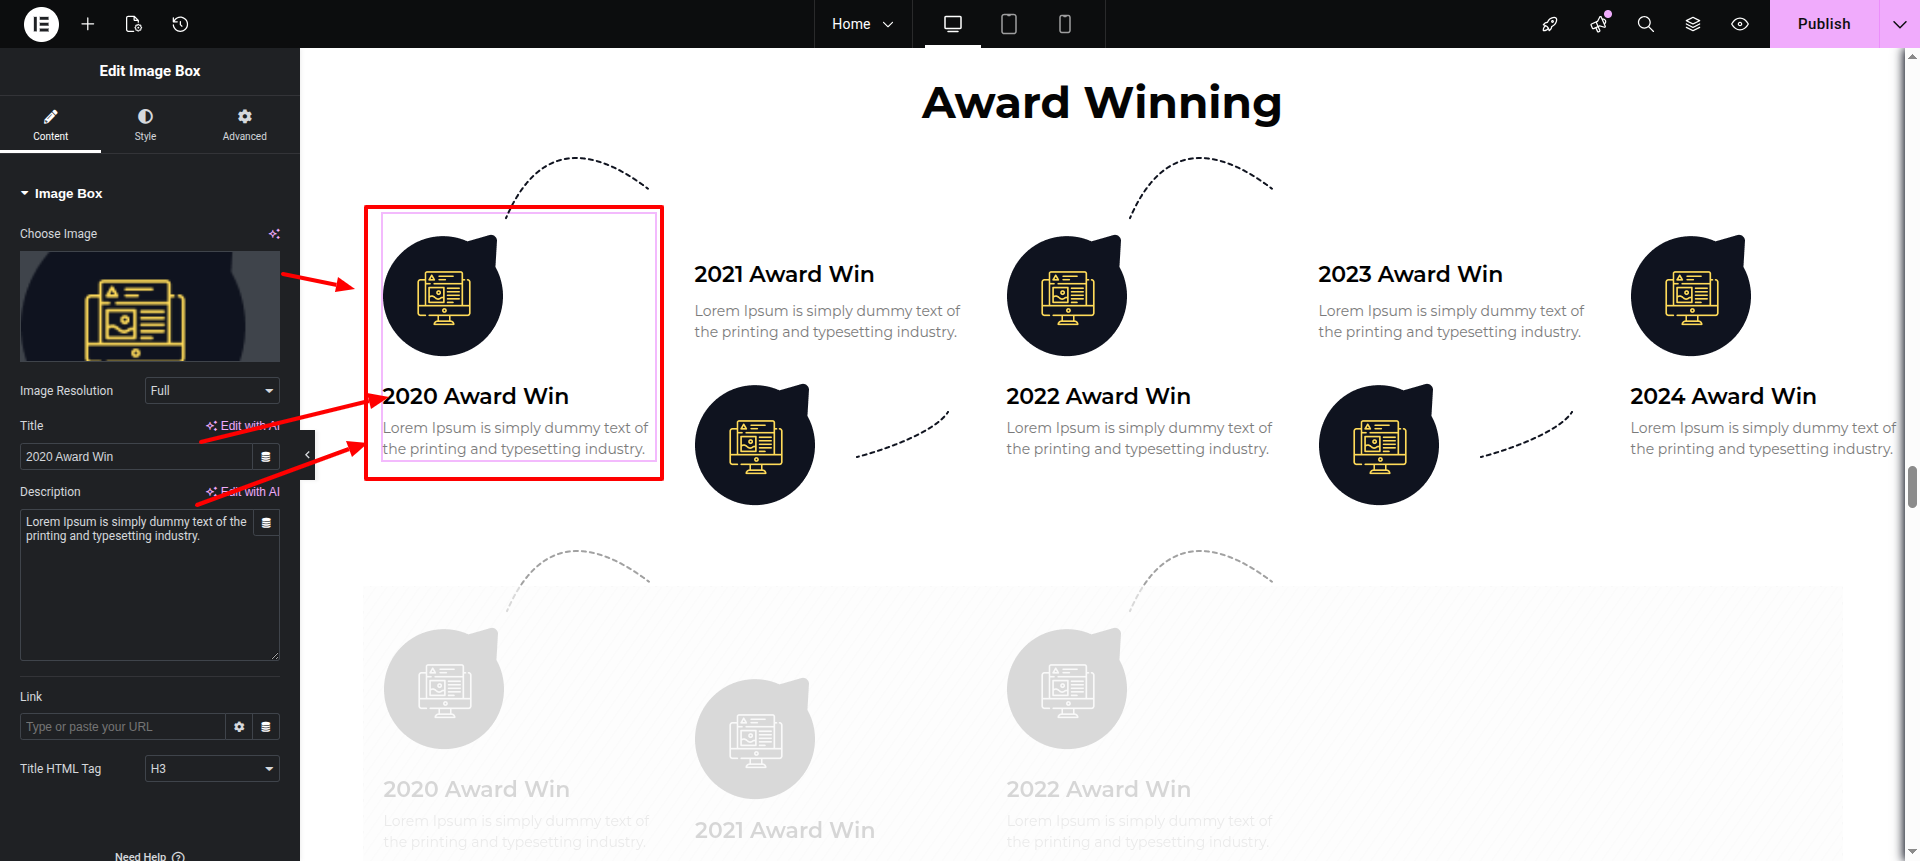
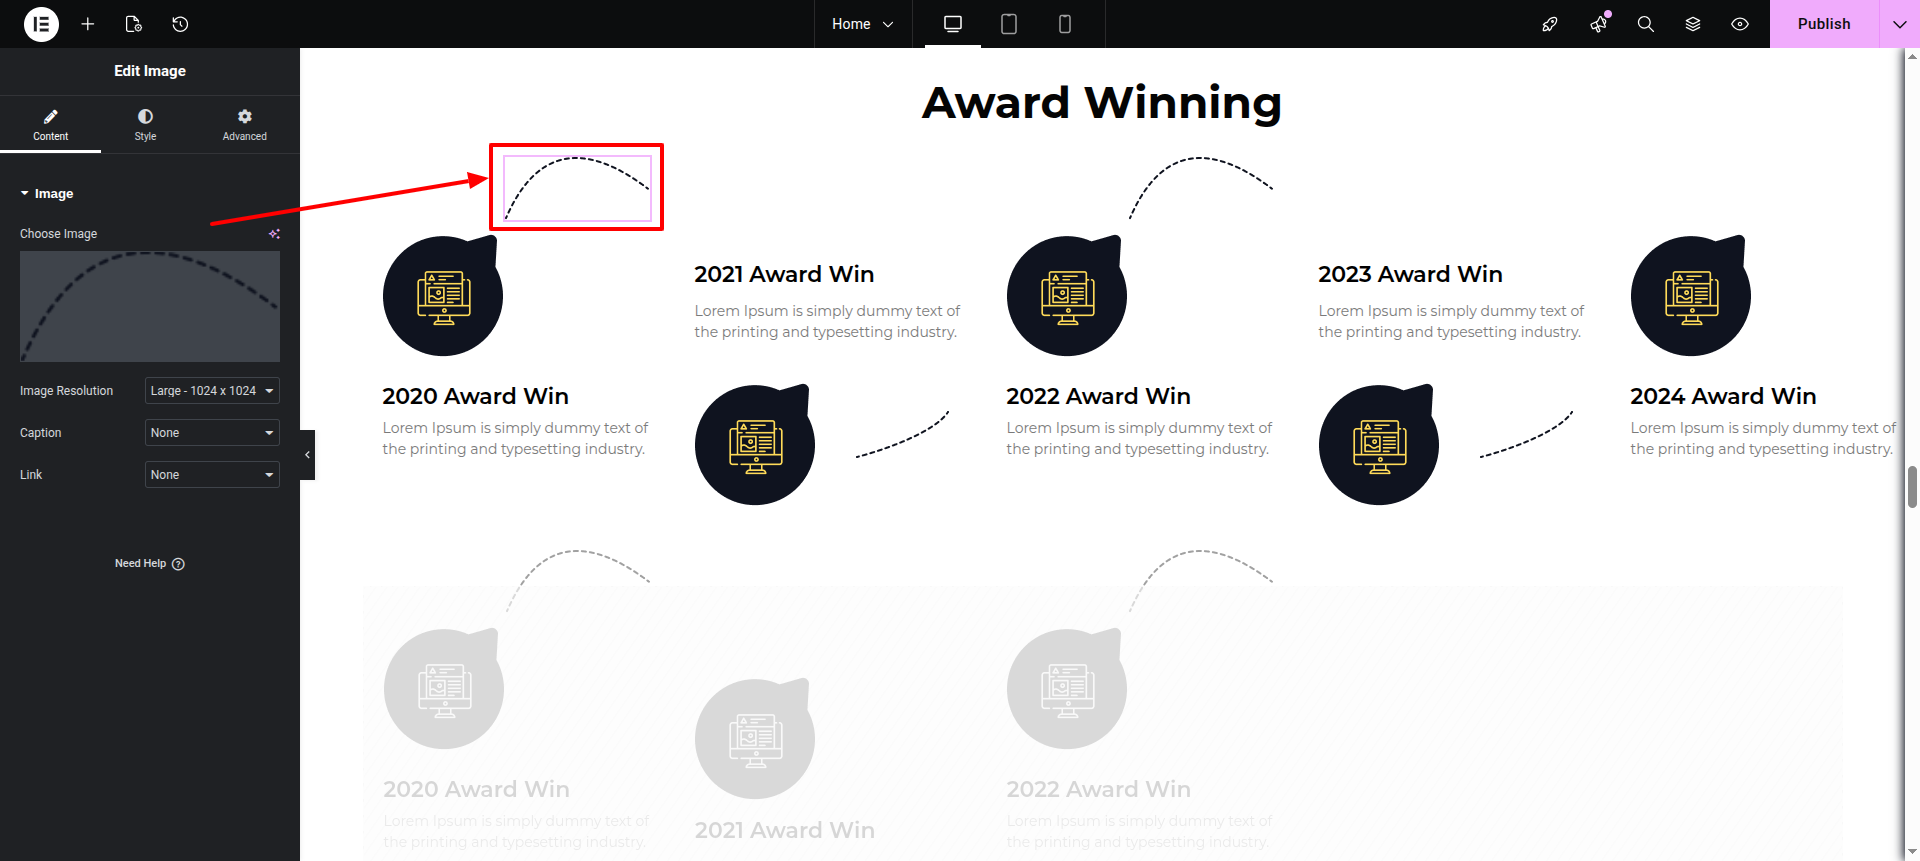
Starting with the Award Winning section,
This is the Image Box Widget.
This is normal Image Widget
These both are Heading and Text Editor Widgets.
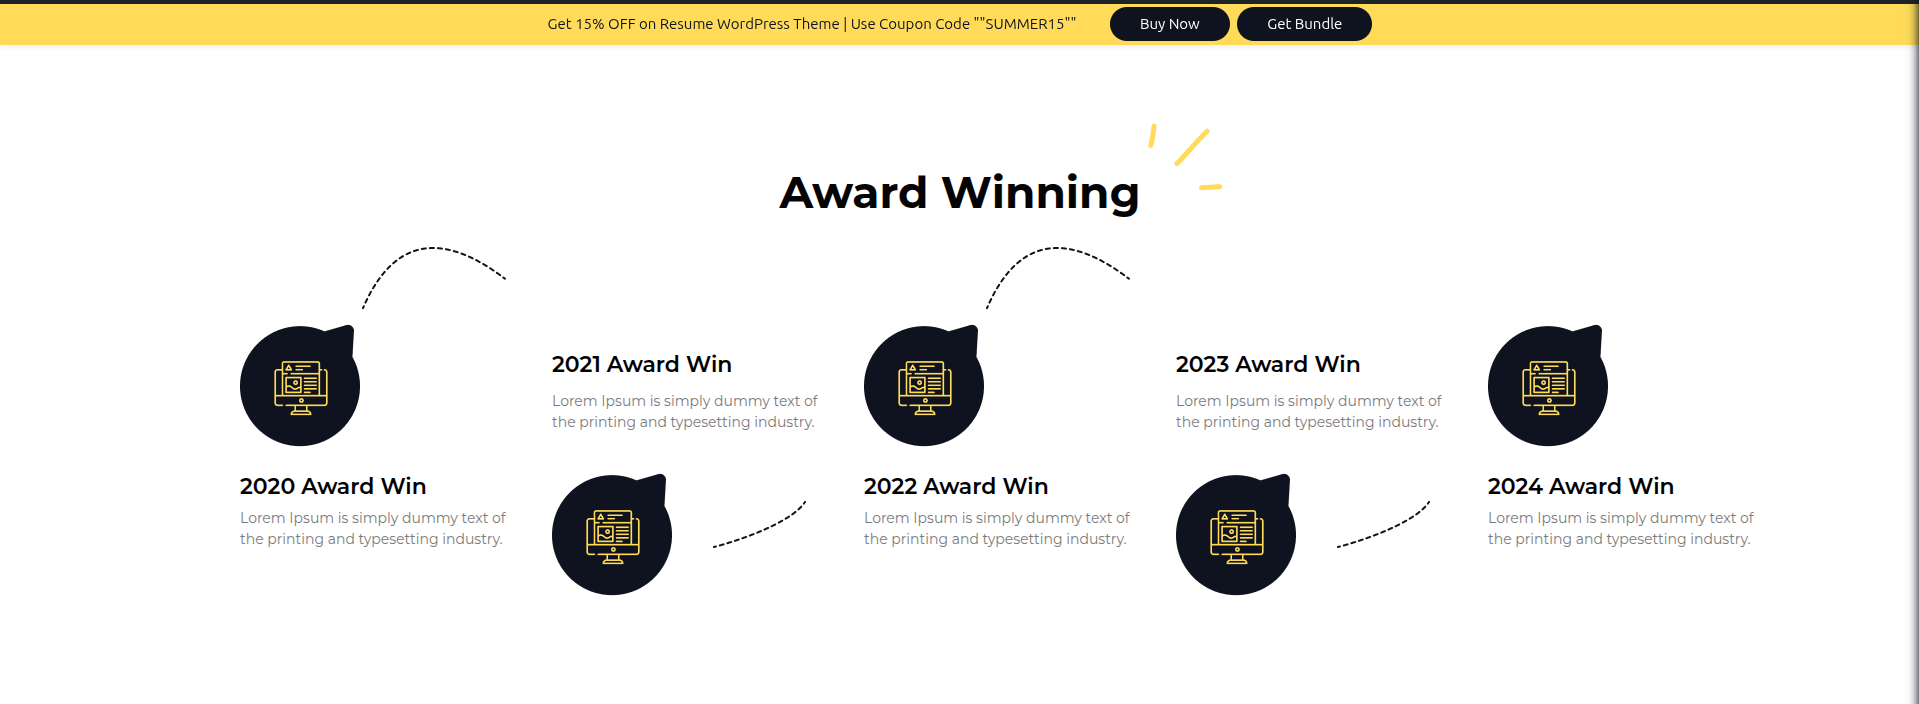
On the front end, it will appear as shown.
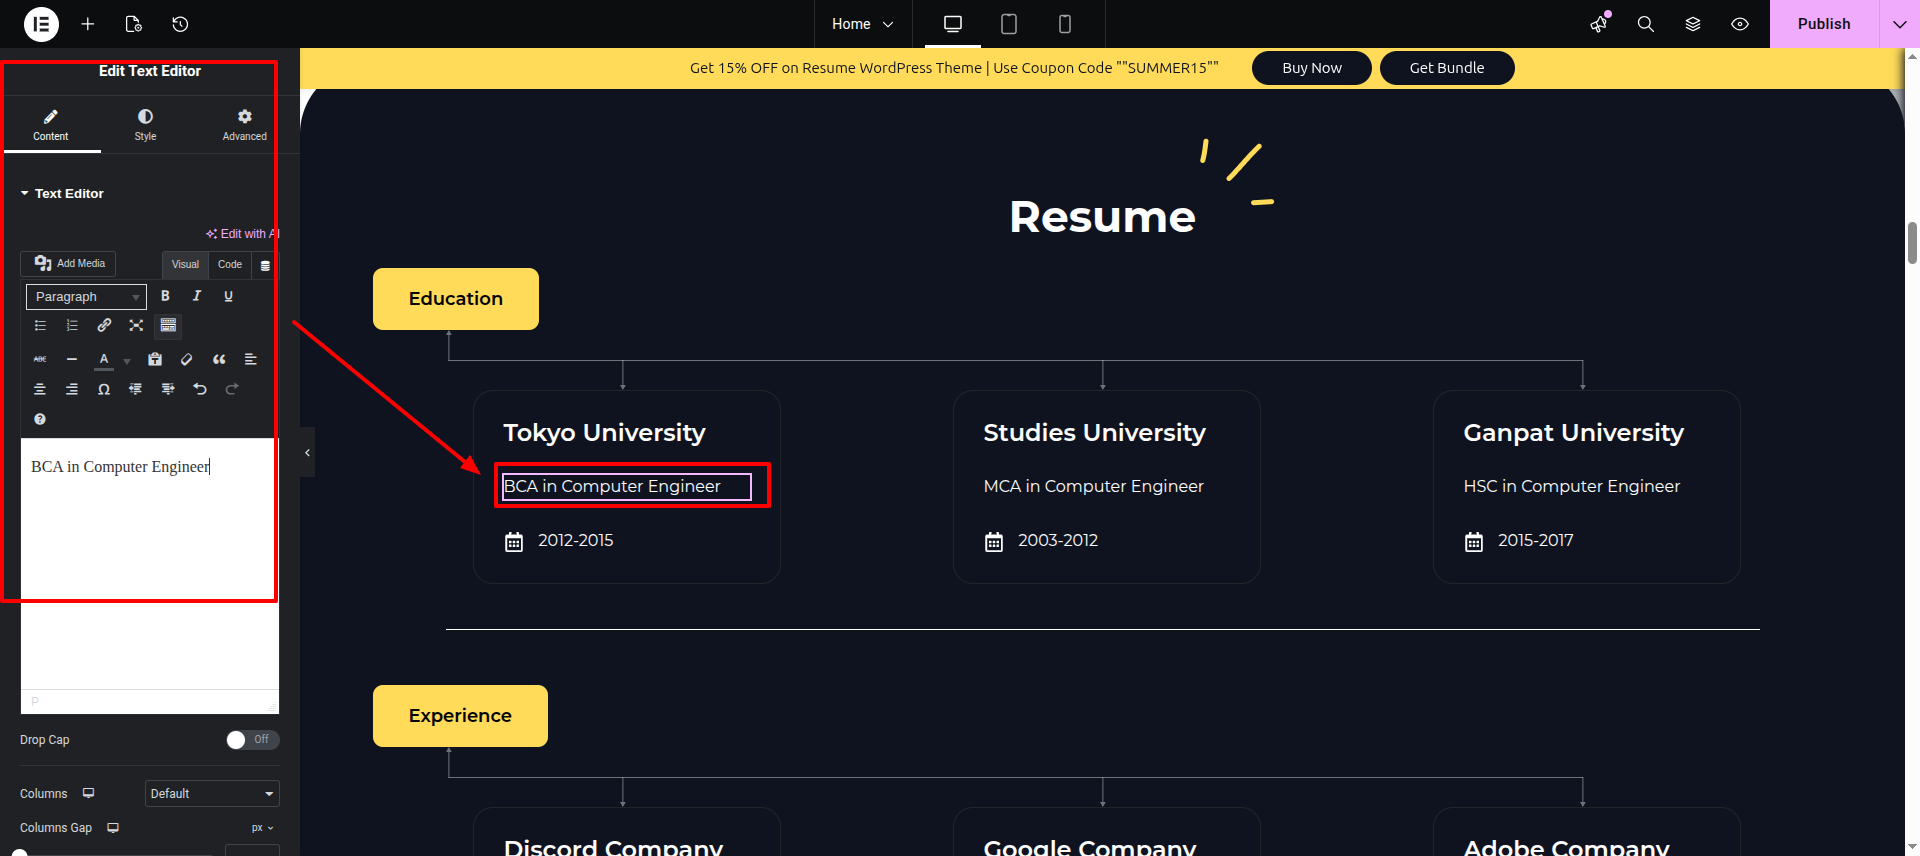
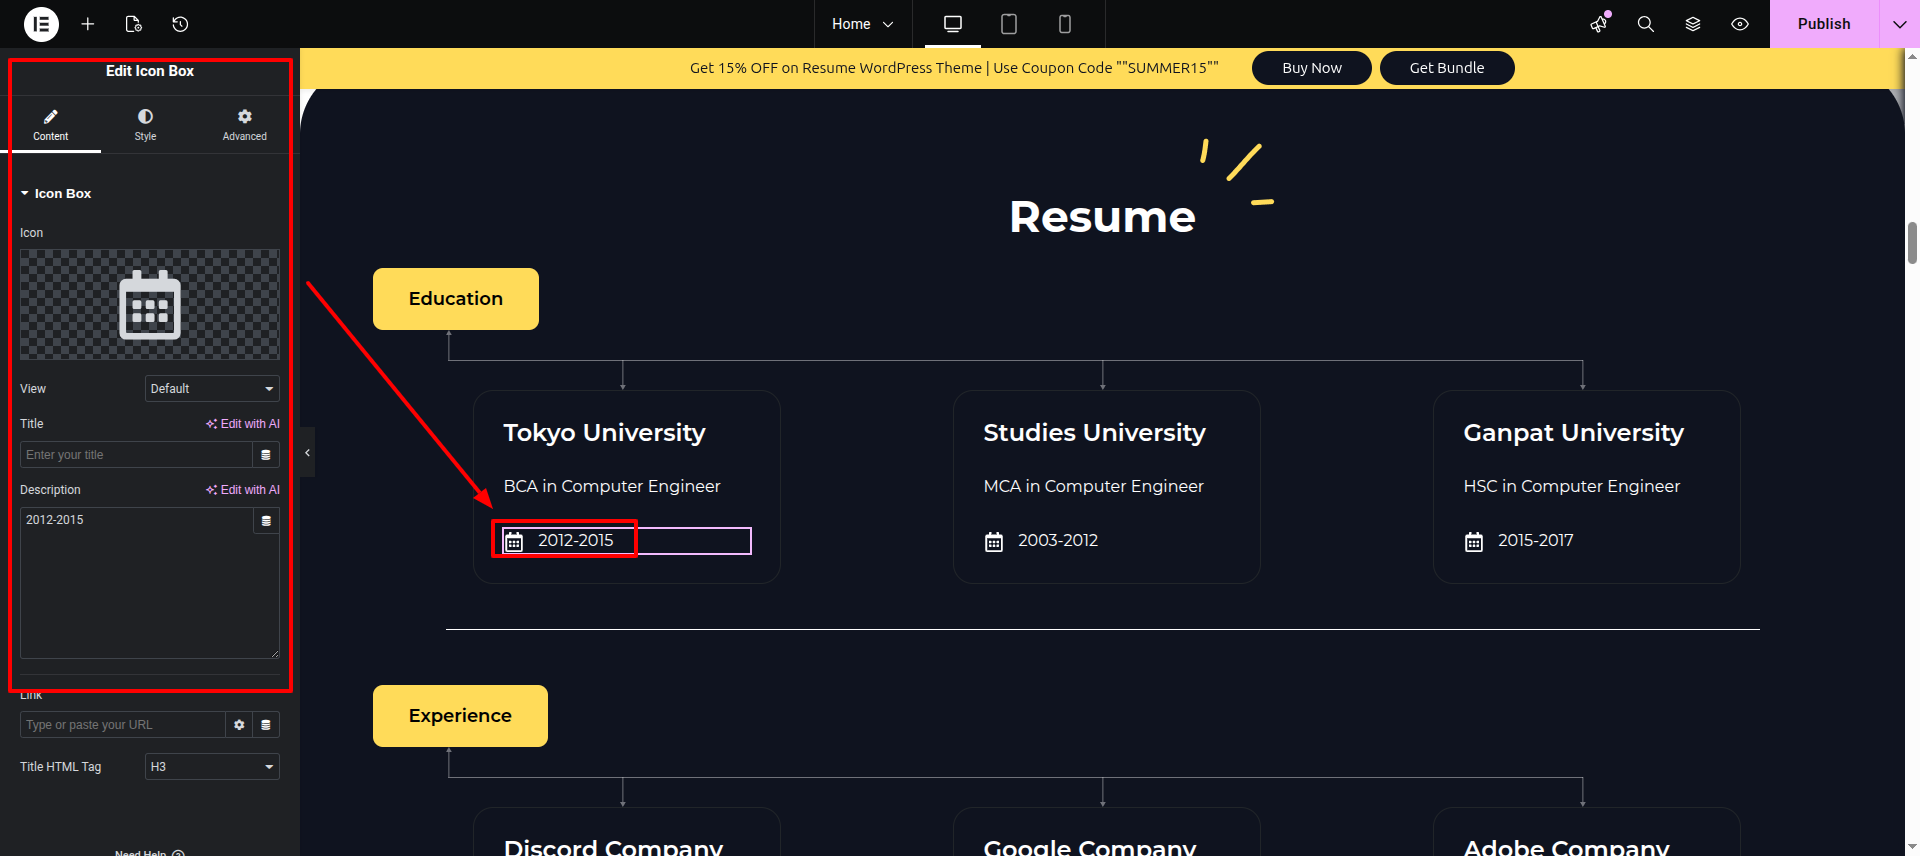
Beginning with Resume section
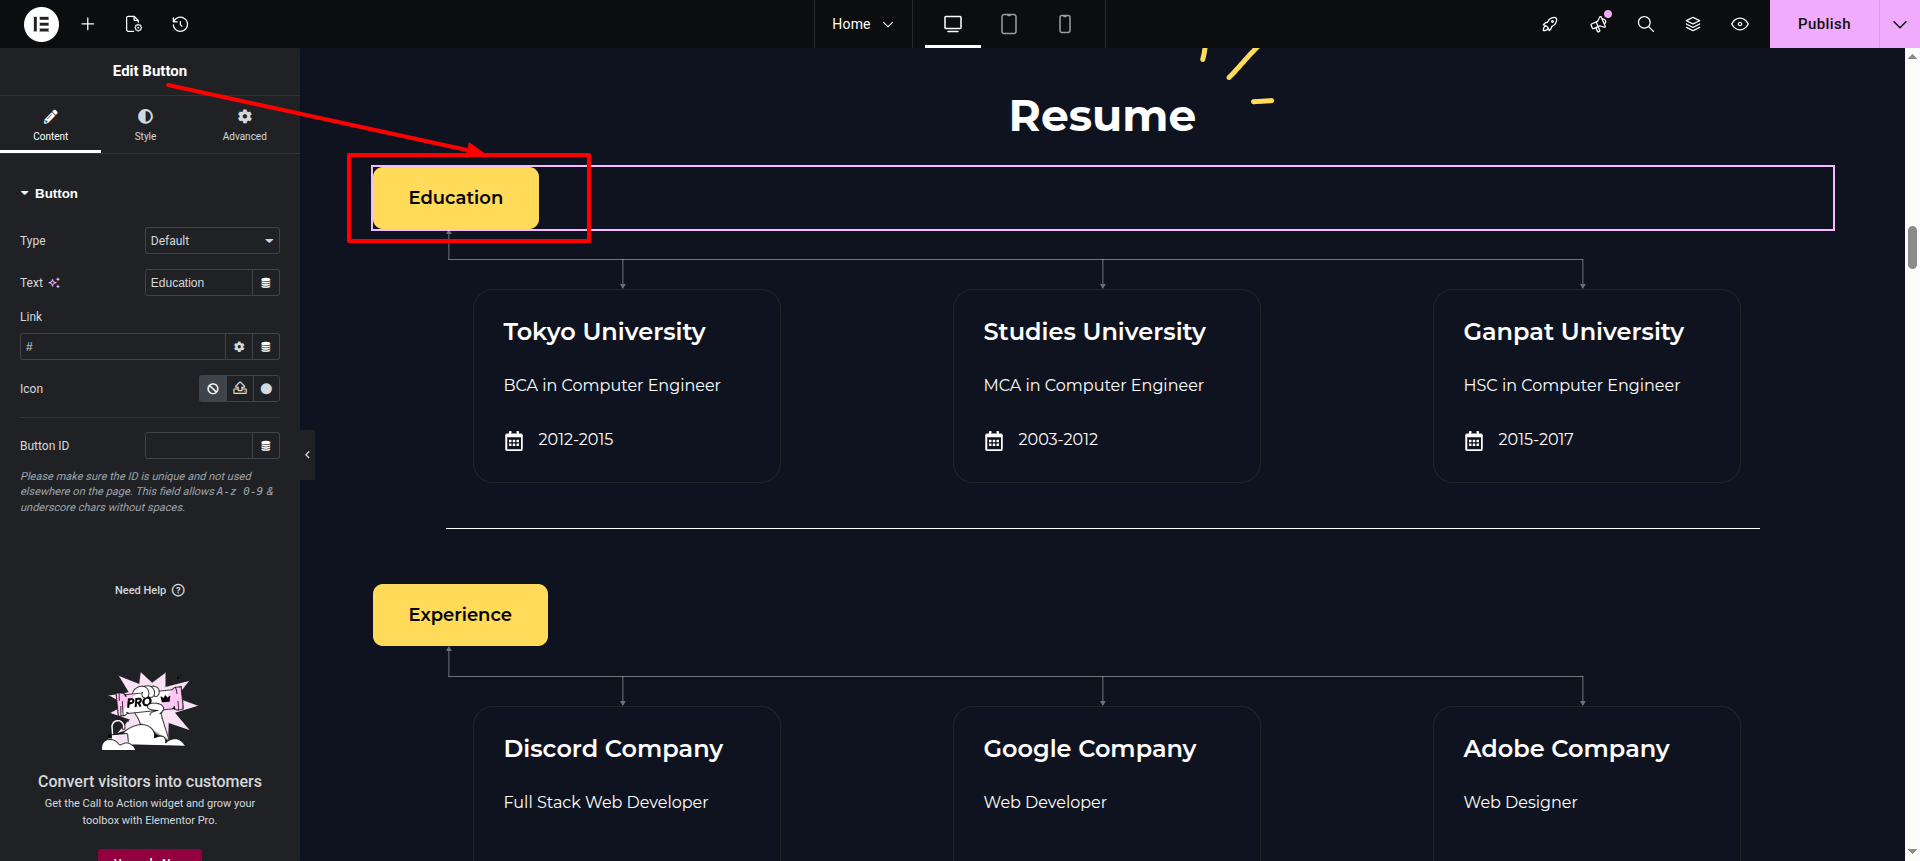
This is the normal Button Widget.
This is the normal heading widget.
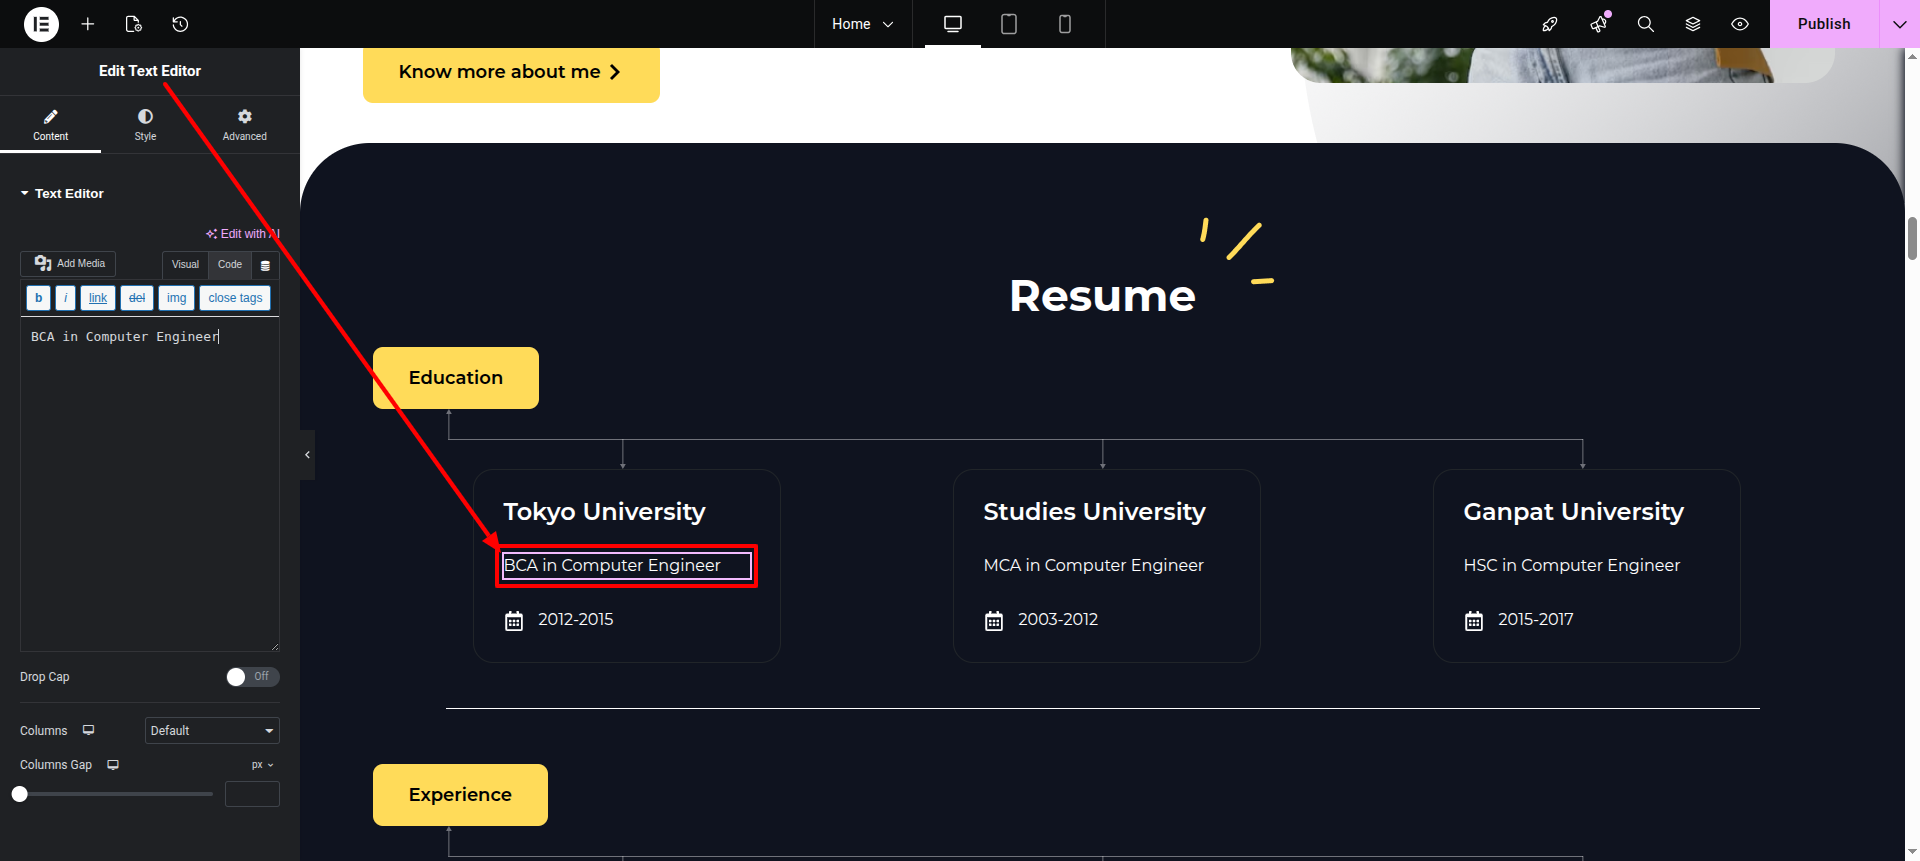
This is the normal text editor widget.
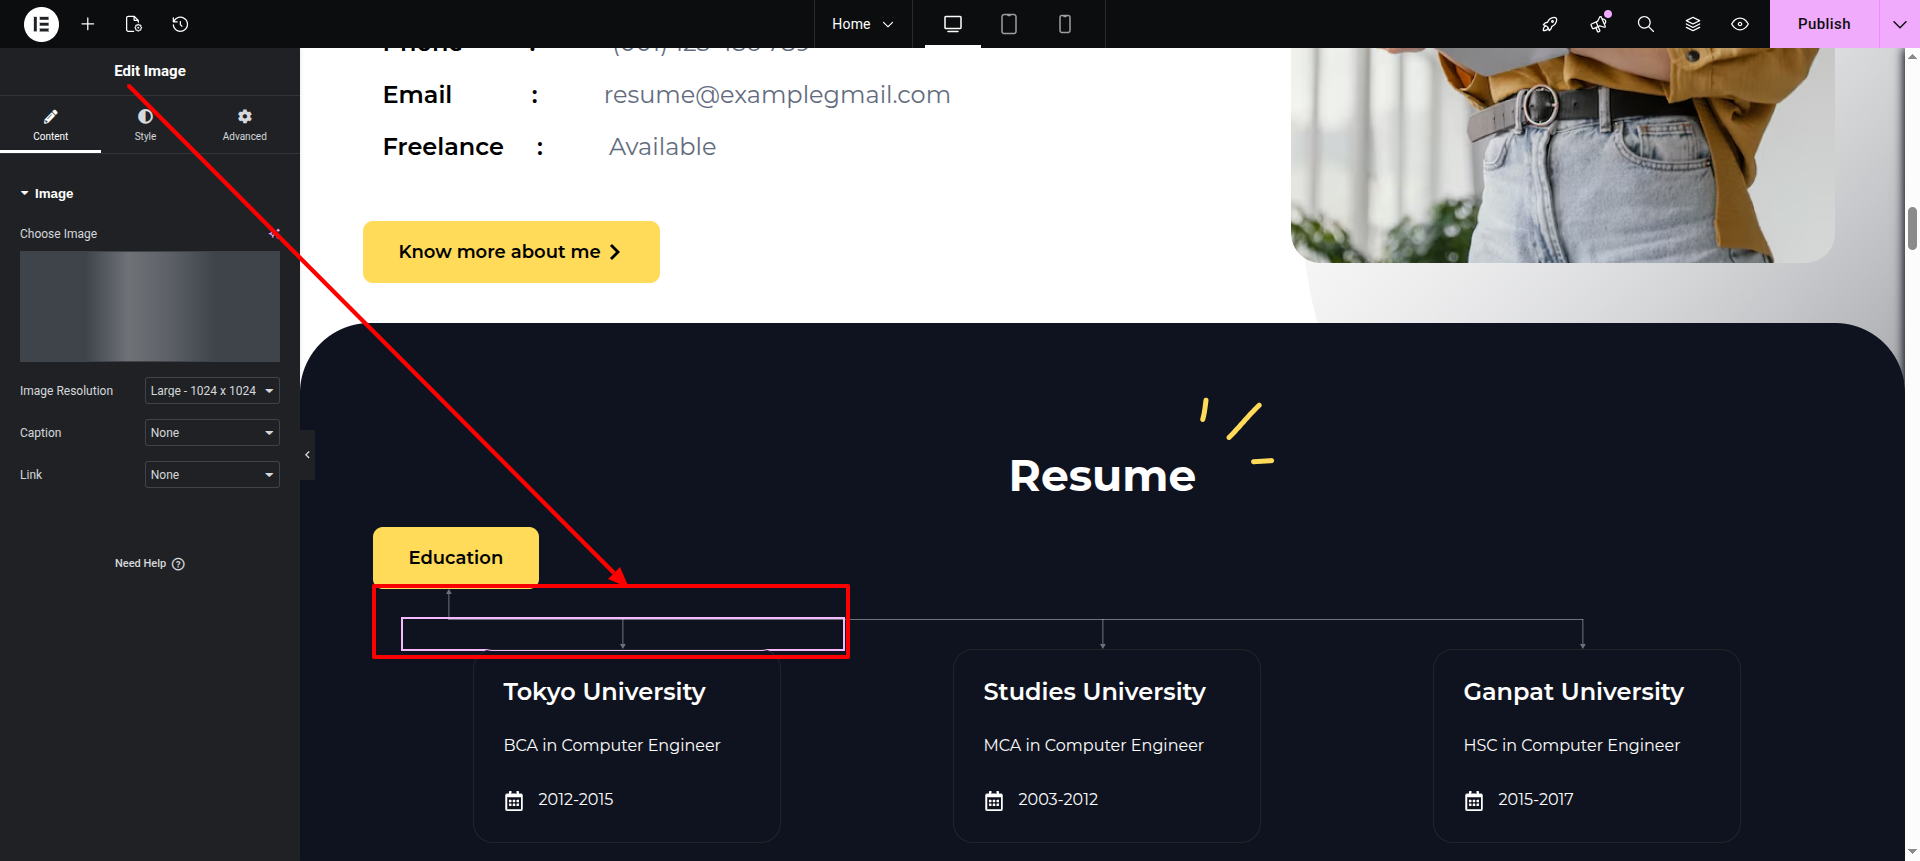
This is the icon box.
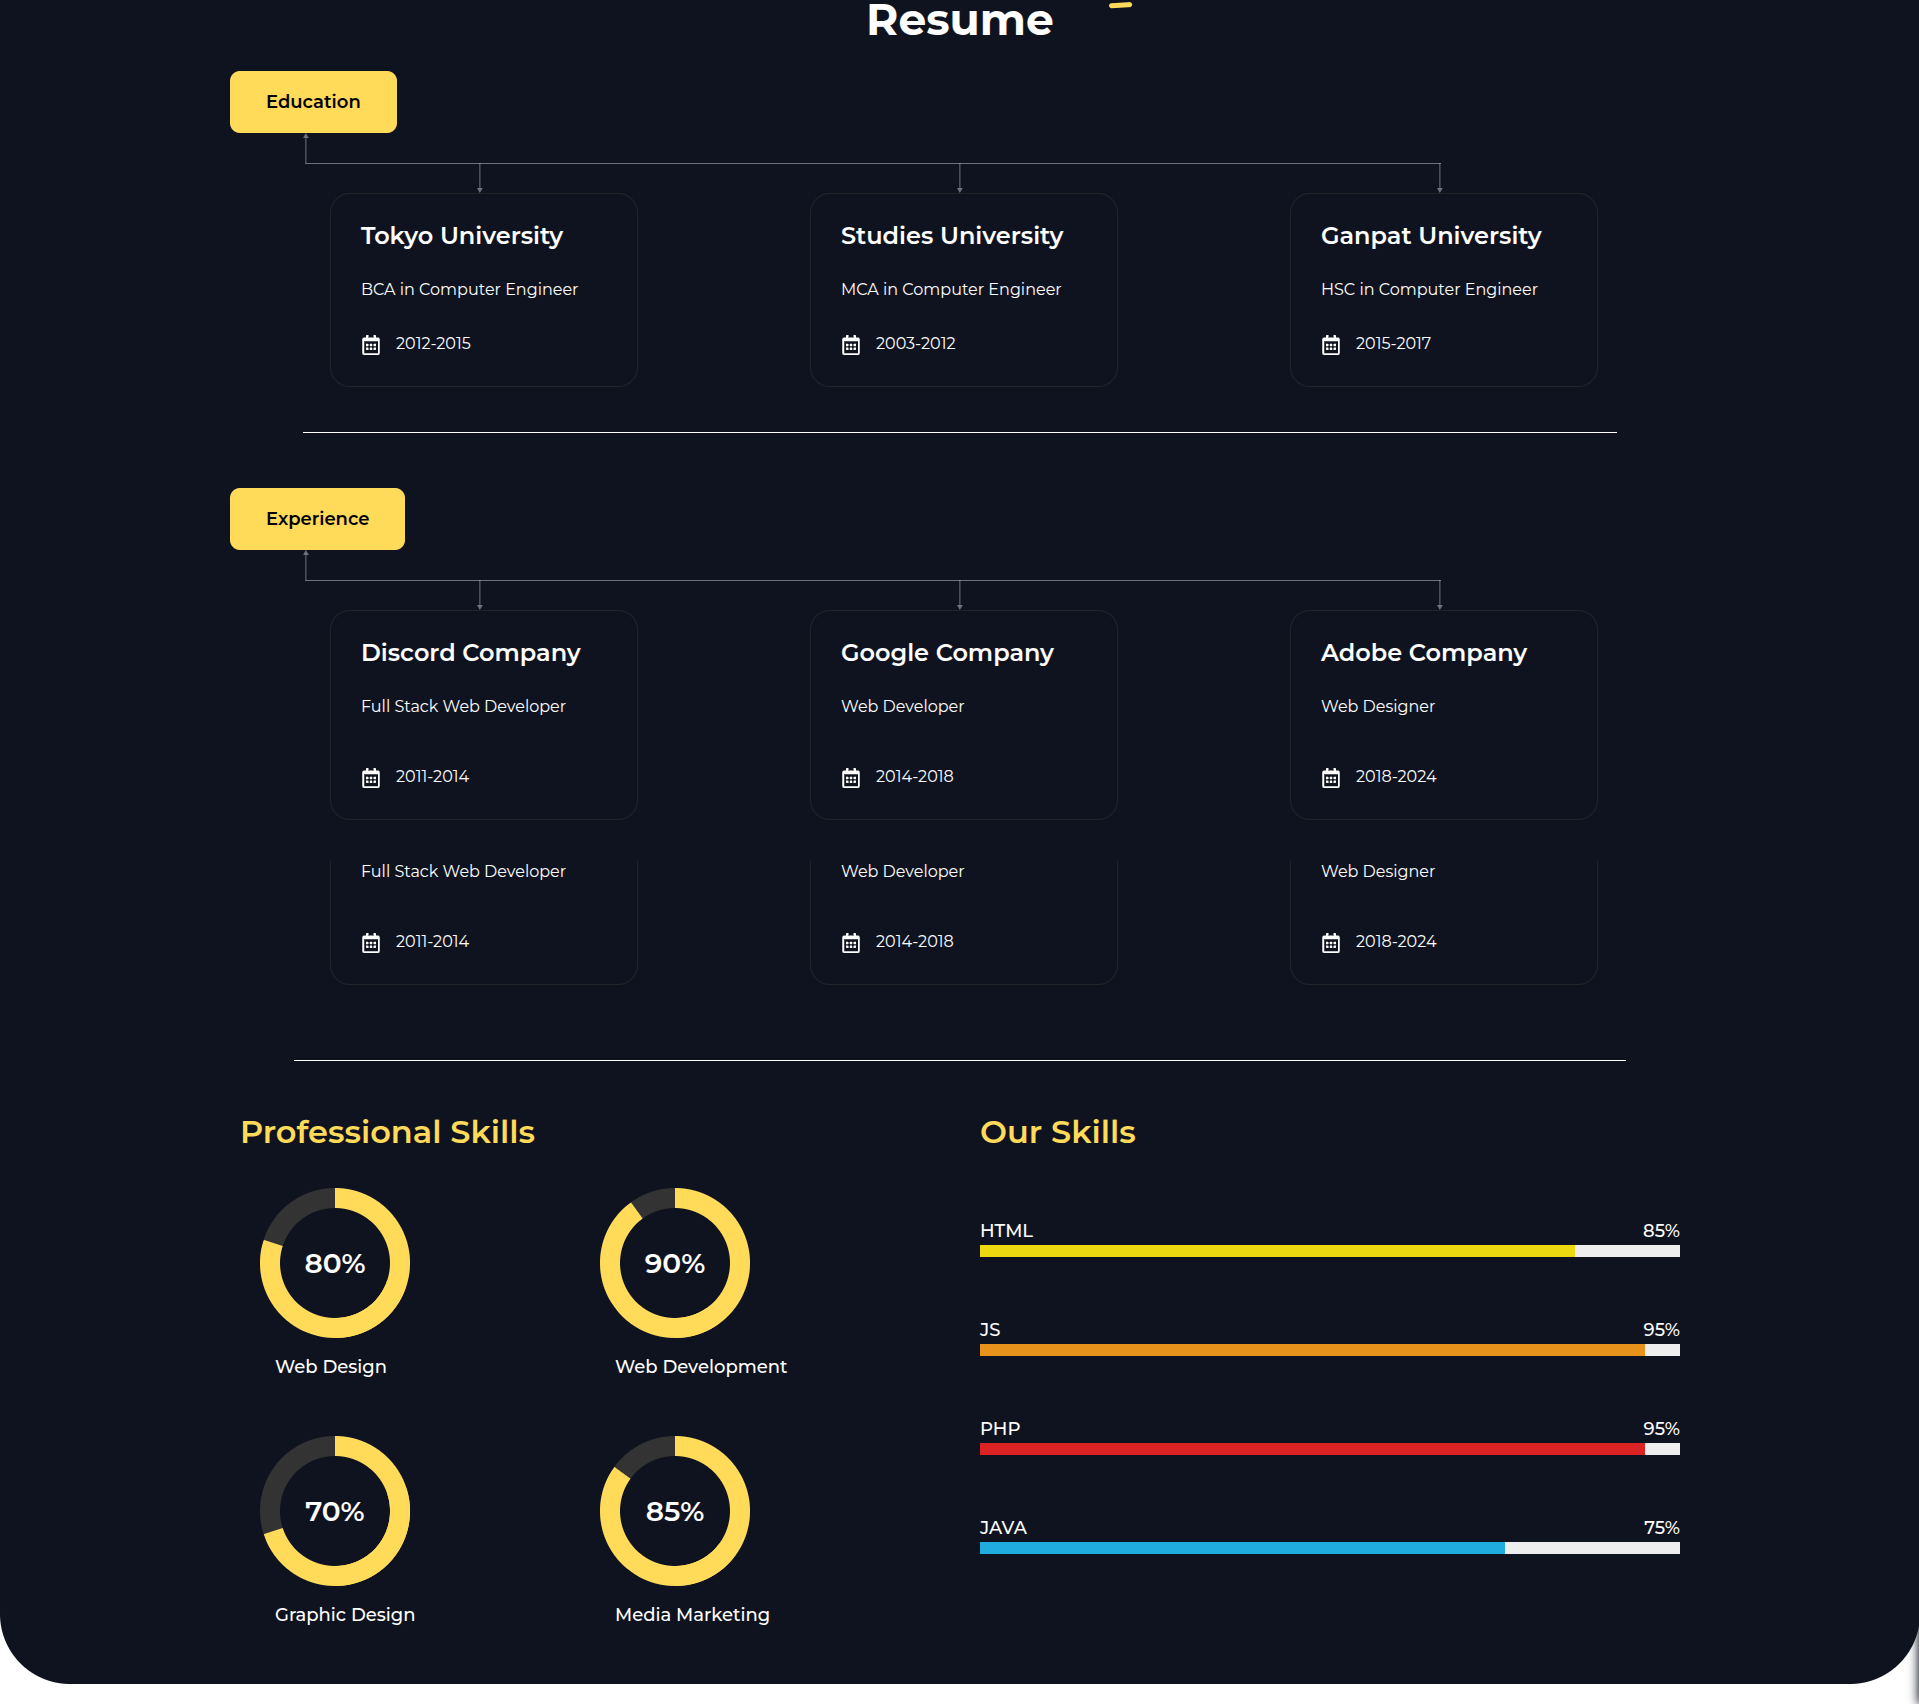
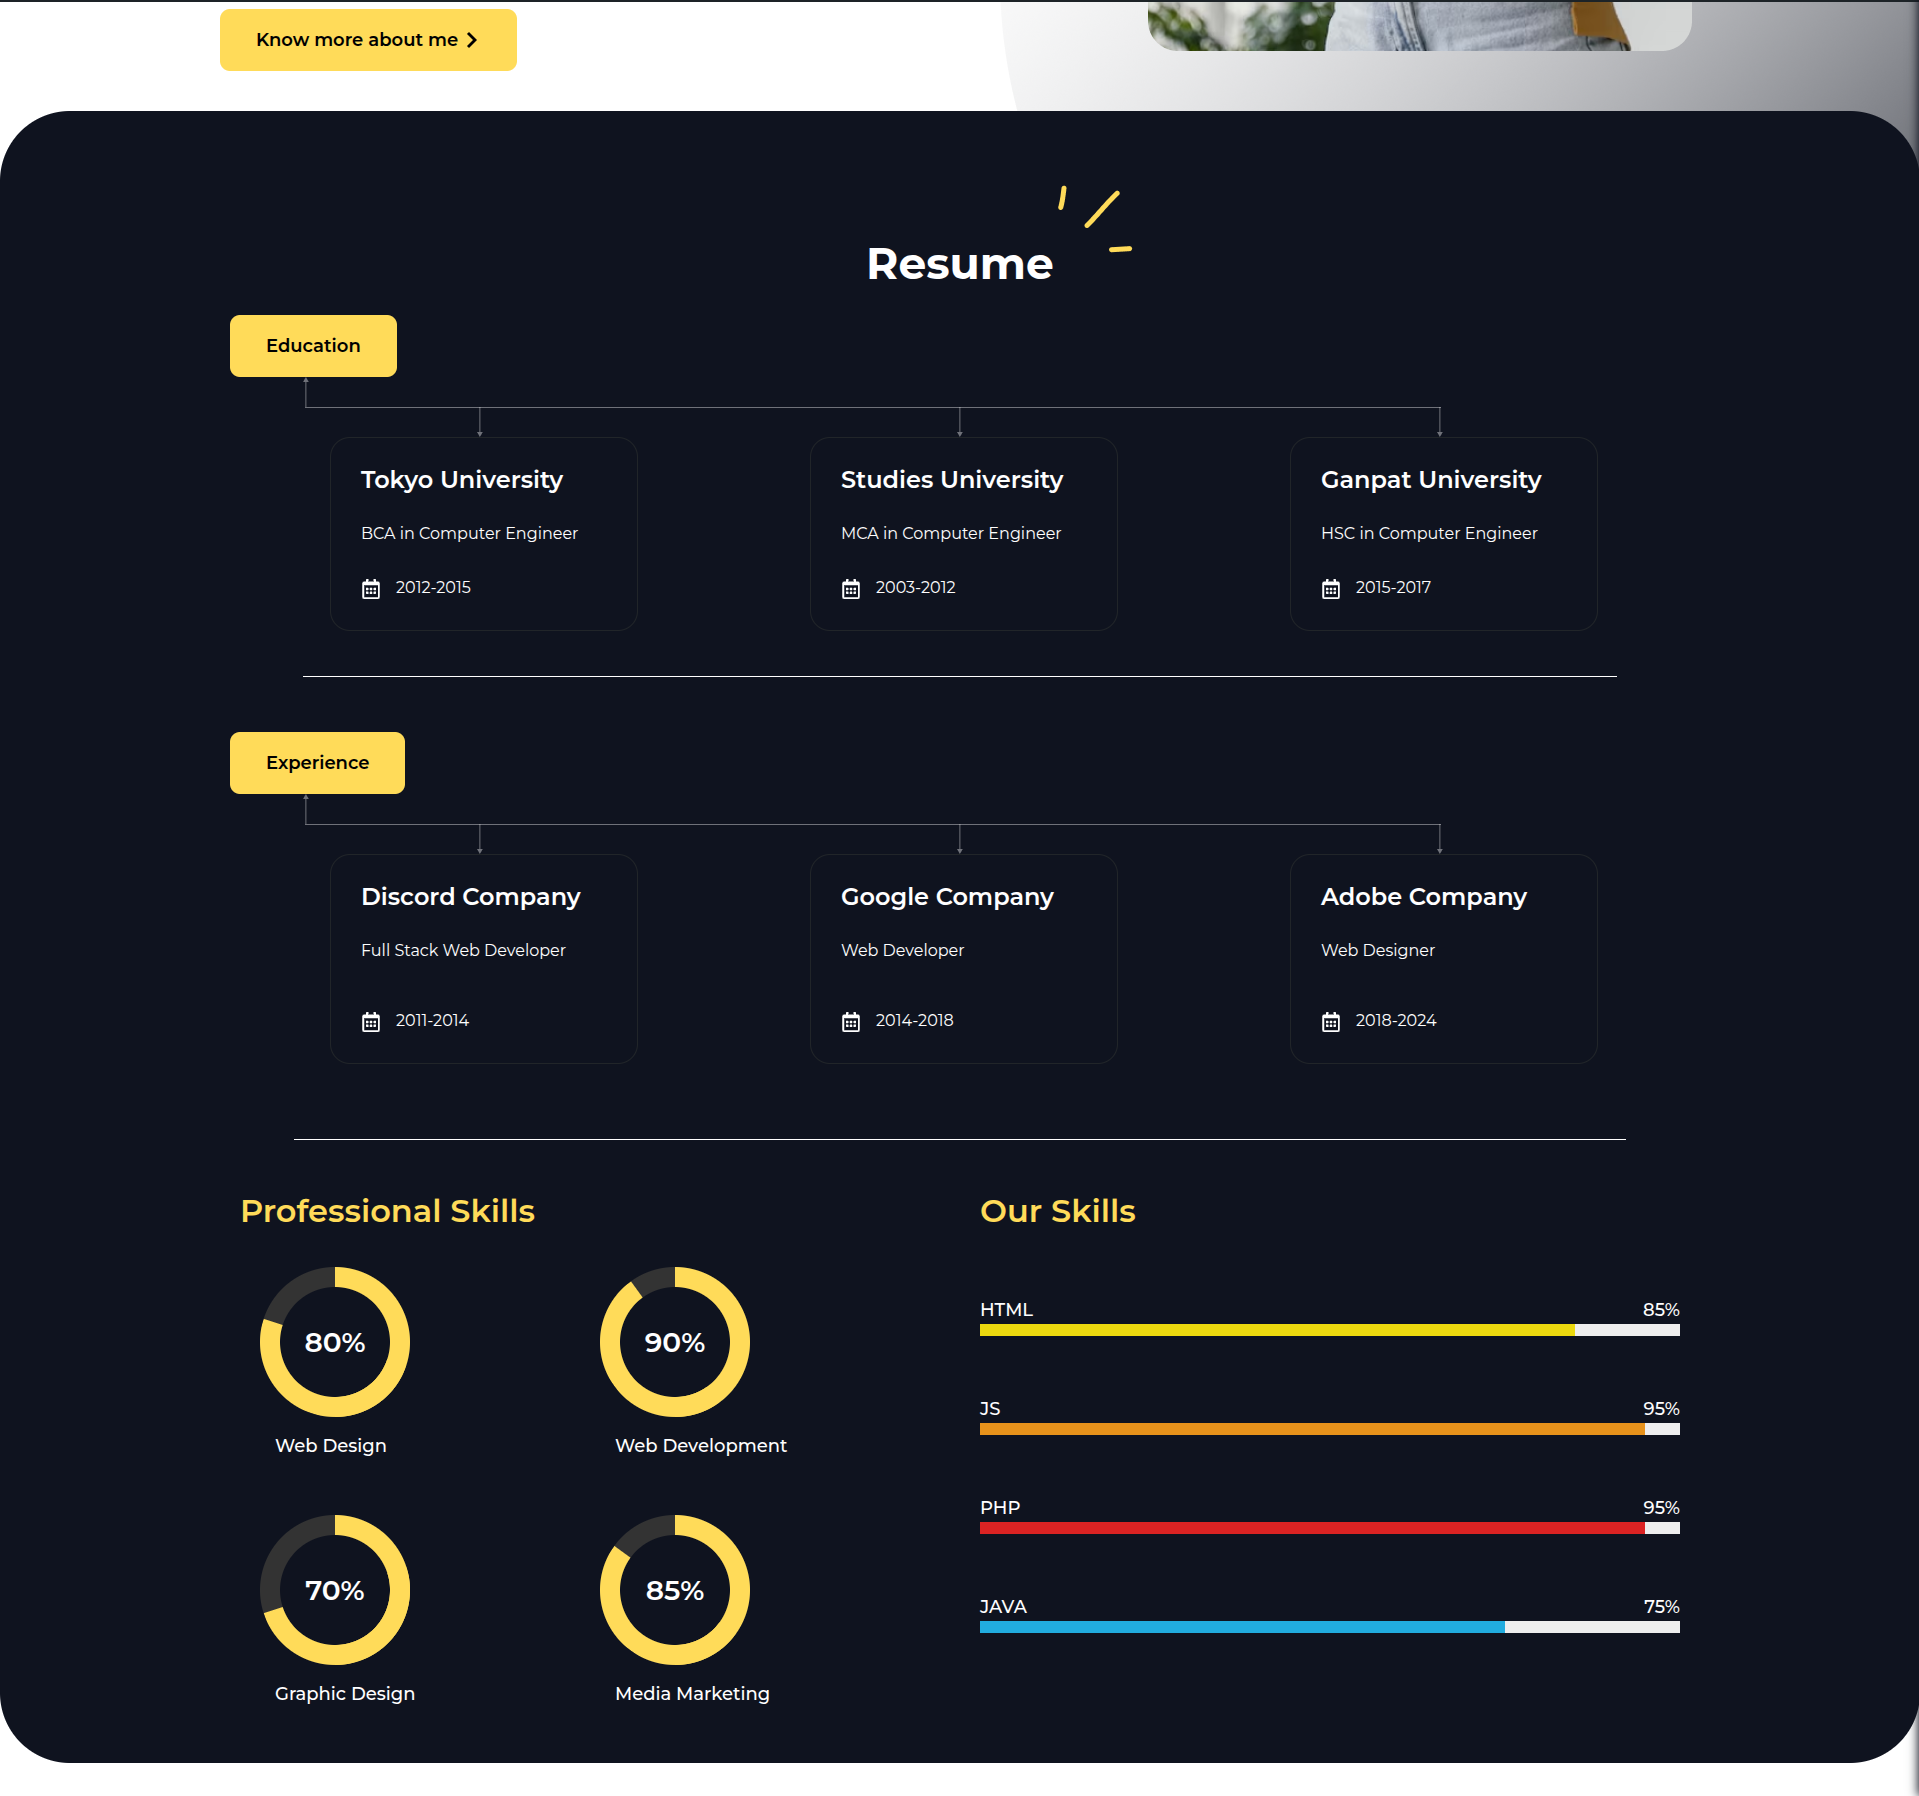
On the front end, it will appear as shown.
Starting with the My Blogs Section,
Add Heading Widget.
This is the Post grid widget by Royal Elementor addons
On the front end, it will appear as shown.